EASY Yellow & Blue Flower Nail TUTORIAL with Gel Polish
Here is an easy yellow & blue flower nail tutorial for beginners using gel polish.
From delicate daisies to colorful roses, flower nails are a popular choice for gel polish enthusiasts. While flower nails can seem tricky to achieve, with a little practice, anyone can create beautiful designs.
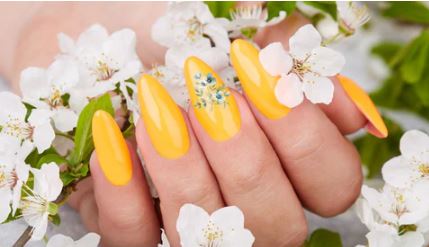
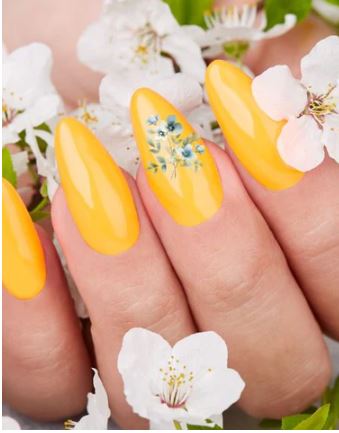
This flower nail design tutorial uses yellow gel polish with nail sticker accents to create a look that is so pretty, it’s like a fresh rainy day.
These DIY flower nails are perfect for beginners and we will show you how to do them step by step with photos.
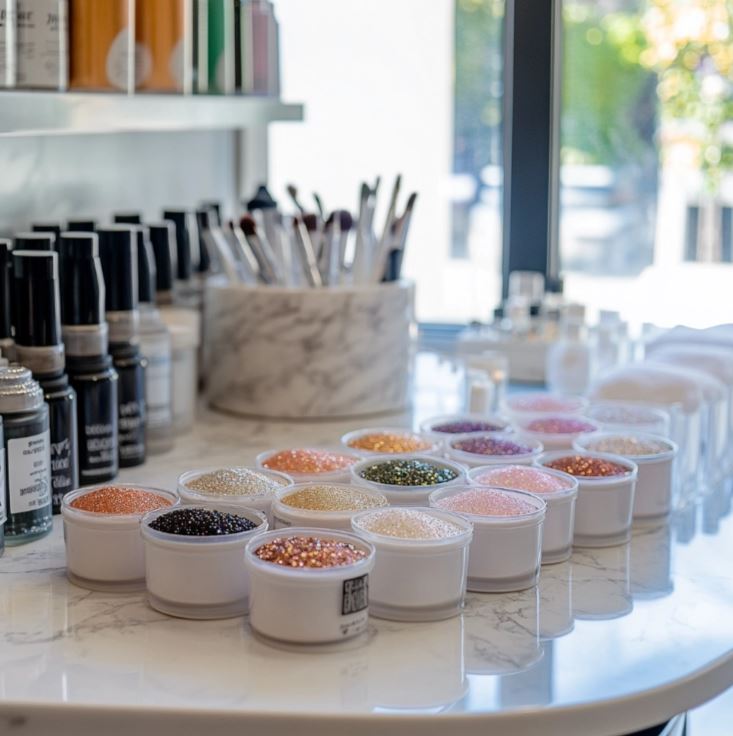
You can even add some loose glitter for nails and waterslide nail decals to take the floral nail art up a notch.
The nail artist used gel polish for this flower design, but you can also use regular nail polish colors.
To start, the nail tip is buffed and prepped before a base coat is applied. Next, two coats of the yellow gel polish are applied, allowing each layer to cure in between.
Finally, a top coat is applied to protect the design and give it a high-shine finish. With just a few simple steps, you can create stunning flower nails. Don’t worry, the instructions below are super easy to follow.
Yellow & Blue Flower Nail Tutorial
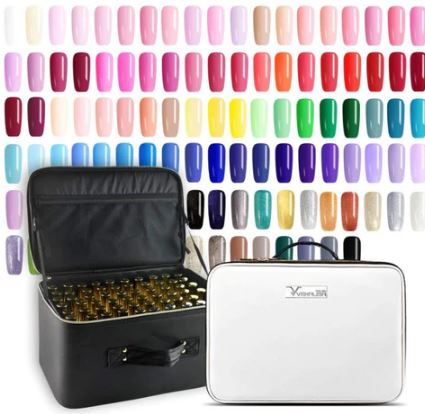
Supplies for this nail art tutorial
The gel polish from Venalisa is perfect for this but you can use any gel polish that you have on hand.
Step 1
With a 180 grit nail file, buff off the shine from the nail tip. Pay extra attention to the sides of the nail tip and make sure that all of the shine is completely removed.
It can cause lifting of the gel polish or nail polish if there are shiny parts left on the nail tip.
If you know how to use an efile for nails, you can also remove the shine with that too. Just make sure you have good air flow and use a nail dust collector to keep the particles from flying around.
Check out our article about how to use gel polish if you need some tips on how to use gels.
Step 2
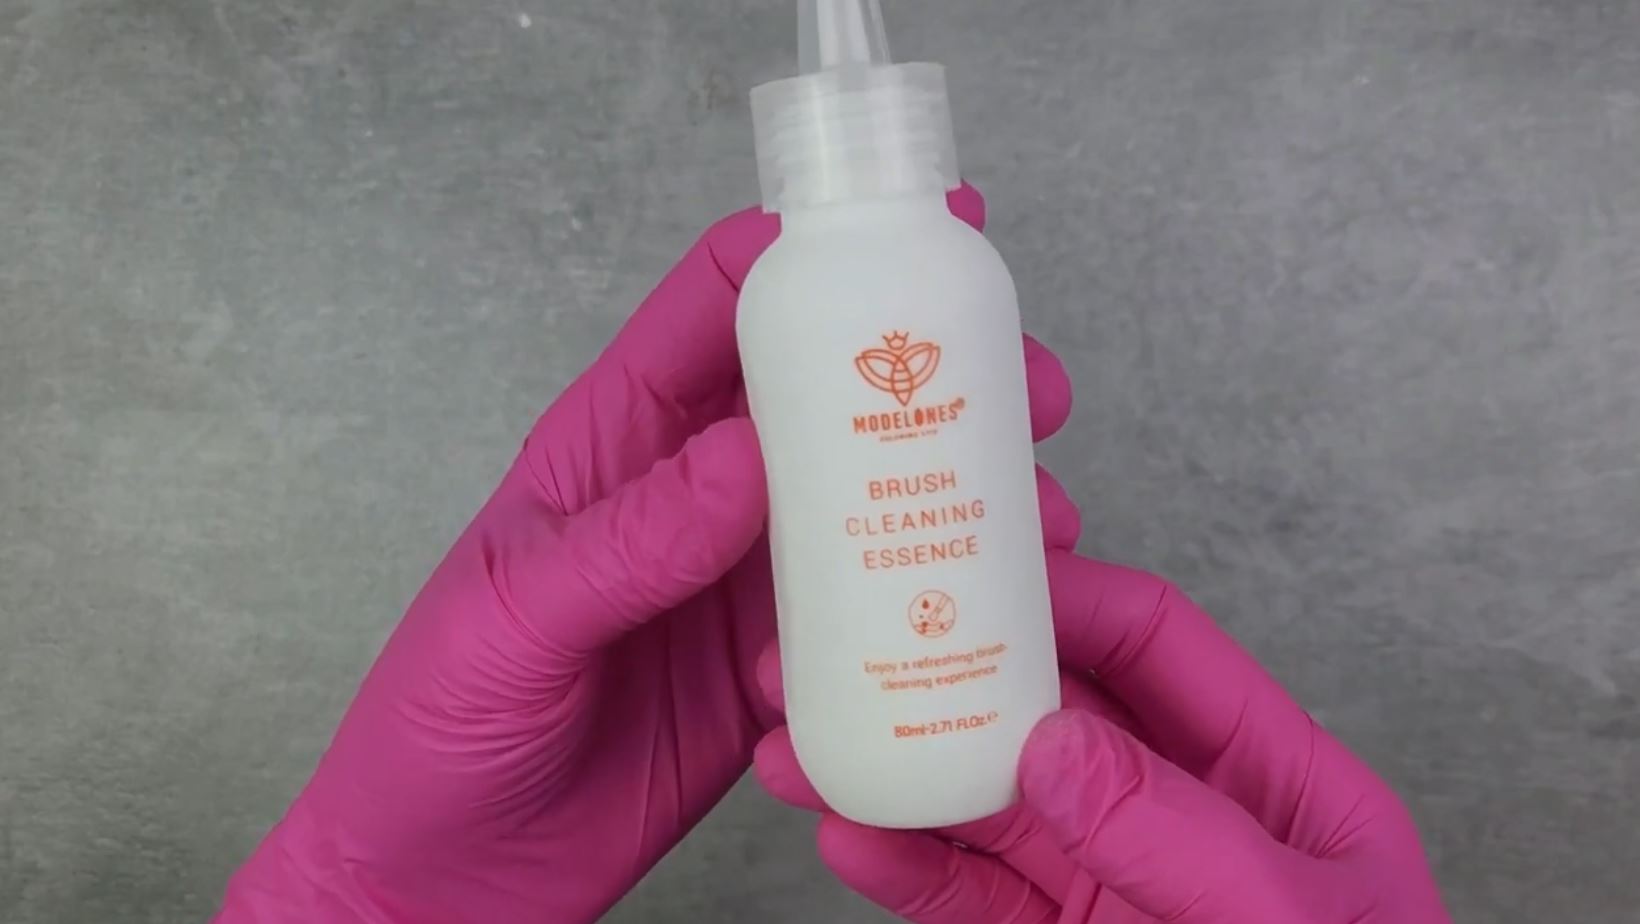
With a lint free wipe for nails, remove all of the dust from the nail tip. You can also use isopropyl alcohol for this step. Do not ever use water because the moisture will ruin your manicure and the gel will not paint on properly.
The nail tip must be completely cleaned. Even a little bit of nail dust can ruin your manicure because the gel polish will catch the little specs and magnify them.
Step 3
Now you can apply one coat of the base coat. Just make sure the whole nail is covered in an even and thin layer. Cure for 30 seconds.
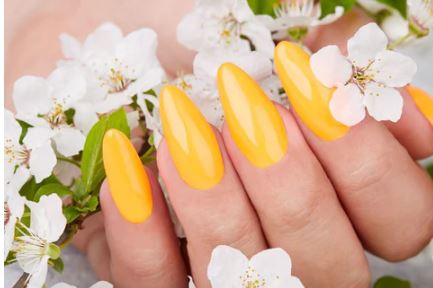
Step 4
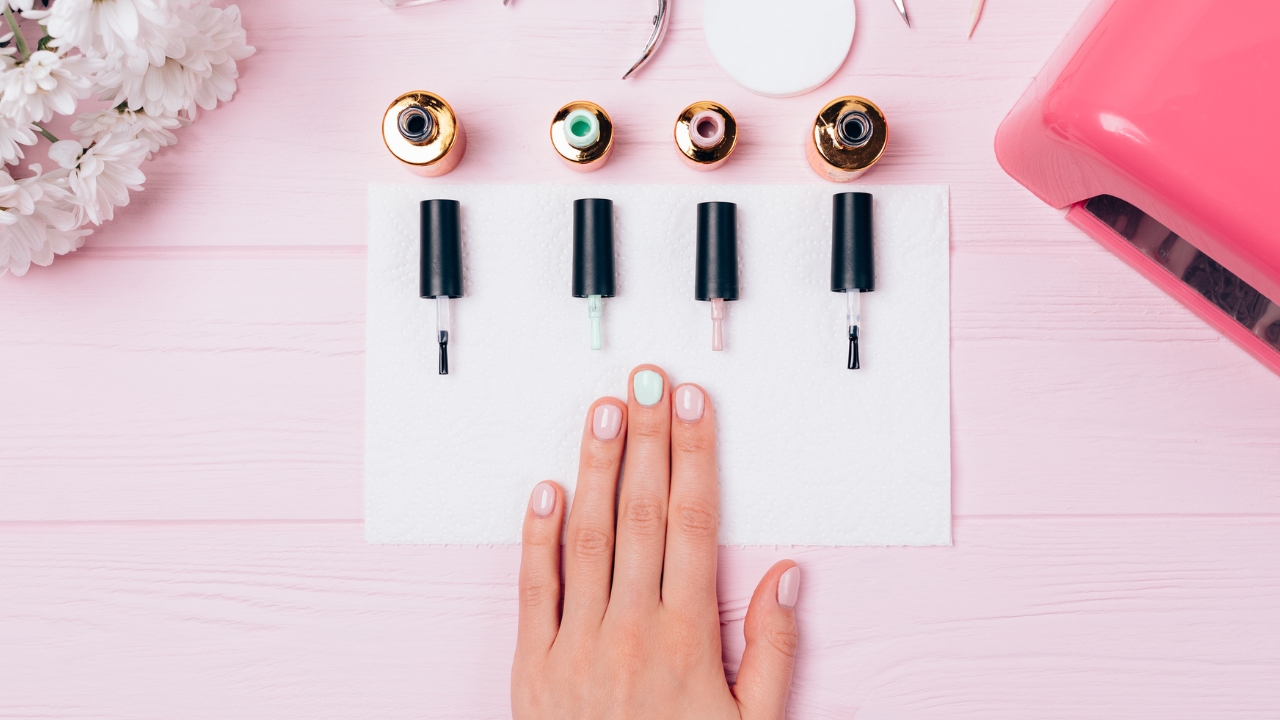
Apply two thin coats of the yellow gel polish, curing for 30 seconds in between coats.
Step 5
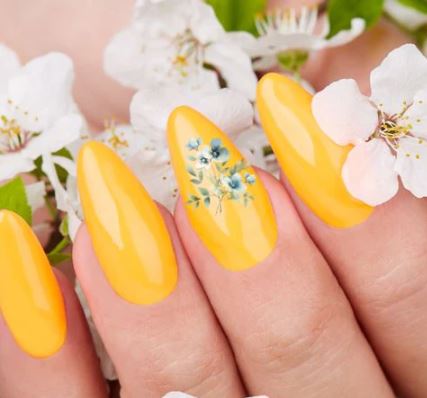
Apply the nail sticker.
Now you can apply the nail art sticker. Here is where you can make a minimal nail or go all out and apply the stickers to all of the nails, totally up to you.
Step 6
Apply a glossy no wipe gel top coat and do a final cure for 60 seconds.
We hope you found this flower nail art idea super easy to do and try it out on nail tips for a bright and colorful look.
Tips For Creating Nail Designs With Flowers:
1. Different Colors
Play around with different colors for your flowers or even switch this idea up by applying different colors of glitter.
2. Hand Painted elements
Change things up a bit by adding stems to the nail art flower design. Use glow in the dark green nail polish or black nail polish for a bolder look.
3. 3D Nail Decals
You can also use 3D nail stickers with some builder gel. There’s just so many ways to get creative with these flower nail designs.
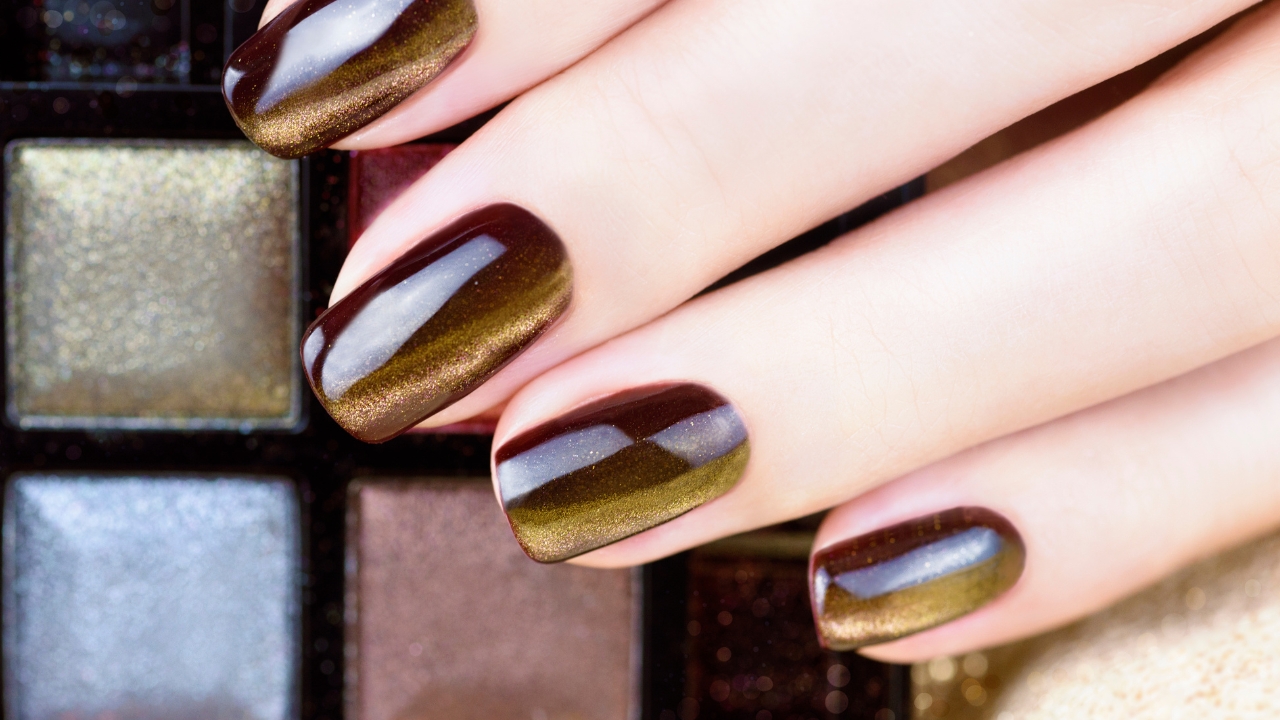
4. Fall Nail Vibes
Another way to change things up is to apply different colors of flowers onto each nail. And for a fall nail art look, stick to colors like brown polishes and burnt orange nail polish colors.
In Conclusion
Thanks for trying this nail art flower design nail tutorial!
If you would like to support our nail blog, feel free to share this tutorial on your social media or link back to this article from your own blogs and websites.
You can even share on your Facebook groups if allowed We would really appreciate that 🙂
More Nail Art Tutorials For Beginners