How To Use Cat Eye Gel Polish: 15 pro tips & Tutorial
Here is how to use cat eye gel polish. A perfect cat eye manicure does take a little practice with using the magnet, and once you get the hang of it, the results are absolutely stunning!
Are you looking for some tips and tricks for using magnetic cat eye gel nail polish? You can come to the right place because we have some helpful tips for you to help you with your manicure.
Using cat eye nail gel the right way will make your cat eye nails manicure look amazing. The gel polish, if applied correctly, will last for up to 4 weeks.
When perfecting a cat eye look, professional nail artists and at-home DIYers like to play around with different designs using magnetic nail polish and a magnet. This is what gives you a manicure that changes colors and vibrancy with the light.
What is cat eye polish?
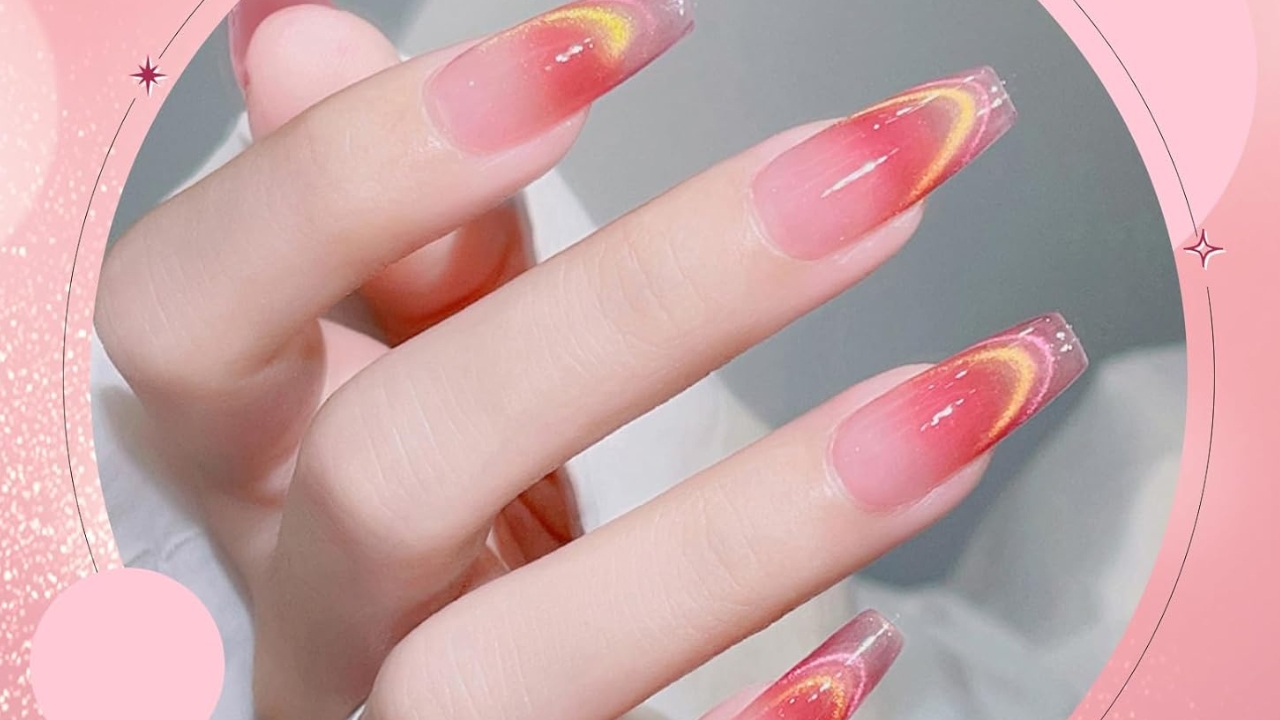
Cat eye nail polish is a trendy and innovative nail lacquer that creates a captivating and dynamic effect on the nails.
Infused with magnetic particles, this unique polish interacts with a magnet during the drying process, resulting in a mesmerizing cat eye-like streak or slit pattern on the nails.
The magnetic force pulls the particles into a distinct alignment, producing a reflective, three-dimensional design that mimics the alluring appearance of a cat’s eye.
This type of nail polish allows for creative and eye-catching nail art, offering a stylish and sophisticated option for those looking to enhance their manicures with a touch of magnetic allure.
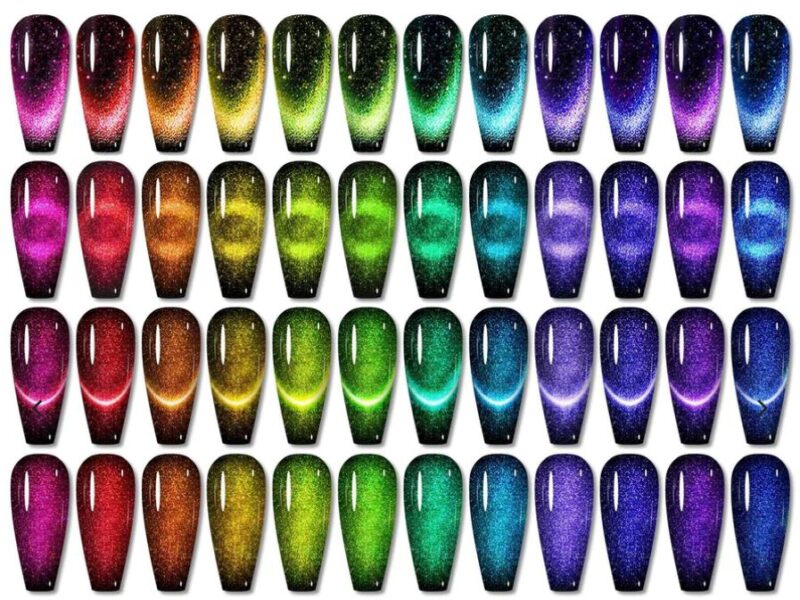
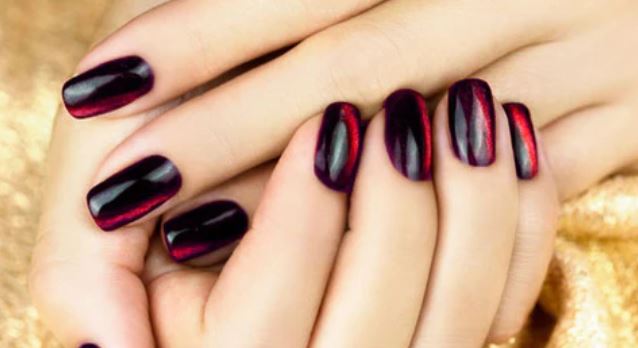
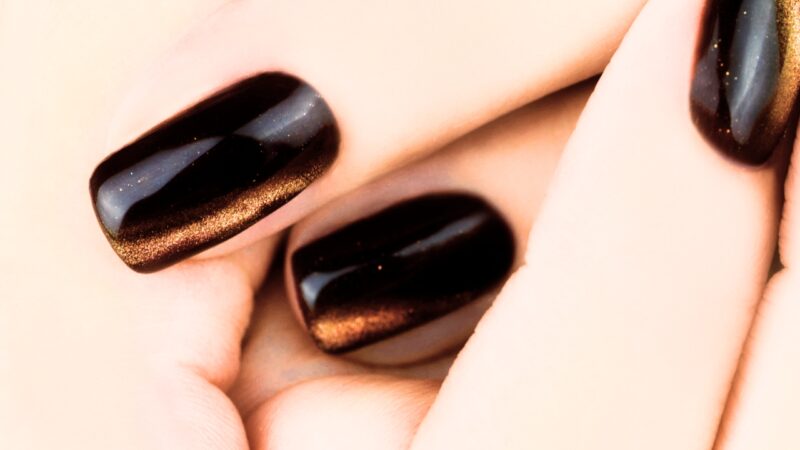
The most popular cat eye looks are galaxy nails, linear lines and chunky glitter effects. Here are some of the best tips and ideas for when you are ready to make your own cat eye nail designs.
How to use cat eye gel polish
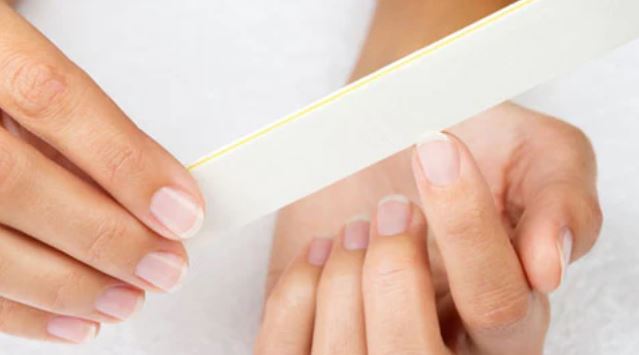
1. Prep The Nail Properly
This is the most important tip so that you have a manicure that will last as long as possible. So first clean your nails really well. Then clean up your cuticle area.
Buff the nail gently, removing any shiny spots. This will help the polish adhere to your nail and stay as long as possible without lifting.
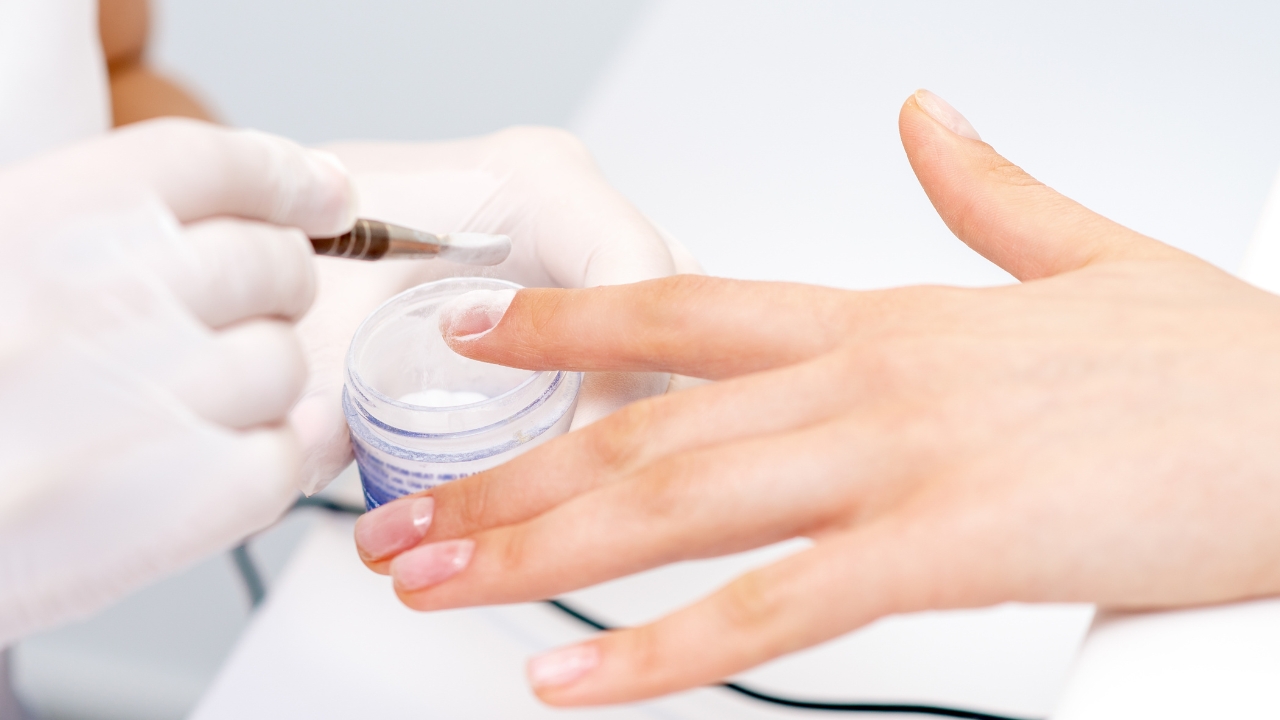
2. Use a nail dehydrator & primer
By removing hydration prior to painting your, you can help the polish adhere better and last longer than ever before. All it takes is a few seconds with a nail dehydrator.
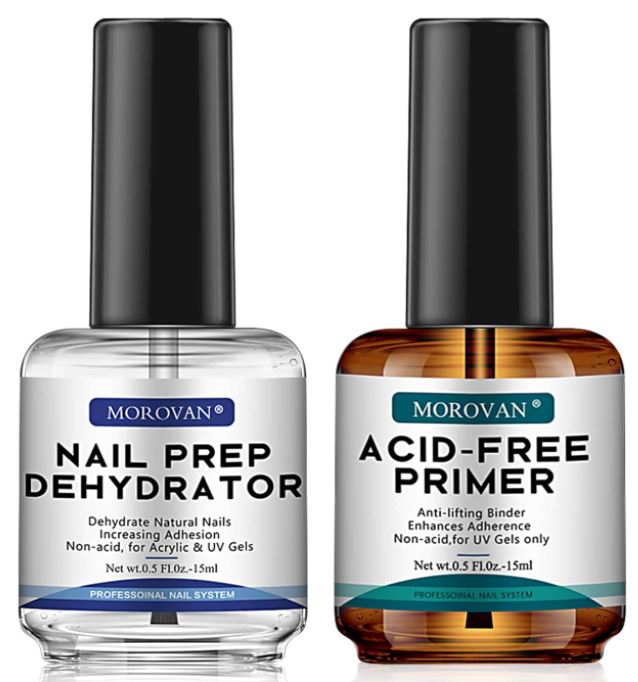
This nail prep product helps to remove any natural oils that are present on the nail, creating a clean and dry canvas for your artwork. Just be sure to not overuse this tool, as too much dehydration can cause nail brittleness and other issues.
The brand we use often here is the Morovan Dehydrator and primer.
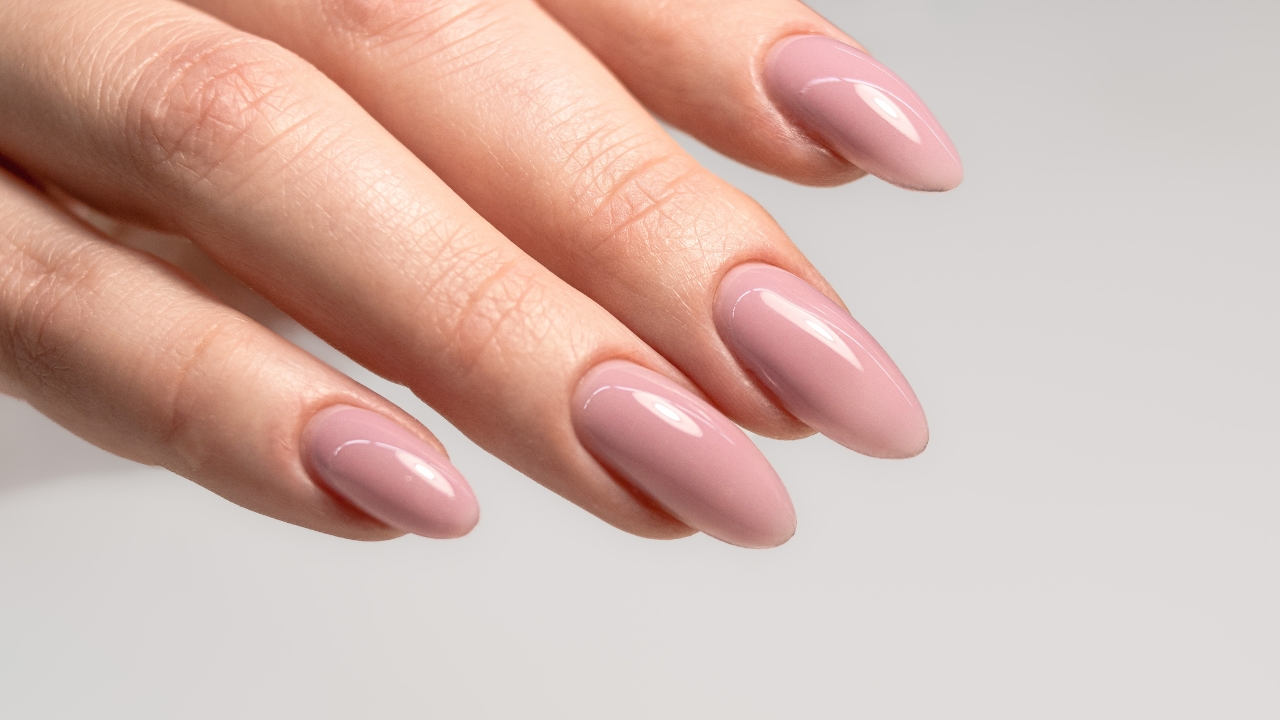
3. Apply A Base Coat To Your Natural Nail Or Form
Applying a base coat to your natural nails or nail tip that is compatible with the cat eye gel polish will help the cat eye nail product and gel polishes last.
UV gel base coats will also help protect your natural nail from staining. Always apply the base coat in a thin layer.
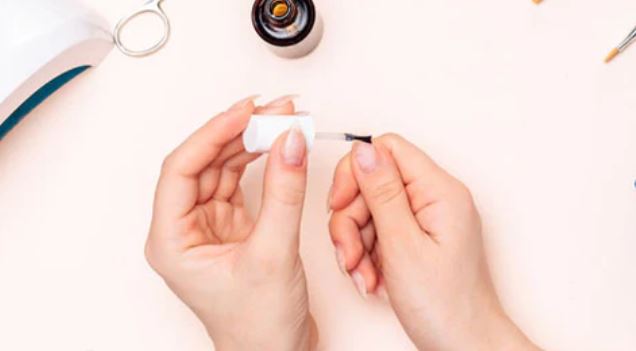
If your base coat is too thick, the manicure could pop right off after just a few days. So this is one of the more important steps if you want the cat eye gel polish to last.
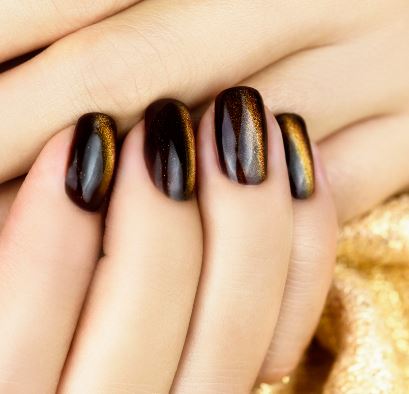
4. Choose Your Desired Base Color
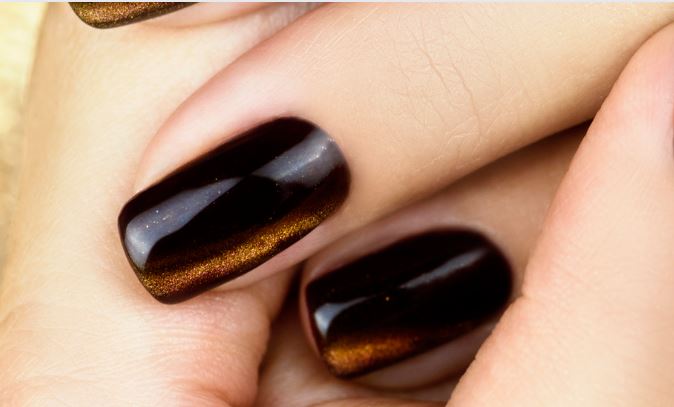
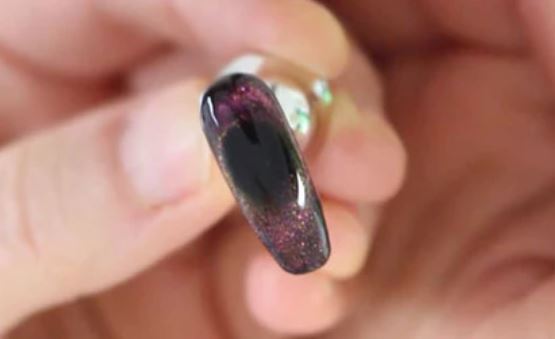
Using a black or dark polish first will really intensify the multichrome colors. A black first coat will also give that black hole effect that is so popular.
Of course you can go ahead and use a lighter starter color to create a more subtle multi-dimensional effect.
5. Apply A Top Coat
When you are finished with your cat eye nail designs, apply a no wipe top coat for protection. You can even try shimmer top coats or multi-chromes for a layered look. Top coats are one of those must have nail art tools and supplies to have in your nail art stash.
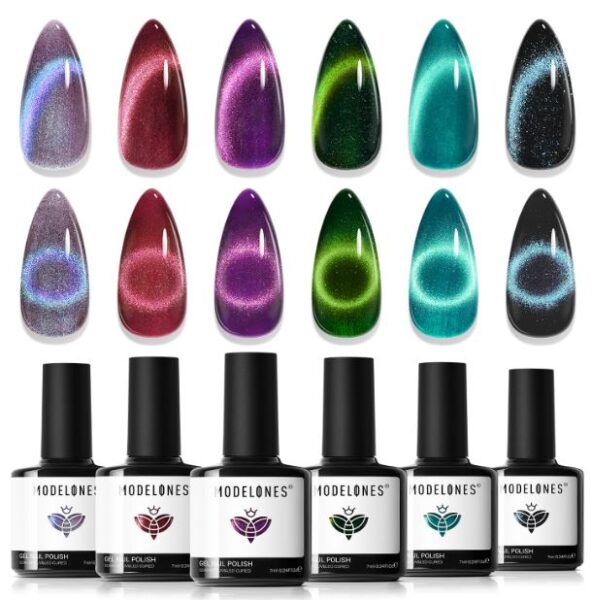
6. Use A Good Brand Of Cat Eye Polish
The better the cat eye nail formula, the more stunning and professional your results will be. Not all cat eye polish will give you the same results.
Investing in a well-formulated cat eye polish with a good balance of multi-chromes that are suspended in the base is what you are looking for.
This set by Modelones is one of Amazon’s top sellers and has a ton of colors that you can play with to get a stunning cat eye look. We also have a list of some other cat eye gel polish sets that we think you will love to use.
Just note that this is a gel set, so you will need a curing lamp. Check out our article about curing lamps here.
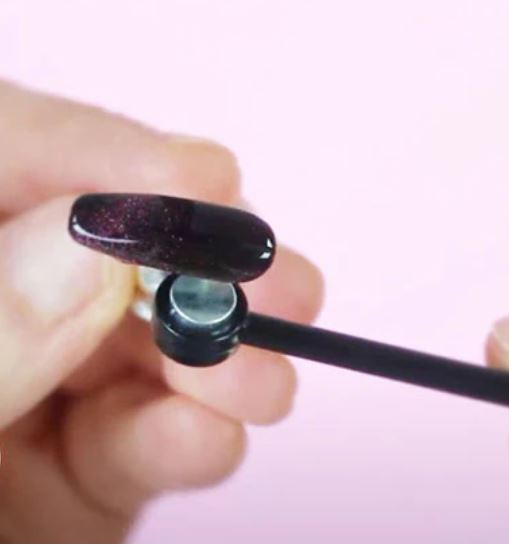
7. Prep The Cat Eye Polish Bottle
Inside the uv gel nail bottle are the little specks of color that are suspended in the polish. When a bottle has been sitting for a long time, those tiny fragments are going to be mostly at the bottom of the bottle.
Before you start your manicure, turn the bottle upside down for a few minutes. That way those gorgeous color changing particles & pigments will make their way down to the top.
8. Use The Right Magnet
Using a proper magnet that is specifically for cat eye nails is what you need to move those little specks around. These magnets are quite powerful so do keep them away from your cards and phones.
You can go with a regular magnet or try some different designs.
9. Try Two Magnets
Using two magnets and placing them on either side of the nail will push the magnetic shavings together to form a circle revealing a true cat’s eye. This is a really great way to make a galaxy nail design.
10. Try a 45 degree angle
Hold the magnet at about a 45 degree angle. This way the little specks will move around more easily.
Play with the magnet, use it upside down, try different designs. You can also try going from the side of the nail or from the middle. Using a small round magnet will give you a black hole effect in your cat eye nail.
11. Hold The Magnet In Place For At Least 15 Seconds
Keep the magnet in place for about 15-20 seconds. This will give your polish a chance to be attracted to the magnet and be more defined.
One of the reasons why the polish is not moving is because the magnet was not held there for long enough time for the specs to move.
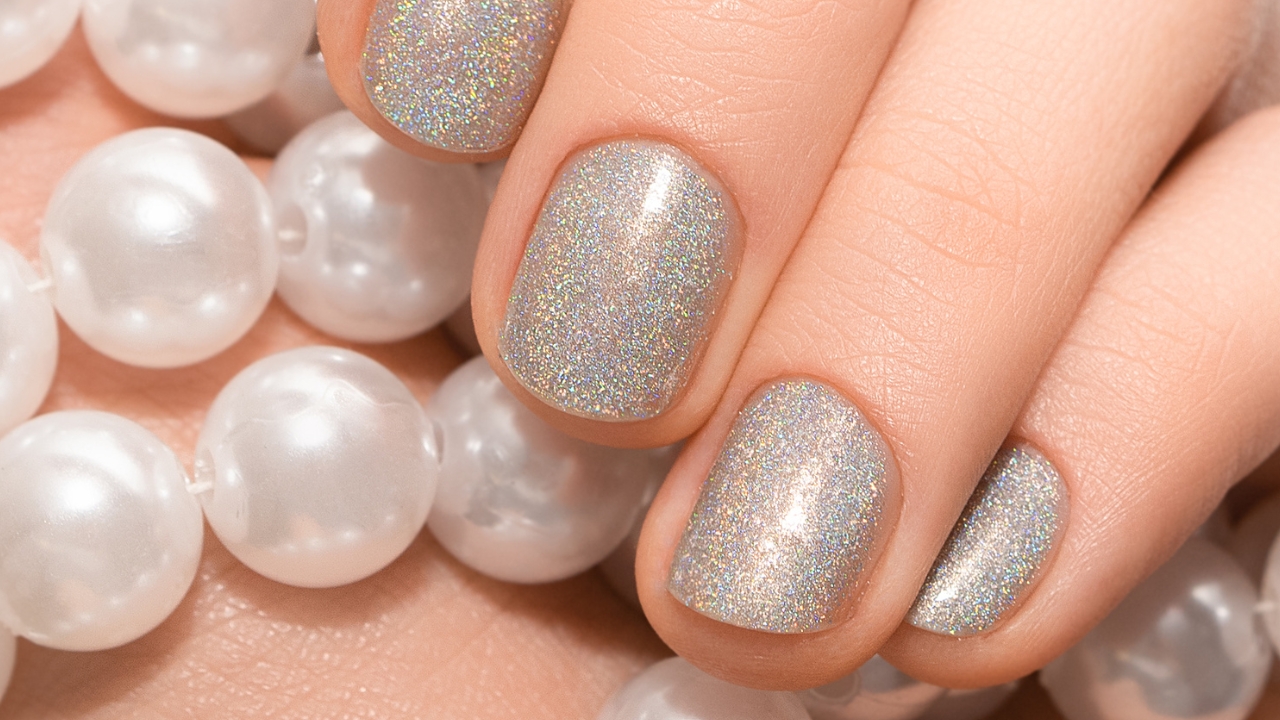
12. Layer The Holographic Colors
Layering colors will give you a deep multidimensional galaxy effect. Go over the design again with a double coat or even a triple coat.
With gel polish, you can keep playing until you get a perfect design because it doesn’t harden without curing under the light.
Do be aware that certain gels might start to run and muddy up your design. So when you get it perfect, get it under the lamp right away.
If you are working on a client, you might want to cure one nail at a time, especially if you are making line art or smaller details.
13. Check To See If The Gel Polish Has Expired
How To Know If Gel Polish Has Expired
One of the most important aspects of cat eye polish is knowing if your gel polish has expired. While cat eye gel polish can last for months, it will eventually start to lose its luster, break down and may become brittle and prone to chipping.
14. Practice With Different Techniques
Getting a perfectly balanced set of cat eye nails takes practice, especially for line work or the black hole effect.
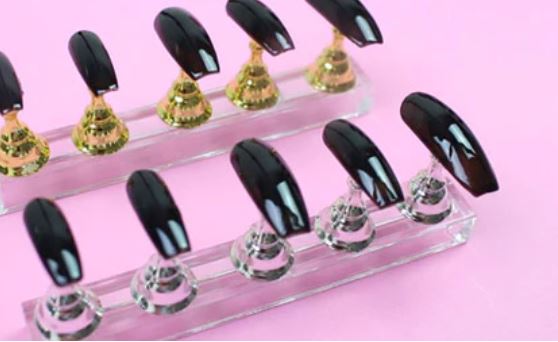
You can practice on yourself of course or you might want to try getting a set of gelly tips to practice on or a silicone practice hand.
15. Purchase Hand-painted Cat Eye Nails
Find Cat Eye Press On Nails On Etsy
Using ready to wear press on tips is a great choice, especially for those times when you need a manicure in a hurry.
Did you know that there are many press on nail shops on Etsy that have absolutely beautiful designs that are ready to go?
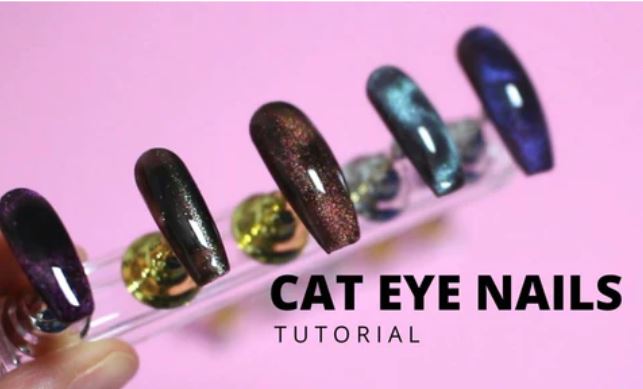
Cat Eye Nail Tutorial
This is an article about how to use cat eye nail polish.
The gel polish needs to cure under a UV or LED nail lamp. If you do not have a nail lamp yet, read our article about the best nail lamps for curing gel polish.
Step by step Instructions: How to do cat eye nails
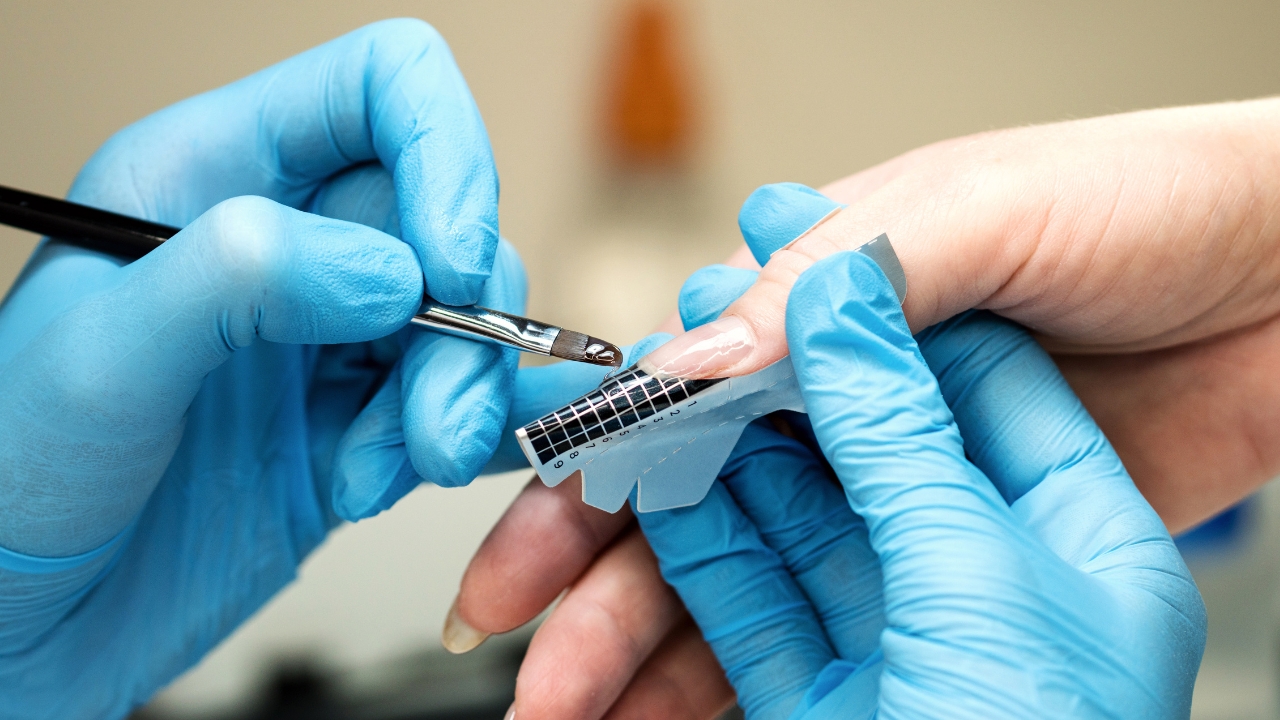
These instructions are for making cat eye nails using nail tips with magnetic gel polish. Follow the instructions on your magnetic gel polish sets for cure times. The cure times in these instructions are for the supplies we actually used for this manicure.
This nail art tutorial is being done on nail tips. If you are doing this on your natural nail, then scuff your nail gently with a nail file instead of the nail drill.
TIP: Flip the magnetic gel polish bottle upside down while you are preparing the nail. The little specs and glitter will start to flow to the top so they are not just sitting on the bottom of the bottle.
Then gently roll the bottle between your hands to disperse the glitter just before painting the nail.
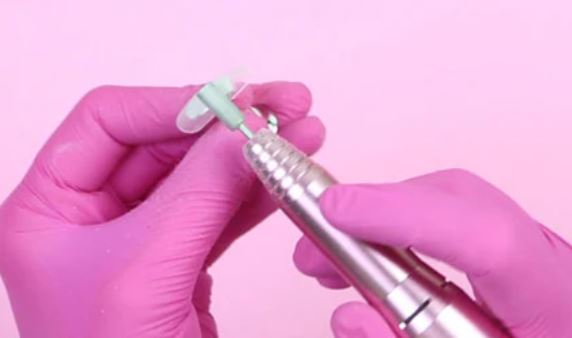
Step 1
Using your file, gently buff the nail tip to get rid of the shine. This is an important step or the base coat will chip off easily. If you do not have a nail drill, you can use a nail file. Tips can be a bit thin on the edges so just be sure you are doing this step carefully so that you do not damage the tip.
*If you are doing cat eye nails on your natural nail, use a nail file (not an e drill) to gently buff off the shine.
Step 2
Wipe off all of the dust with a brush and then go over the nail tips with an alcohol wipe. Make sure that there is no dust or debris on the nails so that the application of the gel polish will be smooth.
Step 3
Apply a base coat to all of the tips and cure. Cure times will be based on the base that you are using. Follow the cure instructions suggested by your brand.
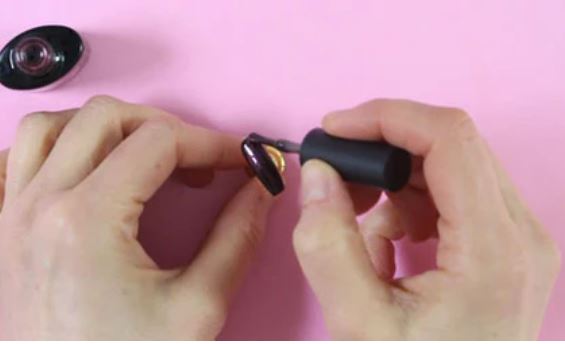
Step 4
Apply a black gel polish base and cure. With this particular brand, we used two thin coats of the black gel polish that was included. Black gel polish can be tricky to use, so it’s best to use thin coats and cure for about 1 minute each coat to be sure it’s fully cured.
Step 5
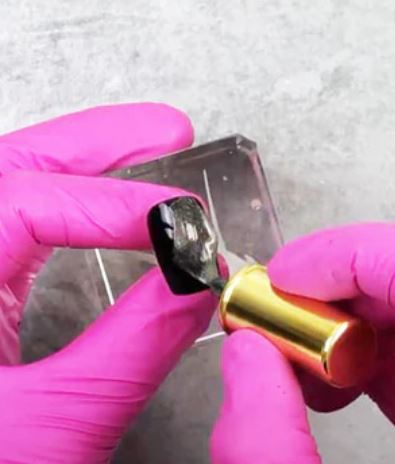
Take the magnetic gel polish and go over the nail generously but not too thick. Magnetic gel polish has a tendency to move around a bit after you get it into place with the magnet, so it’s best to do one nail at a time and get it under the cure lamp right away.
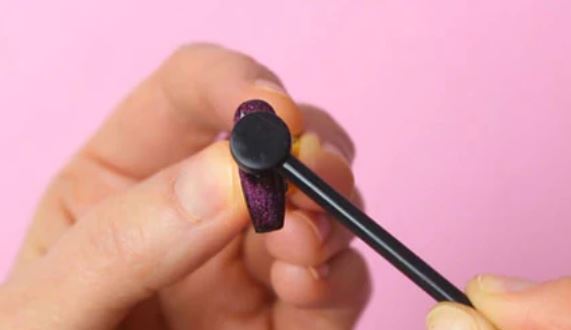
Step 6
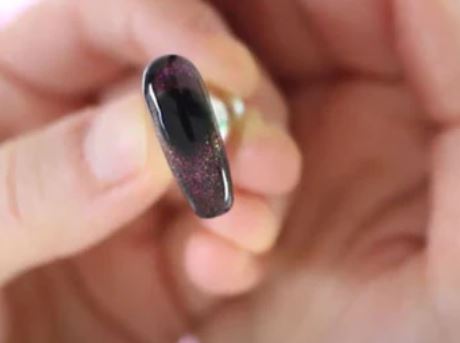
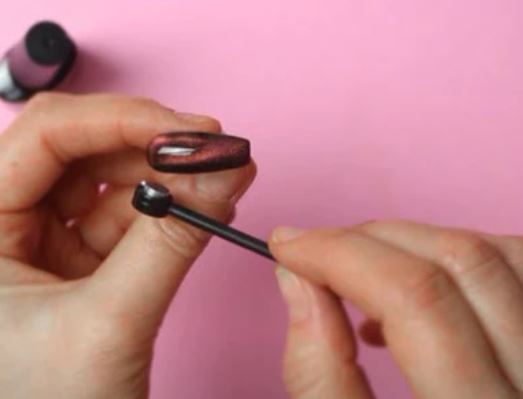
Take the magnet and hold it to the nail tip to move the magnetic polish around. You will see the magnetic polish start to move.
Keep using the magnet to move the polish to get your desired look. Hold the small side of the magnet on the top of the nail for at least 15 seconds to get a black hole cat eye effect.
Cure each nail separately as the magnetic polish will move around if it is left to sit.
This part takes practice to get to know the magnet and how it disperses the glitter particles. The good thing is that you can give yourself as much time as you need because it’s gel polish and it won’t dry until it’s under the cure light.
Step 7
Once the desired effect is achieved, get the nail tip under the cure light following your brand’s cure instructions.
Step 8
Apply a final no wipe top coat for protection. Some magnetic nail polish sets do not require a top coat but it’s still good practice for extra coverage and will help the manicure last longer.
Cat eye nail supplies
Purchase these cat eye nail art supplies through our Amazon affiliate links. And read up on our article about the gel polish removers to use when you need to get the gel off.
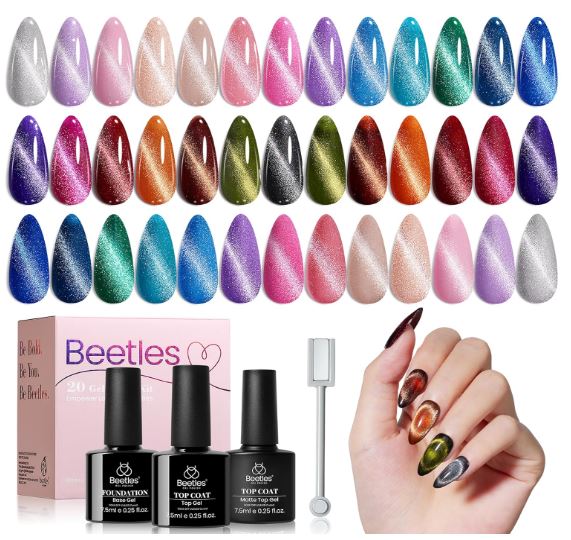
Beetles Gel Cat Eye Nail Polish
Nail Lamp
The tutorial for this cat eye nail art design is now complete! If you want to see more of our manicure tutorials or general nail art tips and tricks, feel free to check out the rest of our blog.
Did you find this helpful? We hope so!
Thank you for joining us. We hope you found this blog post both informative and inspiring for your next nail adventure.
If you have any questions or want to share your own cat eye nail creations, feel free to leave a comment. Here’s to fabulous nails that catch everyone’s eye!
💖Thanks for reading and being here with us today. If you would like to support our nail blog, we would love it if you could share this article on your social media or link back to this article from your own blogs, websites and Facebook groups.
We would really appreciate that so very much 🙂
Next, check out these other popular nail articles: Best cure lamps for using gel polish & Best clear nail dipping powders.