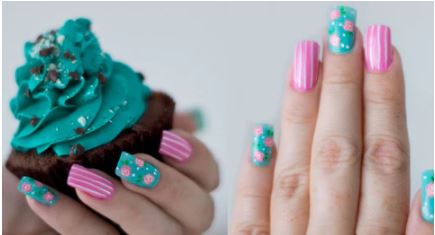
Cottage Chic Nail Art Tutorial
This is a step by step DIY nail art tutorial on how to do a cottage chic nail art tutorial. This nail art tutorial uses a few techniques that will take time to do this process.
This is how to make this floral design with some easy steps from start to finish.
Are you a beginner nail artist and looking for an easy flower nail art design to try? This is going to be a great design to start with. It might look complicated but you can do this in a few easy steps.
Did you know that it’s super easy to make your own flower nail art? All you need is a little creativity and some patience to get the design perfect. If you’re looking for an easy way to step up your game, try this DIY flower nails design!
All of the supplies we used for this simple flower nail art design is listed below the instructions. And you can swap your own supplies if you want to try to use what you already have on hand.
This flower nail art DIY tutorial uses floral waterslide stickers, you can also use dried flowers for your designs too. Just play and have fun, that’s the most important.
Cottage chic nail art tutorial
These instructions are for making flower nails using nail tips with gel polish and waterslide stickers. Follow the instructions on your gel polish sets for cure times. The cure times in these instructions are for the supplies we used.
DIY Flower Nail Tutorial Supplies
Purchase these nail art supplies through our Amazon Affiliate Links 🙂
DIY Flower Nail Tutorial Instructions
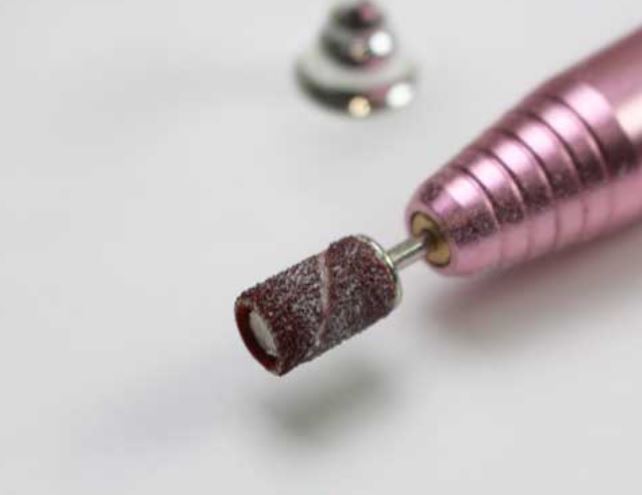
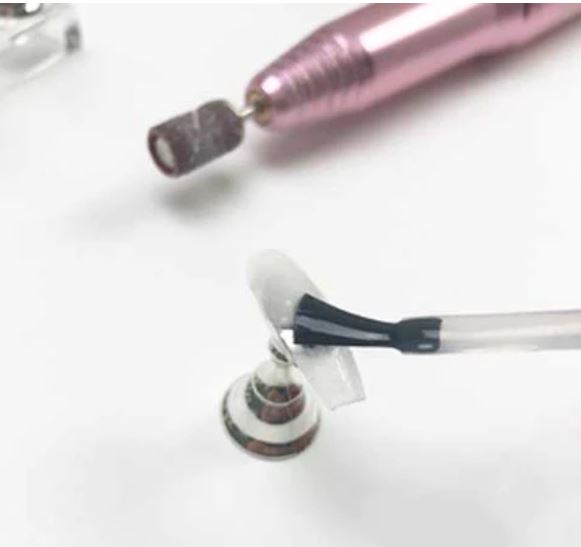
Step 1
Using your nail drill or nail file, buff off the shine from all 10 of your nail tips. Be careful not to remove too much, you just want the shine to be removed so that the gel base coat will stick properly.
Take your time and remove the shine carefully, being sure not to damage the nail tip or dig into the tip. The sides of the nail tip can be very thin so do be careful with the sides or you can ruin the shape of the tip.
Step 2
Clean off the nail tips with a brush or lint free wipe making sure there is no powder or residue left on the nail tips. If you have lots of residue on the nail tip, or if it looks powdery you can use 70% alcohol and gently clean the nail tip.
step 3
Apply a gel base coat to the nail tips. The base coat will help the gel polish to stick to the nail tip properly. Apply a very thin layer and then cure under your nail lamp for 30 seconds.
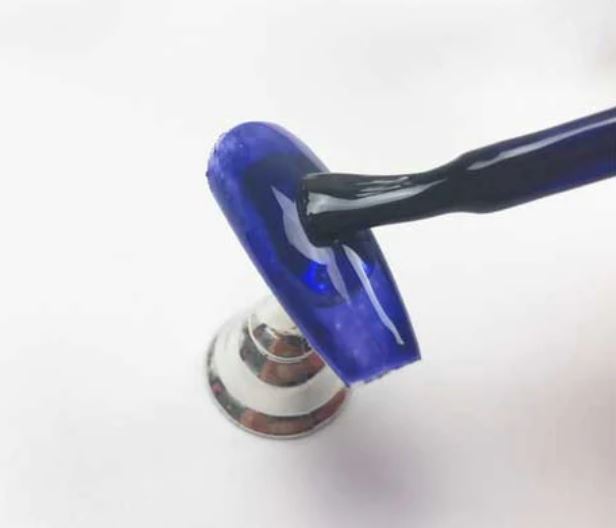
step 4
Paint each nail tip with a dark purple color. Depending on the brand of gel polish you use, you might need two coats. Usually one coat will be just fine. Cure for 60 seconds.
Darker gel colors like purple and black need a bit longer cure time or they might not cure properly.
step 5
Apply an opaque white gel polish onto each nail and then cure for about 30 seconds. This coat doesn’t need to be a perfect coat, any imperfections will add to the shabby chic look of the finished nails.
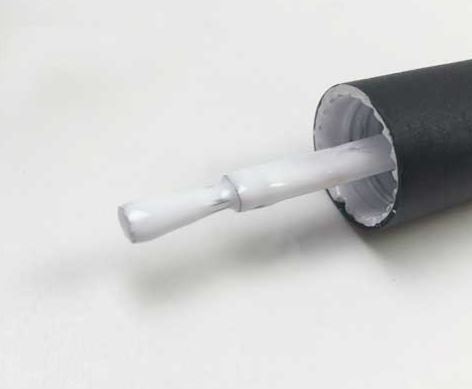
step 6
Now apply a thin layer matte top coat to all of the nails and cure for about 45 seconds. The reason is because you will need a non-sticky layer for the filing in the next step.
If you skip this step, any filings will stick to the nails and will ruin your design.
step 7
With your efile or nail drill, distress the nail. The purple will start to show resulting in a chic design. Try to distress where naturally occurring scratches would be. So this is mostly on the sides and front of the nails.

step 8
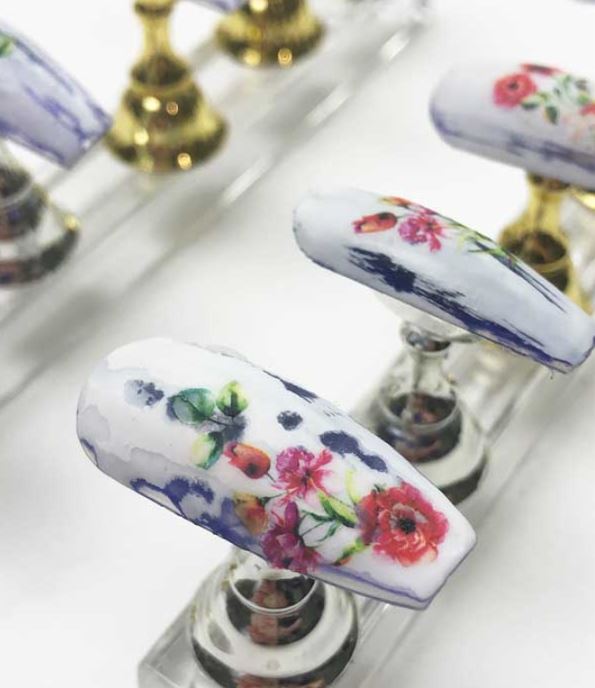
Apply roses and flower nail stickers to the nails. For this design you can use simple flower nail decals or even dried flowers for nails if you have those on hand. The whole nail set should look like a simple flower nail design.
step 9
Finish off with a matte top coat for protection and let the nails do a final cure for 1 minute.
The tutorial for this simple flower nail art design is now complete! If you want to see more of our manicure tutorials or general beauty tips and tricks, feel free to check out the rest of our website.
Remember that with a little practice anyone can do their own nails so enjoy DIYing your way through this easy flower nails art design. Hope you have fun trying this cute flower nails DIY manicure!
If you like rose nails, head on over to this easy rose nail art tutorial next.