How To Use Gel Polish: Pro Tips ✅
You are here because you want to know how to use gel polish so that your manicure lasts longer. These pro tips will help your gel polish last on natural nails and also nail tips.
A gel manicure can last anywhere from two to four weeks, and there are a few things you can do to make it last for the whole duration before going in for a fill or new set of nails.
In this blog post, we’ll share our tips for making a gel manicure last longer. And what you need to do to get your nails prepared for the gel.
Whether you’re looking to make your manicure last an extra week or two, or you just want to make sure it doesn’t chip right away, these tips will help.
So, keep reading for our best tips on how to make a gel manicure last as long as possible.
Gel manicures are popular because a gel polish will last longer than regular nail polish as it cures, not dries. There are endless techniques to try which makes it one of the must haves for many nail artists.
Let’s go through this together to help your manicure last for weeks!
How to use gel polish
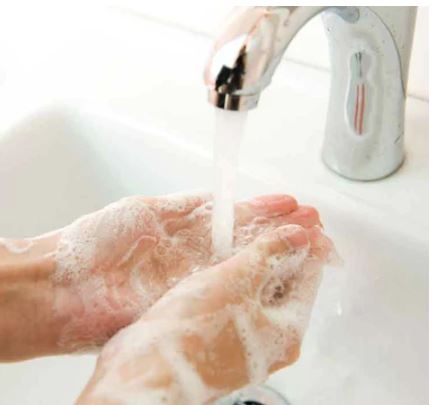
1. Start with a clean & dry slate
Be sure to wash your hands and nails thoroughly before starting your gel manicure. This will help remove any dirt or oil that could prevent the gel polish from adhering properly.
Hands must be completely dry and free any moisture before going ahead with a gel manicure. It is very important not to have any moisture on your nails or cuticles.
2. Remove all prior product from your nails
An often neglected step of manicures is the removal of existing polish. When using gel manicure products, this step is even more important.
Removing any prior manicure residue increases the adhesion of the new polishes and decreases the likelihood that they will chip or become damaged.

Doing this yourself makes the process that much easier, but you must make sure to properly remove all traces of old product in order for your DIY nails to result in a flawless finish.
If you are experienced, you can do that with a nail drill or efile. Or book an appointment with your nail tech to get your nails back to the natural state.
3. Prep your nails properly
The cuticle area should be gently pushed back and any dead skin removed from the nail plate. Lifting is often caused by not prepping the natural nail.
Gently buff off any shine from the nail with a nail buffing prep kit, paying attention to where the nails meet the cuticles and surrounding skin. The sides and cuticle area is where the lifting will start to occur.

When using a nail file on the natural nail to remove the shine, use a buffer that is between 60-100 grit.
4. Remove any dust from the filing process
This is one of the main reasons why there is lifting. The nail plate must be completely free of dust. That means making sure there is none on the nail and also trapped under the cuticle.
The best way to remove dust is with a nail art dust brush or wiping with alcohol and a lint free wipe for nails.
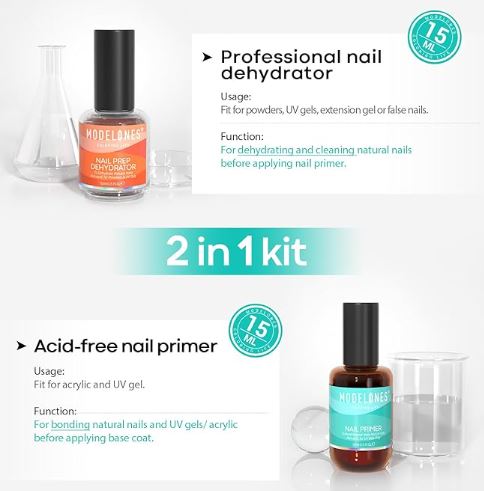
5. Apply a quality dehydrator
A dehydrator followed by a primer will help the gel manicure last longer. Using a nail dehydrator and primer will help with keeping your nail plate free of moisture.
Some people have naturally moist nail plates and might never be able to make their gel manicures last longer than a week no matter how the nail is prepped.
6. Avoid touching the nail after prepping
If you touch the nail plate you are going to transfer your natural oils resulting in a poor bond. Oils, dust and debris are something you will need to avoid.
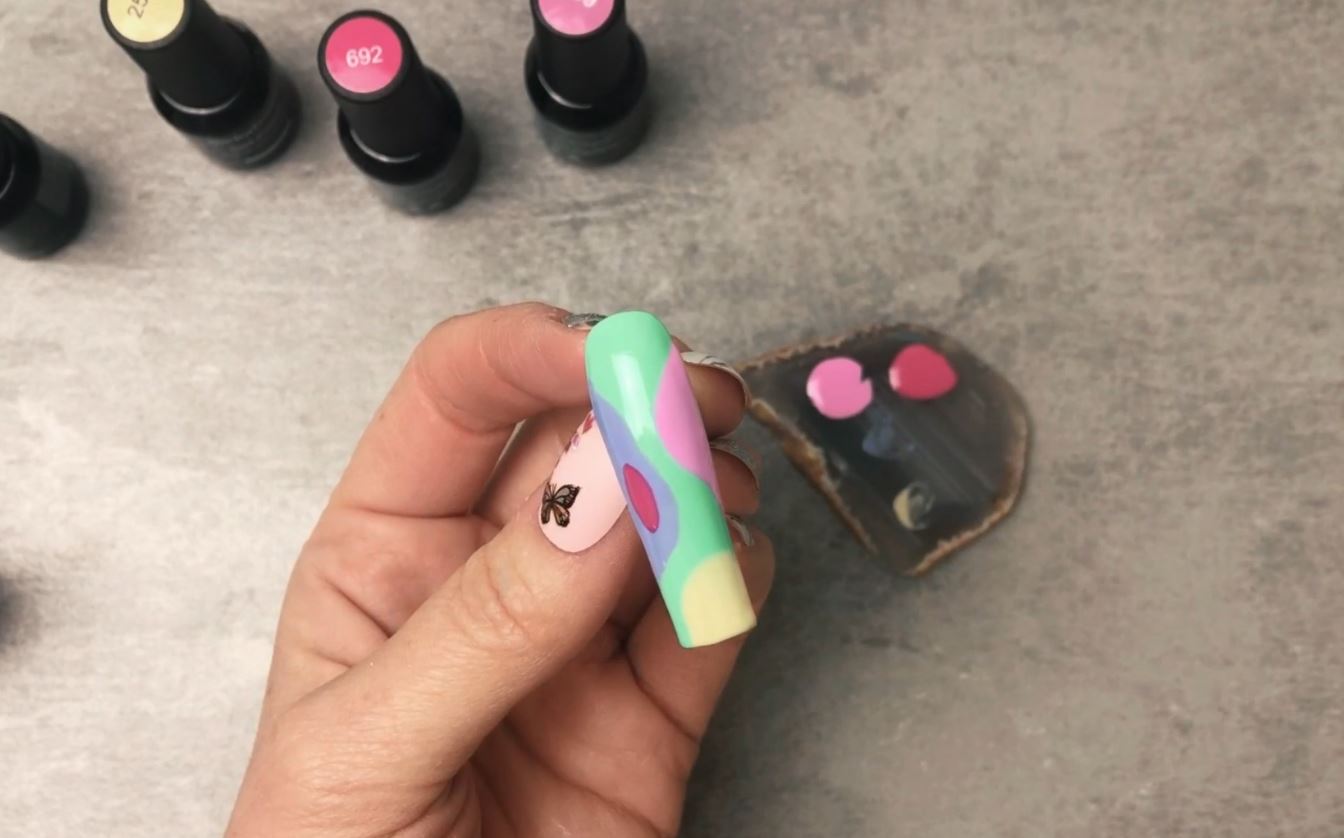
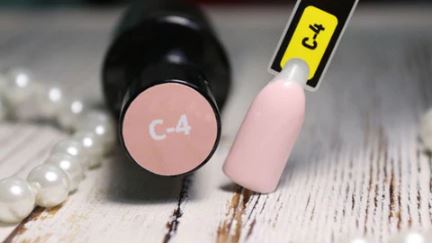
7. Choose a quality gel polish or builder gel
Not all gel polishes and builder gels are created equal. Many professional gel polish kits can only be purchased with a license.
Thankfully there are many budget friendly and good quality gel kits available for those who like to do their own manicures at home.
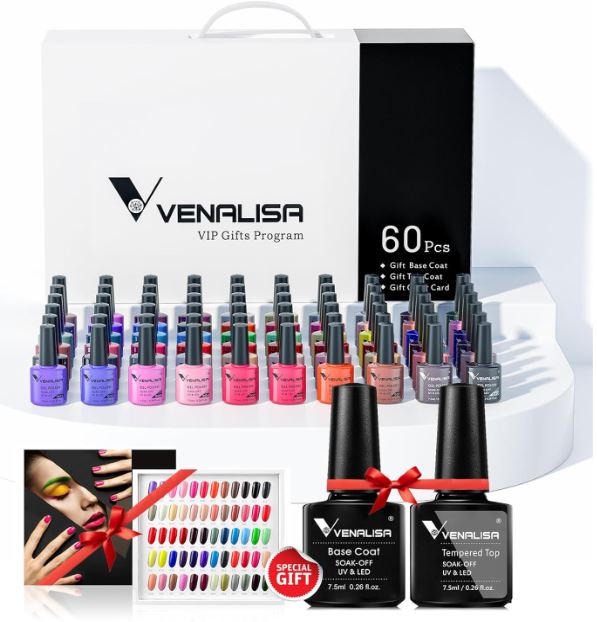
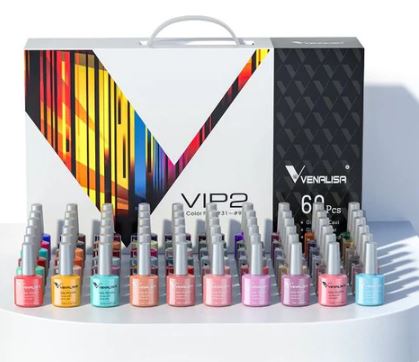
This gel polish kit from Venalisa is a professional kit for pros and beginners just getting started.
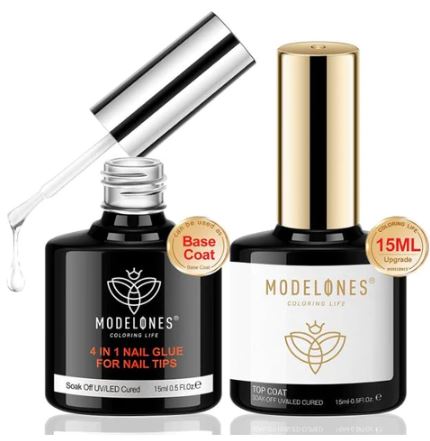
You can also use something called builder gel to make your nail stronger which is great for thin nails. We have a helpful article on the popular Modelones builder gel review.
Having thin nails can definitely cause lifting. Builder gel has a different formula that is thick and it gives a manicure that lasts up to 4 weeks.
Pro guide: How to use builder gel
8. Always apply a base coat
Applying a base coat before the gel polish color coat is applied is a must. The base coat will help it adhere better and last longer.
When you apply a base coat, only apply a thin layer so that the color coat will adhere. Too much base coat will result in lifting. And also keep with the same brand of base coat and gel polish. They are formulated to work together.
Pro Tip: When using gel polishes, stick to the same brand for the prep, base coats and gel polish. Some brands work together perfectly, but others do not. So if you are a beginner, just stay with the same brand.
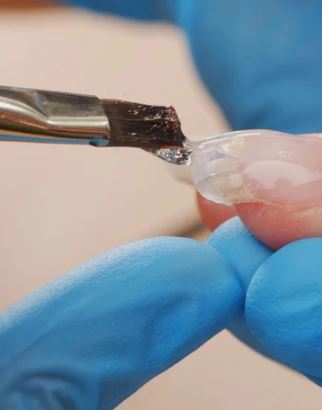
9. Be careful with the application process
When applying gel polish, be sure to avoid getting any onto or underneath the cuticle or skin around the nails. Also, check the free edge to make sure there is no pooling of the polish underneath.
If you do not wipe it off before curing, it will be more difficult to remove later and will cause lifting.

Also make sure that the polish is applied thin and evenly. Applying too much gel polish can cause an uneven curing.
If you notice that the gel polish starts to wrinkle or pull away from the sides of the nail while curing, you know that you have applied way too much.
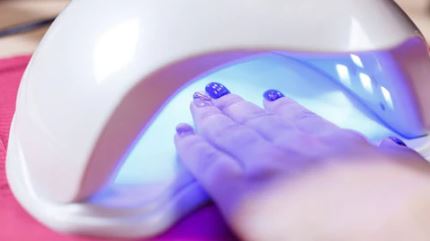
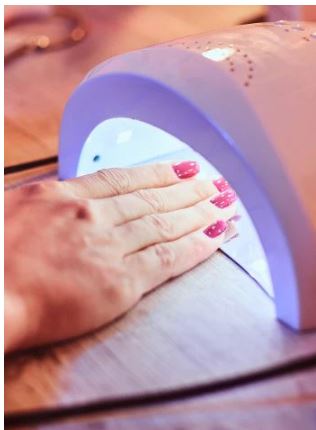
10. Cure gel nails for the correct amount of time
After applying gel polish, cure your nails under a UV or LED light according to the instructions on your gel polish.
Using a quality lamp will help with the curing time and process. Check our guide on why gel nails are not curing properly for more tips on this.
Curing the gel polish for the perfect amount of time helps set the polish and will make it last longer. Lifting can occur if the gel polish has not been cured for the proper amount of time.
11. change your lamp lights
If you are having problems with the gel polish not curing, it could be that your lamp light might need changing. Or your gel polish could be expired.
It is important to change the lamp on a UV light used for gel nails to so that it will cure the gel. Over time, the UV bulbs in these lamps tend to degrade, resulting in reduced output of the necessary UV light required for proper gel curing.
This can lead to longer curing times, uneven curing, or even incomplete curing of the gel, resulting in a weaker and less durable manicure.
Regularly replacing the lamp helps it so that the UV light emitted remains at its optimal intensity, ensuring consistent and efficient curing of the gel nails.
12. Apply a no wipe top coat
Just like with regular nail polish, a no wipe top coat will help extend the life of your gel manicure. Be sure to apply it after curing your gel polish.
Applying a no-wipe top coat to nails is essential for achieving a long-lasting manicure.
Unlike traditional top coats that require wiping with alcohol or cleanser to remove the tacky layer after curing, a no-wipe top coat eliminates this extra step.
This not only saves time but also makes it so that the nail surface remains completely smooth and free from any residue.
The no-wipe formula creates a durable and protective seal over the nail polish or gel, preventing chipping, peeling, and color fading.
Additionally, the high-gloss finish provided by a no-wipe top coat enhances the overall appearance of the manicure, giving it a salon-quality look that lasts for an extended period.
How to make your gel polish last longer
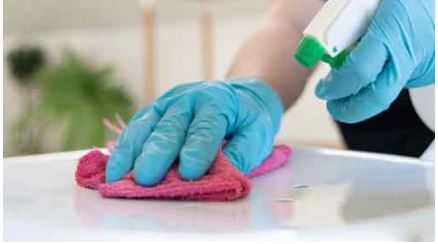
13. Wear gloves while cleaning
Water and chemicals can break down gel polish, so it’s important to avoid them as much as possible when you have a gel manicure. This means use gloves while washing up dishes or cleaning.
14. Be gentle with your nails
Typing on a keyboard or opening cans can really damage the gel on the nails, especially long manicures. This can cause gel polish to chip or peel off.
15. Don’t pick at your gel polish
It can be tempting to pick at gel polish when it starts to chip or peel, but this will only make the problem worse.
Once gel polish starts to come off, it’s best to remove it completely and start over from scratch.
16. Get regular touch-ups
Even if you take all of the necessary precautions, gel polish will eventually start to wear down. To keep your gel manicure looking its best, schedule regular touch-ups and fills every 2-3 weeks.
17. Store gel polish properly
When you’re not using gel polish, be sure to store it in a cool, dark place. Exposure to light and heat can cause gel polish to deteriorate over time.
Properly storing gel polish is important to maintain its quality, longevity, and optimal performance.
Gel polishes are sensitive to environmental factors such as heat, light, and air exposure, which can lead to premature thickening, drying, or color changes.
Storing gel polish in a cool, dark place, away from direct sunlight, helps to preserve its consistency and prevent color fading.
Additionally, tightly sealing the bottles after each use minimizes air exposure, preventing the gel from curing or becoming thickened.
By storing gel polish properly, you can extend its shelf life, ensuring that it remains in a usable and high-quality condition, allowing for flawless application and long-lasting manicures.
18. Check the expiration date on all of your gel polish
Just like with regular nail polish, gel polish has an expiration date. Be sure to check the expiration date on your gel polish before using it so that it will still work properly.
19. Use the right brushes
Use a clean nail brush and keep one specifically for a base coat, polish coats and top coats.
This will help so that you don’t accidentally use the same brush for a top coat and base coat, ruining the formula. This can cause lifting.
20. Clean your gel brushes regularly
Gel polish brushes need to be cleaned properly. If you have been using the same brush for every step of the application without cleaning after each step it can cause lifting.
You can use a gel brush cleaner to get the gel polish off properly. Read up on some ways to disinfect nail tools properly.
21. Mixing different brands can cause lifting
If you are using gel polish, try to use the same brand of base coat and top coat. The same brand of gel polishes are specifically formulated to go together as a collection.
This is not to say that you can never use different brands, you just might have to experiment to know what brands will go together without compromising the adhesion.
In Conclusion:
Now that you know all there is to know about DIY gel manicures, you can confidently test out the latest trends in manicure care.
We hope that this article provided helpful tips and guidance on achieving high-quality manicure results. Along with a few simple steps, such as proper removal and thorough cleaning of nails, you can get your manicure to last.

✅ Hopefully this gel polish overview was helpful!
💖 If you would like to support our nail blog, we would love it if you could share this article on your social media or link back to this article from your own blogs and websites. We would really appreciate that 🙂