How To Use Builder Gel: PRO Guide, Start Here ✅
This is your guide on how to use one of the most popular nail art enhancements: Builder gels. These some of our best tips, tricks and FAQs for using builder gel for nail art.
Today we are going to discuss what is builder gel and specifically the type to use for nail art and DIY manicures. With these tips, you’ll be able to use builder gel to create DIY nail ideas in no time.
One thing you might love about this type of nail gel is that it has very little to no aroma if you choose the right brand.
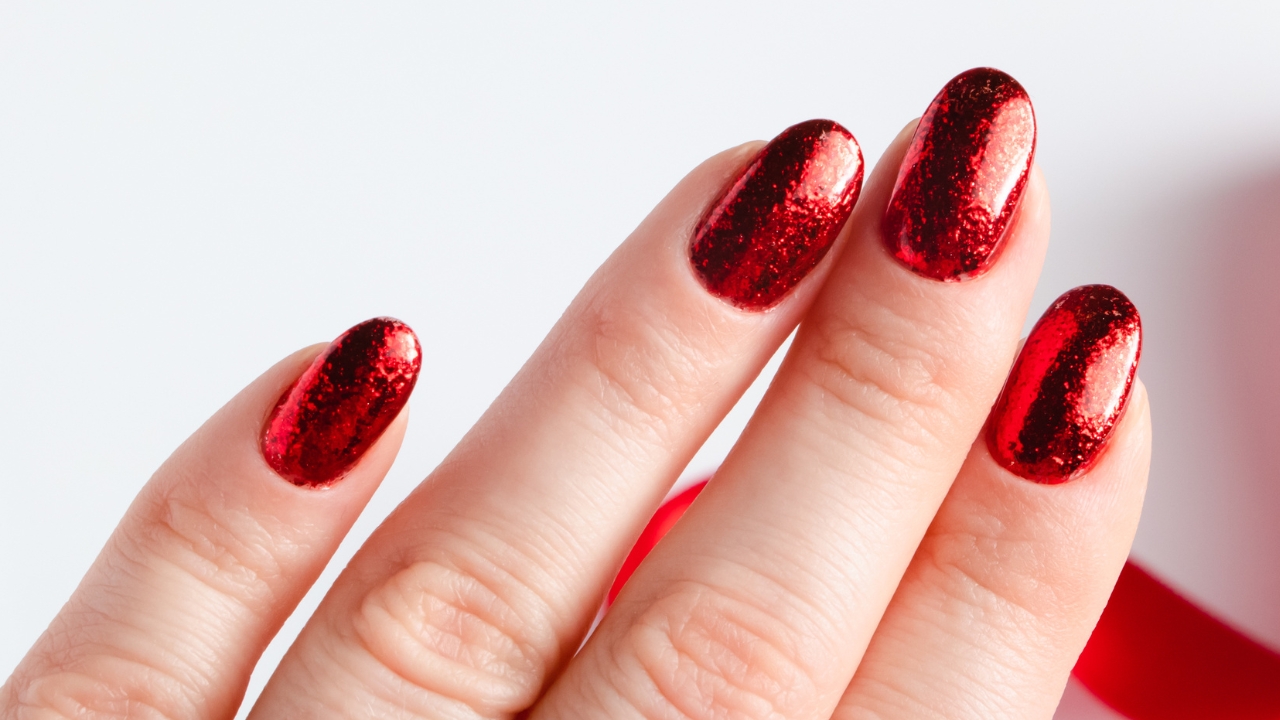
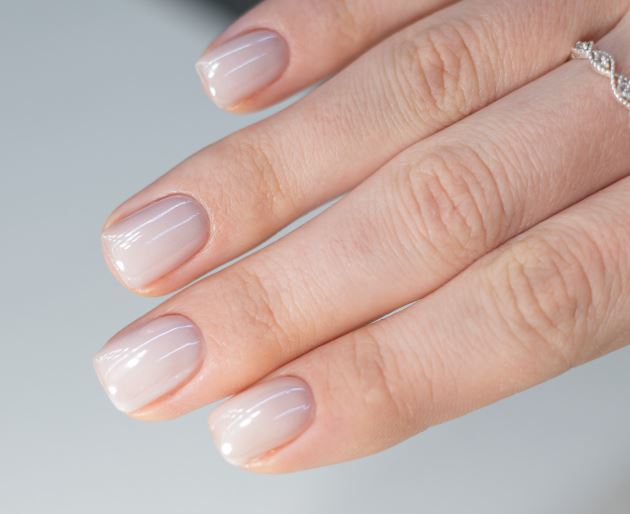
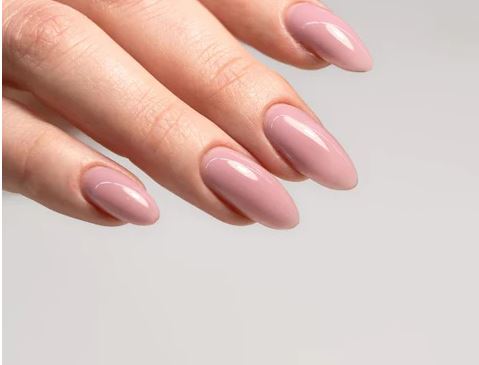
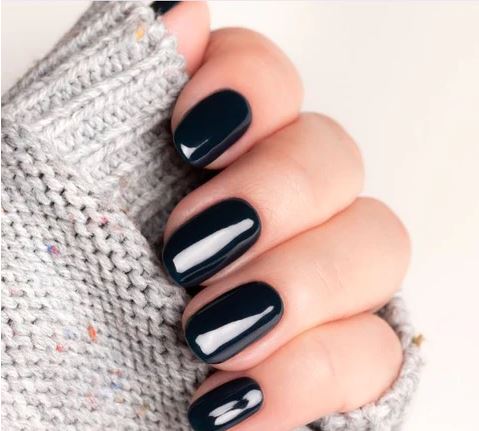
It will give you a manicure that can last 4-5 weeks, and with practice, it’s super easy to use for many techniques like layering, embedding flowers, building up the nail and more.
Builder gel will create strength, length and thickness on your natural nail or nail tip. And for those who have weak or thin nails, a thin coat might be exactly what you need to start growing your own nails longer.
How to use builder gel guide
1. Builder gel is permanent
If you are someone who likes to change your nails often or likes to try new shapes throughout the month then this might not be the best option.
With proper prep, this type of manicure can last 4 weeks or more.
2. Use a quality builder gel from a reputable company
Builder gel is not overly expensive so do choose a brand that has really good feedback and a good reputation.
Read our article Best Builder Gels to see the list of the top selling brands.
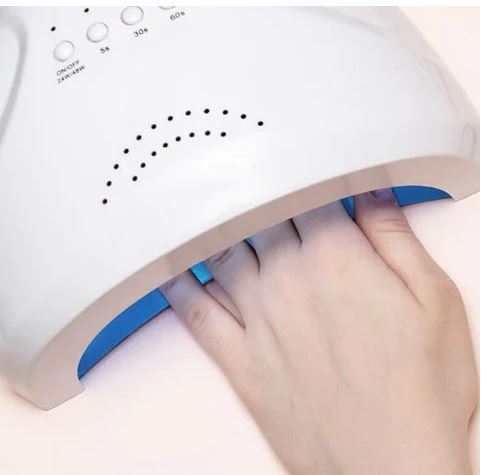
3. Builder gel requires a lamp for curing
This requires a cure lamp because it is a photosensitive substance that undergoes polymerization when exposed to UV or LED light.
The cure lamp initiates a chemical reaction in the gel, transforming it from a liquid or gel-like state to a solid, durable finish.
This curing process makes sure that the gel hardens and adheres properly to the nails, creating a strong and long-lasting enhancement.
An LED lamp will cure the it more quickly than a UV lamp.
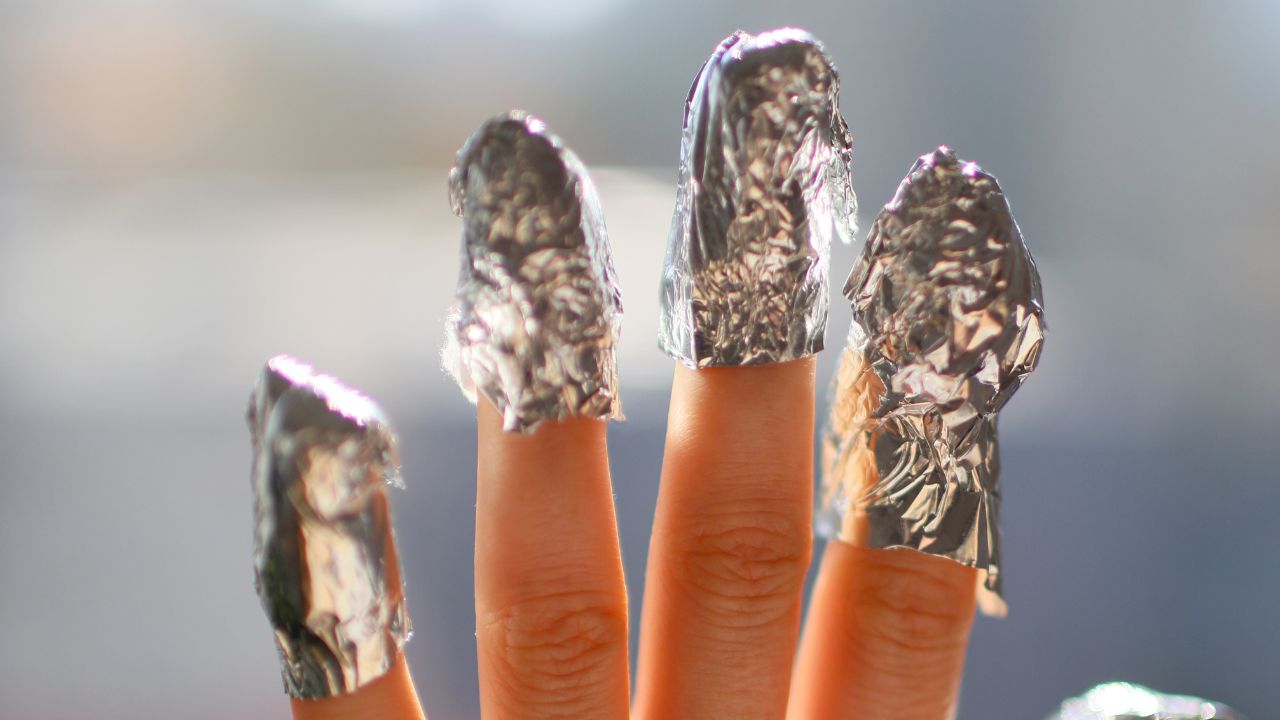
4. Start with clean nails and hands
Wash your hands about 20 minutes before using nail gels and make sure they are totally dry before going ahead with a your manicure.
Pay attention to the nail itself and make sure there is absolutely no moisture present.
Pro tip: It is very important that no moisture is on your hands and nail beds before using any type of gel polishes or it will peel off. Check our article about how to care for your cuticles.
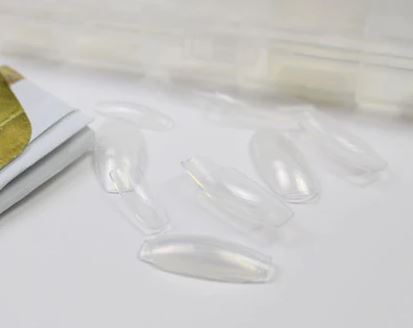
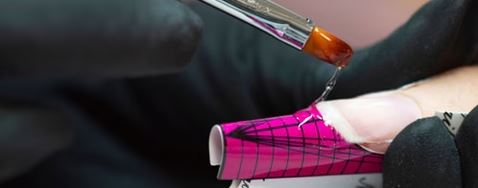
5. Pre-measure the nail tips or forms
If you are using gelly tips or forms, have everything ready to go. When using a nail tip, be sure that it fits your natural nail properly.
If you need to, you can adjust by filing the nails so that it gives you a nice and snug fit. Cut the nail tips to the desired length before using.
6. Use a dehydrator on your natural nail
Preparing your natural nail plate is the most important step. A quality dehydrator will get rid of the oils and dry up the cuticle area.
Using a dehydrator before applying builder gel is essential as it eliminates excess moisture and oils on the natural nail, creating an optimal surface for gel adhesion.
This prepping step ensures a strong and durable bond between the gel and the natural nail, preventing lifting or peeling and promoting the longevity of the nail enhancement.
7. Use an acid free primer or protein bond
Nail tips and the natural nail must be gently buffed and have bonder or primer applied. This will prevent lifting of the gel over time.
The best primer will be acid free to ensure a proper bond with the gel. Apply the primer in a thin layer. Look for an acid free protein bond primer like this one from YN on Amazon.
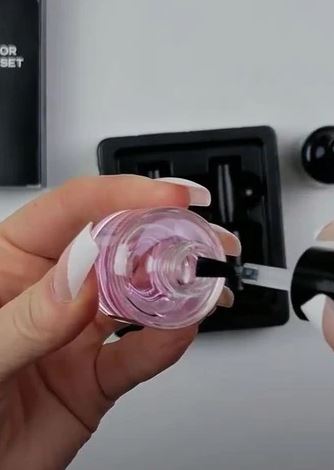
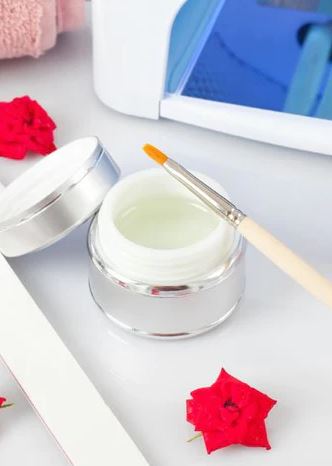
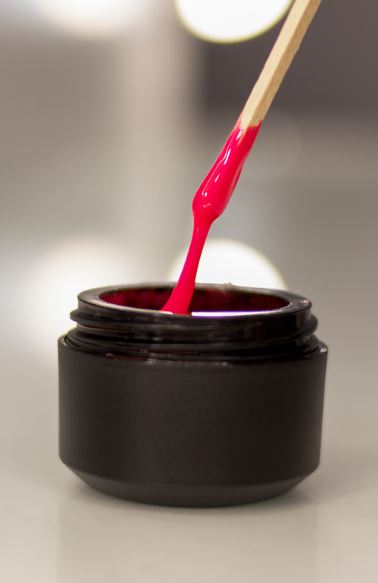
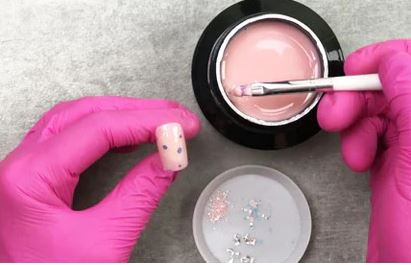
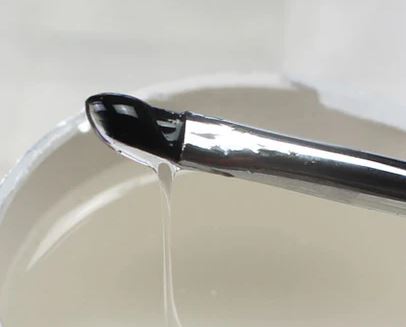
8. Never stir builder gel
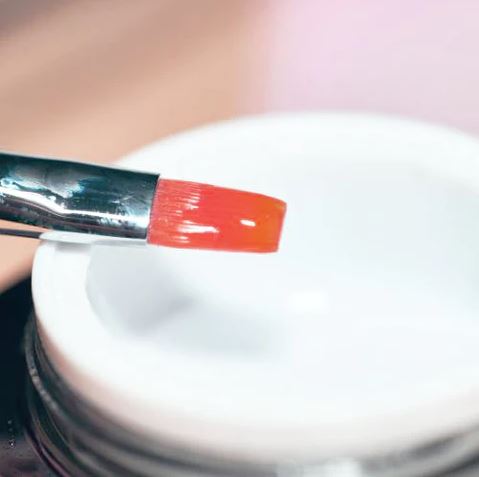
Take the builder gel out of the pot gently to prevent bubbles. The best way to take it out of the pot is to insert your brush into the gel and slowly bring it toward the lip of the pot and then up.
9. Avoid getting gel on the skin or cuticle
If you cure the gel that’s laying on top of skin, this is going to eventually lift. Lifting can cause your manicure to be ruined after just a few days. Lifting can also encourage bacteria to grow beneath the gel and nail plate.
10. Avoid getting builder gel on your hands
When using builder gel for your salon, press on nail business or for yourself, use gloves so that you are not getting it on your hands and everywhere else.
If you are doing a manicure on yourself you can use pink nitrile gloves and cut out the ends for your fingers.

Also use a UV glove for protection from the lamp. We will discuss that more down below.
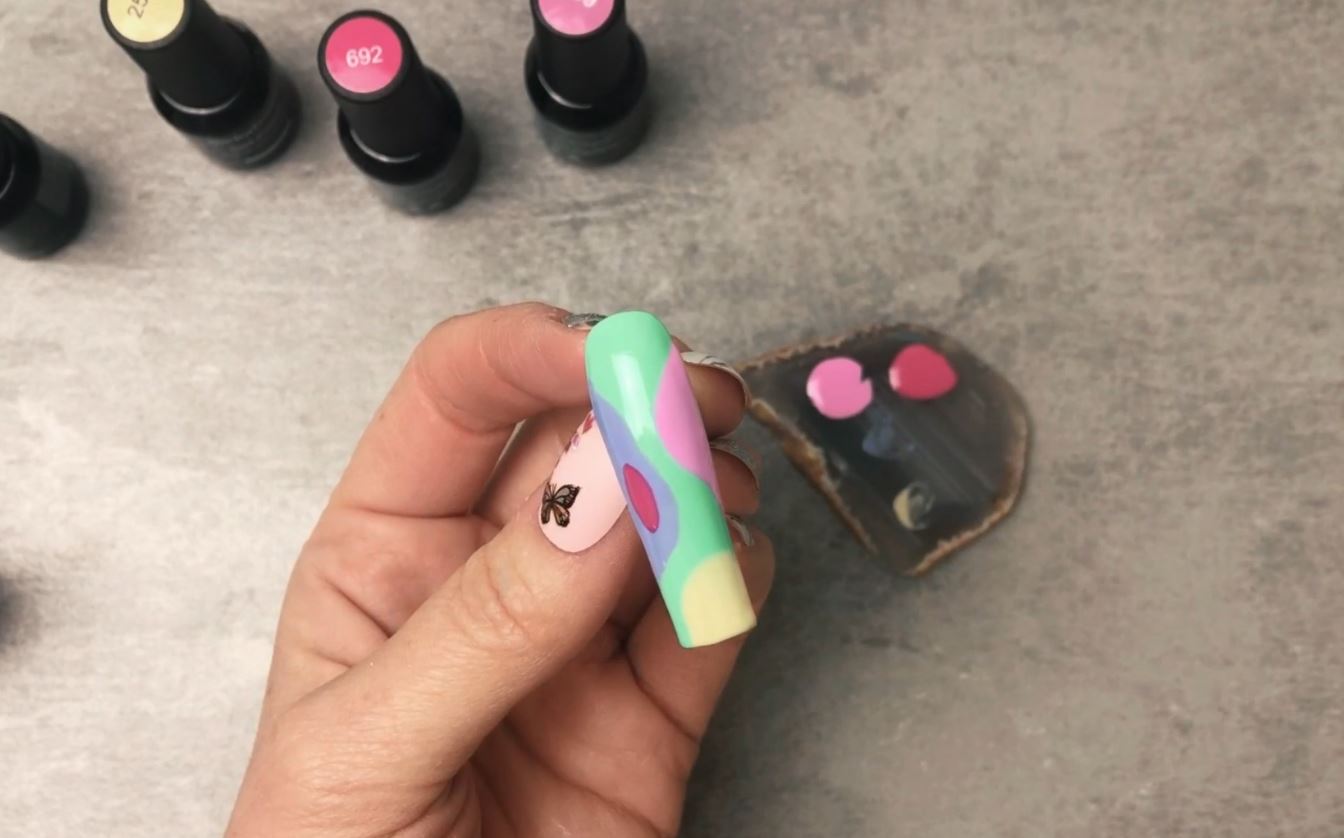
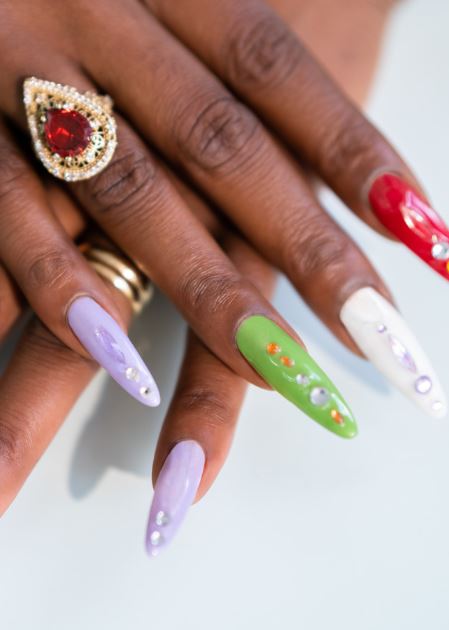
11. Glitter and embeds should lay as flat as possible
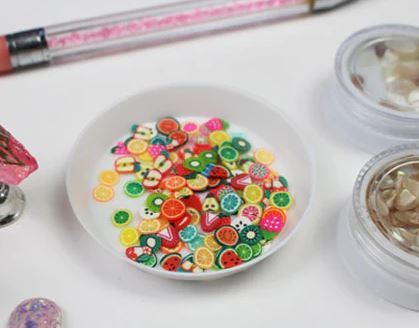
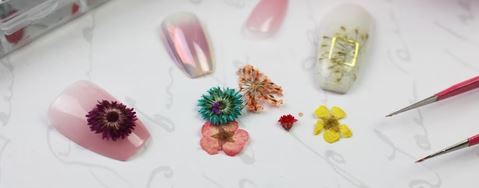
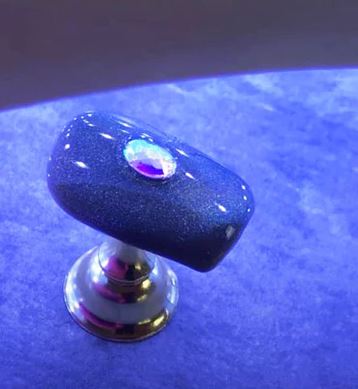
Builder gel is quite thick and if you are using embeds like loose glitter for nails or dried flowers for nails, make sure they are laying as flat as possible so that there are no air bubbles.
Using a good quality UV glue is the best way to apply glitter and polymer clay embeds onto the primer before adding the builder gel.
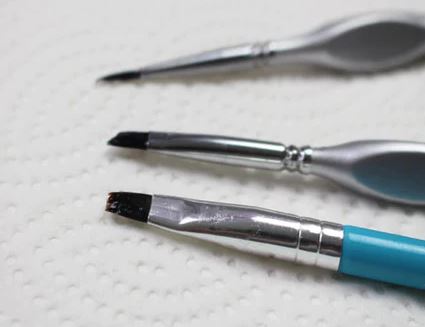
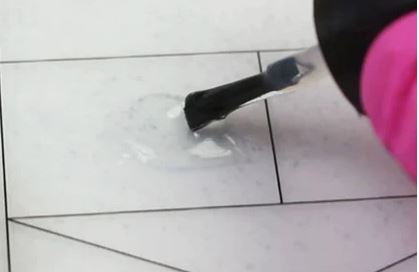
12. Use a small fineliner brush
Use a small fineliner brush to get the gel even around the cuticle and sides. The best brushes for this are tiny detail brushes. You can use those to move the builder gel to the cuticle without going over.
It’s self leveling so when you put it onto the nail, stay a little bit away from the cuticle area because it will eventually spread slowly. You never want to flood the cuticle with builder gel.
13. Remove any builder gel from the skin before curing
If you have builder gel pooling around the skin it will not cure properly and cause lifting within a day or two. Using a silicone tool or a cotton swab with isopropyl alcohol, you can remove the builder gel from your skin easily.
14. Check all areas of the nail or tip to make sure it’s fully covered
Move your hand around or the tip around to examine all areas, especially the sides. Let the builder gel level for about 10 seconds before curing.
15. Tip the nail upside down if it’s pooling
If you have found that you added too much gel, or the apex is not being formed, then turn your nail upside down for about 10-15 seconds and see if that helps.
16. Use alcohol or slip to remove the sticky layer
When builder gel cures, it will have a sticky layer on top. The best way to remove the sticky layer is with 70% Isopropyl alcohol. Use reusable cotton rounds or paper towel that won’t leave any fibers behind.
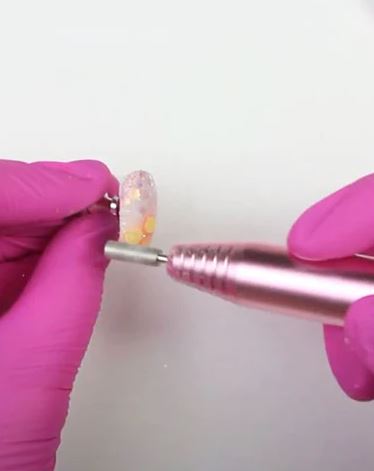
17. Shape the builder gel once cured
A 180 grit nail file or efile can be used to shape the builder gel once it is cured. Do be very careful not to file into the glitter and embeds. Builder gel files off pretty easily so just take off a bit at a time. Ensure that your nail dust collector is on.
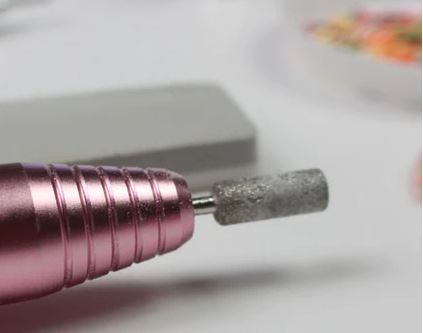
18. Use a nail dust collector when filing builder gel
Nail artists and nail techs knows that a good nail dust collector is essential for keeping your work area free of nail dust particles in the air that you breathe.
Builder gel removal typically involves filing and shaping the nails, a process that generates fine dust particles.
These particles can contain substances from the builder gel, such as polymers and pigments, which may pose respiratory and skin irritation risks if inhaled or come into contact with the skin.
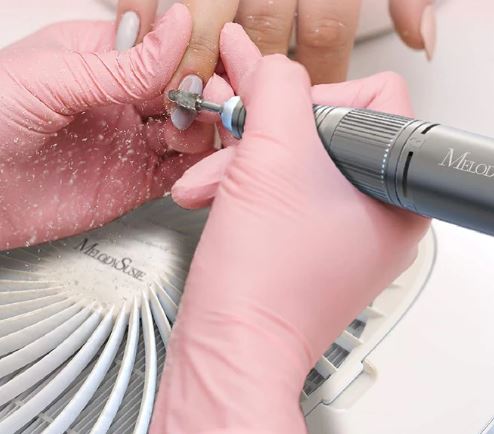
A nail dust collector helps to capture and filter out these airborne particles, preventing them from dispersing into the air.
This not only maintains a cleaner and more sanitary work environment but also safeguards the respiratory health of both the nail technician and the client.
Inhaling dust particles from builder gel or other nail products can be harmful, leading to respiratory issues or allergic reactions over time.
We also have a helpful article about the best selling nail dust collectors available this year.
19. Follow the manufacturers directions when using builder gel
When you purchase builder gel, the company will usually have their own directions and cure times. Remember not all builder gels are made with the same formulas.
If the brand also offers the dehydrator or primers, stay with the same brand as their formulas are meant to work together.
20. Apply a no wipe top coat
Sometimes we have found that if mixing different brands the no wipe top coat might separate before curing. Always test to make sure the supplies you are using will work together.
21. Give the builder gel a final cure of 60 seconds
Curing builder gel for a specific duration, often recommended at around 60 seconds, is a crucial step in the nail enhancement process for several reasons.
The curing time is designed to ensure that the gel undergoes complete polymerization, transforming from a malleable state to a durable and long-lasting finish.
The 60-second curing time is generally based on the formulation and photoinitiators within the builder gel, optimized for that timeframe to achieve the desired hardness without risking over-curing, which could result in brittleness.
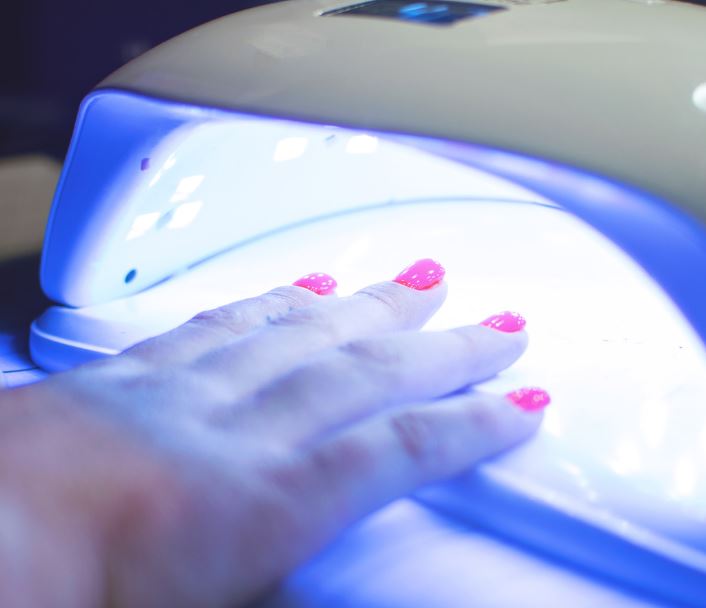
Adequate curing time also helps in preventing any potential issues such as tackiness or an incomplete cure, ensuring that the final result is strong, resilient, and adheres securely to the natural nail.
Following the recommended curing time contributes to the overall success and longevity of the builder gel application, providing clients with a beautiful and durable nail enhancement.
22. Clean brushes properly
by wiping them with a lint free cloth after each use. If your brushes need a deeper cleaning then the best way to do this is to put the alcohol in a dappen dish or shallow dish and dip the brush into it.
Then on a piece of paper towel or lint free wipe, move the brush around to remove all of the gel. Repeat if needed.
23. Keep the builder gel away from your curing lamps
It is crucial to keep builder gel for nails away from a lamp due to the specific curing process involved in gel nail enhancements.
Builder gel, a popular component in nail extension and strengthening procedures, requires exposure to UV or LED lamps for proper curing and hardening.
However, allowing the gel to come into contact with the lamp prematurely, before the desired application is complete, can lead to uneven curing, inconsistent texture, and totally ruin your builder gel.
Therefore, keeping the builder gel away from the lamp is essential for your builder gel lasting as long as possible.
24. Store builder gel in a cool dry place with not in use
Storing builder gel out of light is crucial because exposure to UV or LED light can trigger premature polymerization, leading to the gel hardening before application.
This can compromise its consistency and effectiveness in creating a smooth and durable nail enhancement.
Keeping the builder gel in a light-free environment helps maintain its integrity and ensures it remains in its desired state until it is deliberately cured during the nail application process.
25. Use the same brush for builder gel and nothing else
If you dip into a base coat, then top coat, that’s going to contaminate the builder gel formula. Mixing formulas can cause lifting. So do keep a dedicated brush that is only used for builder gel and label it if needed.
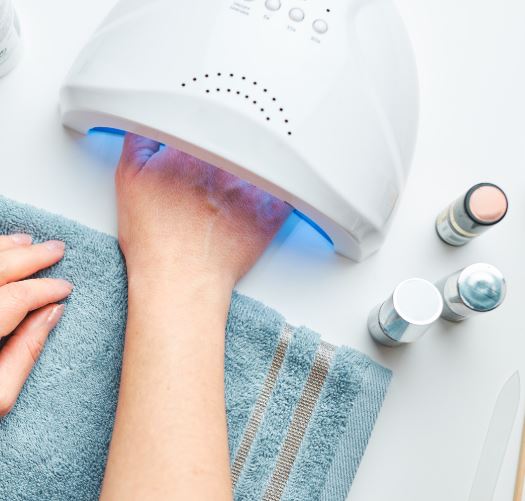
26. Use a UV glove under the lamp
If using builder gel on your natural nails, use a protective covering for your hands when under the lamp. Wearing a UV glove when gel-manicuring your nails is a way to protect your hands from the ultraviolet light of a nail lamp.
It helps keep your skin away from the UV light. With moments spent under the UV light adding up, it’s important to have this extra layer between your hands and the light.
27. Practice often
Practicing often with new nail art supplies is important for so many reasons. When you’re trying out gel nails or builder gel for the first time, it’s essential to properly familiarize yourself with the tools and techniques.
Practicing helps you understand how to work quickly and efficiently, using just the right amount of gel and nail polish to get the job done without having to redo your manicure – saving you a lot of time and money in the long run!
As you become more experienced with builder gel nails, experimenting alongside practice will make it much easier to develop creative skills and find unique ways to showcase your very own style.
Builder gel FAQ’s
Here are some of the most asked questions about using builder gel. If you’re thinking about doing a DIY manicure at home, you might be wondering about builder gel.
1. What Is Builder Gel?
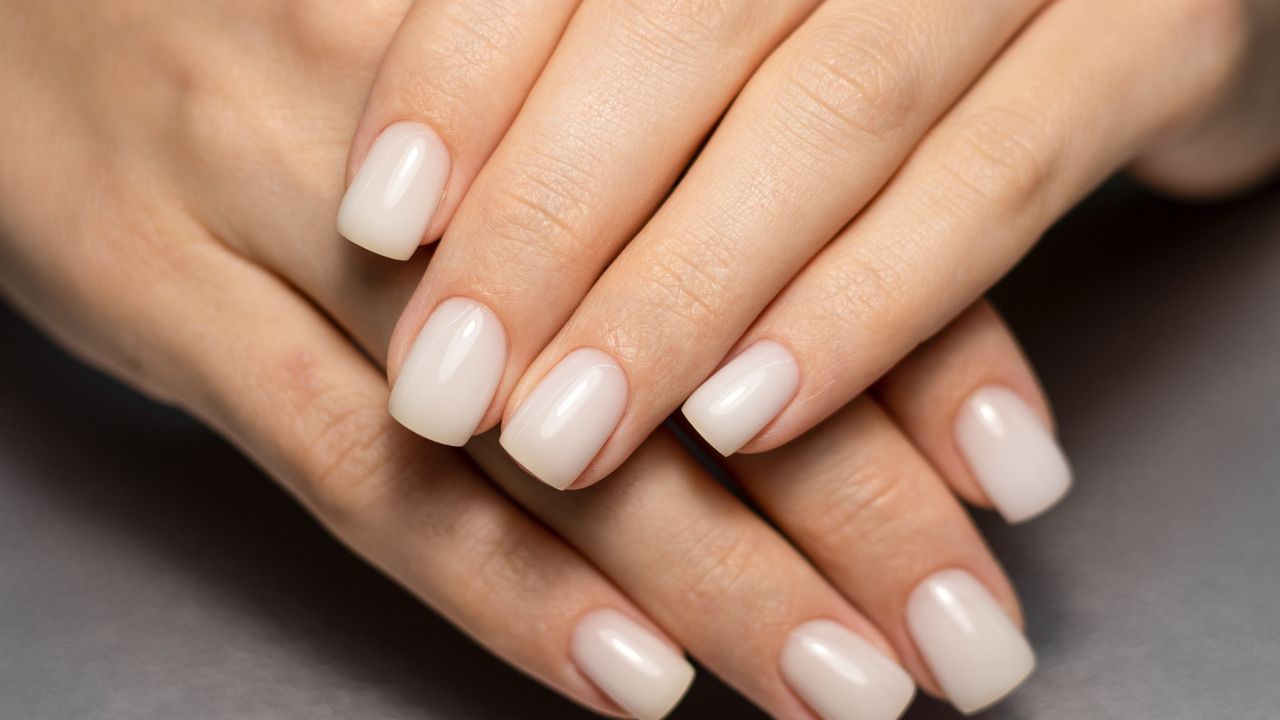
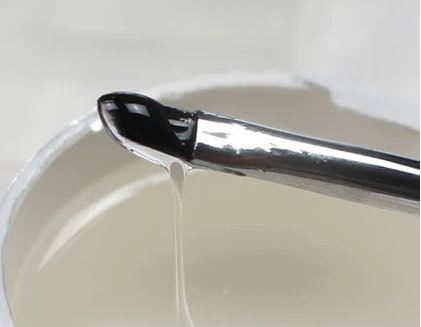
Builder gel is a thick, viscous substance used in the beauty industry, particularly in nail enhancement. It is a type of UV or LED-curable gel that is applied to natural nails or nail extensions to create strength, structure, and shape.
Builder gel is often used by nail technicians to build and sculpt durable and long-lasting artificial nails.
2. How does builder gel work?
Builder gel is very thick and viscous so it is a great option for those who want to build up the nails or use it to embed objects like glitter and rhinestones.
Builder gel provides a thick coating in just one coat. Builder gel requires a lamp for curing, it will not dry on its own.
3. How is builder gel made?
Builder gel is usually made from resins to make it viscous and curable under a lamp.
Some of the common ingredients in a builder gel are polymers, trimethyhexyl dicarbamate, pentaerythritol, isobornyl Methacrylate, hydroxycyclohexyl phenyl ketone, dimethicone, silica & polyesters.
All brands have their own formulas and ingredients. Do be read up on all of their safety information when using a builder gel.
4. Can builder gel be used with tips?
Yes, builder gel can be used with nail tips. You can either use the builder gel on top of a nail tip to build it up, or embed objects.
When using builder gel on a nail tip, you will need to prep the nail properly by lightly buffing off the shine and then using a base coat.
Builder gel can also be used to adhere a gel nail tip to the natural nail. To do this, prep the nail and then apply a light coat onto the gel tip and then cure.
5. Is builder gel the same as polygel?
Builder gel vs Polygel: These two products are not the same. Polygel is a thick putty-like consistency that can be squeezed out of a tube.
Builder gel is a thick gel-like liquid that usually comes in a pot or in a bottle which can be applied with a brush.
6. Can builder gel add length?
Yes, builder gel is used for adding length and to help build up the nail. When adding length with builder gel, use gel nail form extension tips. And then apply the builder gel. It definitely takes practice to get the shape correct.
7. Can builder gel be used as nail glue?
Since builder gel cures hard, it can be used as a nail glue to adhere sequins, glitter, rhinestones and nail art stickers and dried flowers. It is one of the best things to use because when it’s fully cured, it will keep elements in place for up to 4 weeks.

8. Is builder gel as strong as acrylic?
There is a big difference between builder gel and acrylic nails.
Acrylic comes in powder form that must be mixed with a monomer to activate. Once a primer has been applied to the nail, the bead of acrylic is then placed onto the nail and shaped. The acrylic powder dries hard without curing.
Builder gel (usually made from resin) comes in a thick viscous liquid and is more flexible than acrylic powder. A base coat must be applied to the nail before adding the builder gel. Then it’s cured under a light.
Acrylic nails are harder than gel nails, but that does not mean that they are better or last longer, it also depends on the application too. Builder gel and acrylic nails will last up to 4 weeks as long as the nail is prepped properly. It’s just preference.
9. Is builder gel the same as a base coat?
No, builder gel and base coat serve different purposes in the context of nail enhancements.
- Base Coat: This is a foundational layer applied before nail polish or any other nail enhancement. Its primary function is to create a smooth surface, promote adhesion, and prevent staining of the natural nails. Base coats often contain ingredients that help bond polish to the nail and provide a protective barrier.
- Builder Gel: This is a thick gel used for building and strengthening the structure of the nail. It’s commonly applied during the process of creating gel extensions or overlays to add length and durability. Builder gels are sculpted onto the nail to create a strong foundation, and they are typically cured under a UV or LED lamp.
While both builder gel and base coat contribute to the overall health and appearance of the nails, they serve distinct purposes.
The base coat is primarily for adhesion and protection, while builder gel is specifically designed for building and reinforcing the nail structure.
10. Can builder gel be used as a top coat?
That depends. Some are made specifically so that you do not need a top coat. But generally speaking, it’s best to apply the builder gel and then shape it with a nail file or edrill, and then apply a no wipe top coat. This will help the manicure last as long as possible.
Some have a sticky layer that will need to be removed with a slip solution. And when filing builder gels always use a nail dust collector for the dust particles.
11. What builder gels do at home salons use?
Although there are some brands that only offer products if you have a license,there’s also many professional builder gels that can be purchased online.
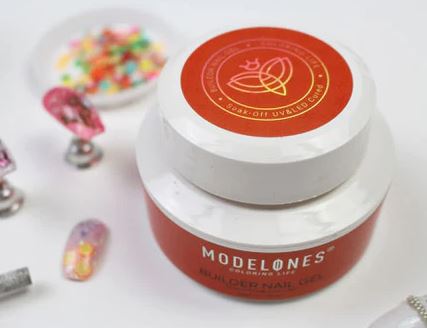
Some of the most popular brands used by salons are Saviland, Modelones and IBD. We have a list of the best builder gels available on the market.
See our article Modelones builder gel review. We show you exactly what it looks like.
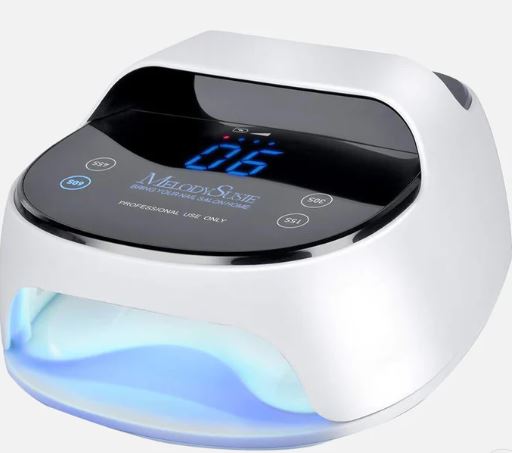
12. What type of lamp do I need?
All you need is a UV or LED lamp. We have a super helpful article that explains the different and the best lamps to use for cuing gels.
Also, one of the best lamps for curing is the Melody Susie SOL1 UV lamp. It’s strong enough to cure the gel completely all the way through which is important when working with a gel that goes on more thick than a regular nail polish gel.
13. What is builder gel liquid?
There’s type that comes in pots and gels that come in a bottle. The brands that come in a bottle are more liquid than the viscous gels that are available in pots.
The liquid builder gels can be painted onto the nail like a regular gel polish but are still a lot more thick than a regular gel polish.
14. When should I use builder gel?
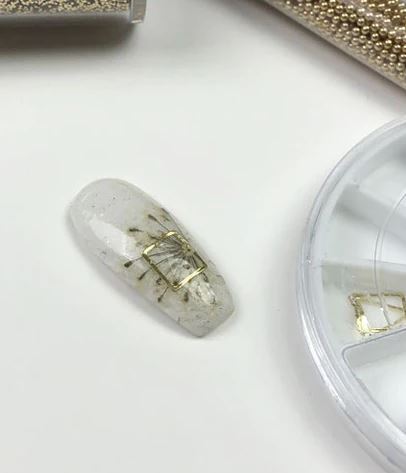
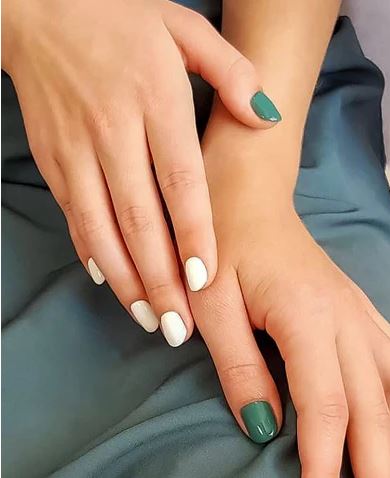
Builder gel can be used for many applications. You can use it to repair cracks, glue on rhinestones and for building up the length and thickness of a nail or nail tip.
You can also use it to embed things like polymer clay charms and dried flowers for nails.
15. Can builder gel be used on short nails?
Yes, you can use builder gels on short nails. In fact, if you are looking to build up a short nail to make it stronger then builder gel is a great option for that. It will help weak nails grow out without peeling or chipping as long as the nail is prepped correctly.
Some people who pick at their nails and have ridges, also use this to fill in the cracks to keep their nail beds smooth.
16. Where can I buy builder gel for home use?
Builder gel can be purchased from Amazon. The top sellers are the ones that have a good formula. Here are three shops that have excellent reviews.
17. What is the best builder gel for beginners?
Since builder gels come in many different viscosities, you will really just have to experiment to see what you like best.
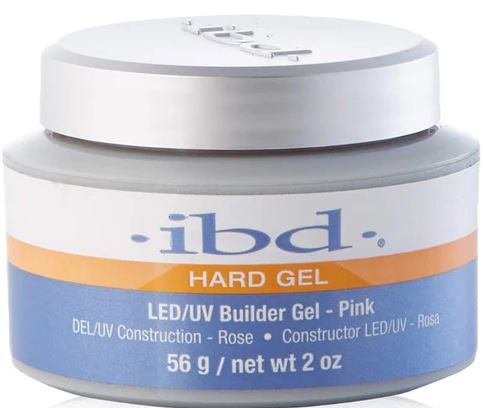
We have found that the IBD gel is a good starter gel.
18. Can builder gel be used to fix a broken nail?
Yes, builder gel can be used to fix a broken nail. To fix a broken nail, first gently buff the shine off of the nail. Then apply a base coat and cure. Next, go over the whole nail with builder gel until you get the thickness that you want and cure. Then shape the nail and apply a no wipe top coat and do a final cure.
19. Can builder gel be soaked off with acetone?
Some brands do offer a soak off builder gel. Saviland offers a soak off builder gel that can be purchased in their Saviland Amazon store. Other brands (especially hard gels) will need to filed off and best done by a nail tech to avoid damaging the natural nails.
20. How long to cure builder gel?
Every manufacturer has different cure times depending on what materials they have used for the final product. A general suggestion is to do a final cure of at least one minute under a lamp.
21. How long will builder gel last?
The longevity of builder gel largely depends on factors such as application quality, daily activities, and aftercare.
When professionally applied and properly maintained, builder gel enhancements can last anywhere from two to three weeks or even longer.
Regular exposure to water, harsh chemicals, or activities that subject the nails to excessive stress may impact the durability of the builder gel.
Just like regular gel polish, builder gel has an expiration date. Check out our guide on how to tell if gel polish has expired.
It’s essential to follow recommended aftercare practices, such as avoiding excessive nail trauma, using gloves during activities that could damage the nails, and keeping the nails moisturized.
Additionally, routine maintenance appointments, like infills or repairs, can help extend the life of the builder gel and keep the nails looking their best.
22. Can builder gel damage your nails?
Builder gel itself will not cause damage to your nails. But removing the builder gel certainly can. If you need to remove the builder gel, always follow the manufacturers directions.
You can also file it off very carefully using a nail file or efile.
If you are not comfortable removing the builder gel yourself, book an appointment with your local nail tech for proper removal so that you do not damage your nail bed.
Or use builder gel on press on nails instead.
23. Is hard gel and builder gel the same?
These are two different nail supplies. Generally speaking, builder gel can be soaked off with acetone.
Hard gel nails cannot be soaked off and will need to be removed by filing it off.
It can be confusing sometimes because brands use different language in their packaging and branding.
One company might say ‘hard builder gel’ or ‘soak off hard gel’ so it can be challenging for beginners to totally understand the generalities of using gels.
If you are not sure, always just read the directions on the package of the brand. They will have the instructions either included or on their websites.
24. Why does builder gel burn under a lamp?
Sometimes you might get what is called a heat spike from not only builder gels, but gel polishes in general. Gel nails release heat during the curing process.
If you experience a heat spike that is too uncomfortable, simply take your hand away from the light for a few seconds and then finish the curing.
25. Why isn’t my builder gel curing? It’s sticky.
There are several reasons why the builder gel is not curing for. Here are some common factors.
- The gel has expired
- You are not using a professional builder gel
- The gel might need more curing time
- Your nail lamp might need changing
- You may be using a builder gel with a sticky layer that needs to be wiped off with alcohol after curing.
26. Why is the builder gel peeling off?
When using gels, it is of the utmost importance to prep the nail correctly. This means pushing back any dead cuticle particles and gently buffing the shine off of the nails.
Using a nail dehydrator will help prevent lifting and also using a base coat if it is recommended by the manufacturer. Not all builder gels are made the same, so each brand will have the proper instructions on how to use their particular formula.
27. Can I use builder gel under gel polish?
Yes, you can use builder gel as a base for gel polish. Builder gel provides a strong and durable foundation for gel polish application, offering additional strength and support to the natural nails.
The process typically involves applying the builder gel to create the desired nail shape and structure, curing it under a UV or LED lamp, and then proceeding to apply the gel polish on top of the cured builder gel.
This layered approach not only enhances the durability of the manicure but also allows for added versatility in creating various nail shapes and lengths.
Always follow the specific instructions provided by the gel products you are using and consider professional application for optimal results.
28. Is builder gel the same as extension gel?
Builder gel and extension gel are the same as they are both hard gels. They are both used to create length using a nail form.
Sometimes an extension nail gel that comes in a tube or bottle can be less thick than a builder gel that comes in a pot so there are different applications, but they will both cure hard.
29. Can builder gel be used with dual forms?
Well, technically yes. But builder gel is not as thick as polygel which is more ideal to use on dual forms.
Using builder gel on dual forms would be a challenge because the gel will move around and pool into the middle of the form. So best to use polygel for dual forms.
In Conclusion:
Like all nail art supplies, builder gel does take practice to get it onto the nail and then filing it to your desired nail shape. Set aside at least an afternoon or morning when first learning how to use builder gel.
✅ We hope you found this article helpful as you try to use builder gel. Please visit us again soon for more nail art ideas and reviews of the latest nail art products on the market. Thanks for reading!
Next, head on over to our blog post and see some easy builder gel DIY tutorials with videos.