Born Pretty Review: Testing Nail Art Supplies
Here is our Born Pretty review. We tried out several of their nail art products and want to share the results with you.
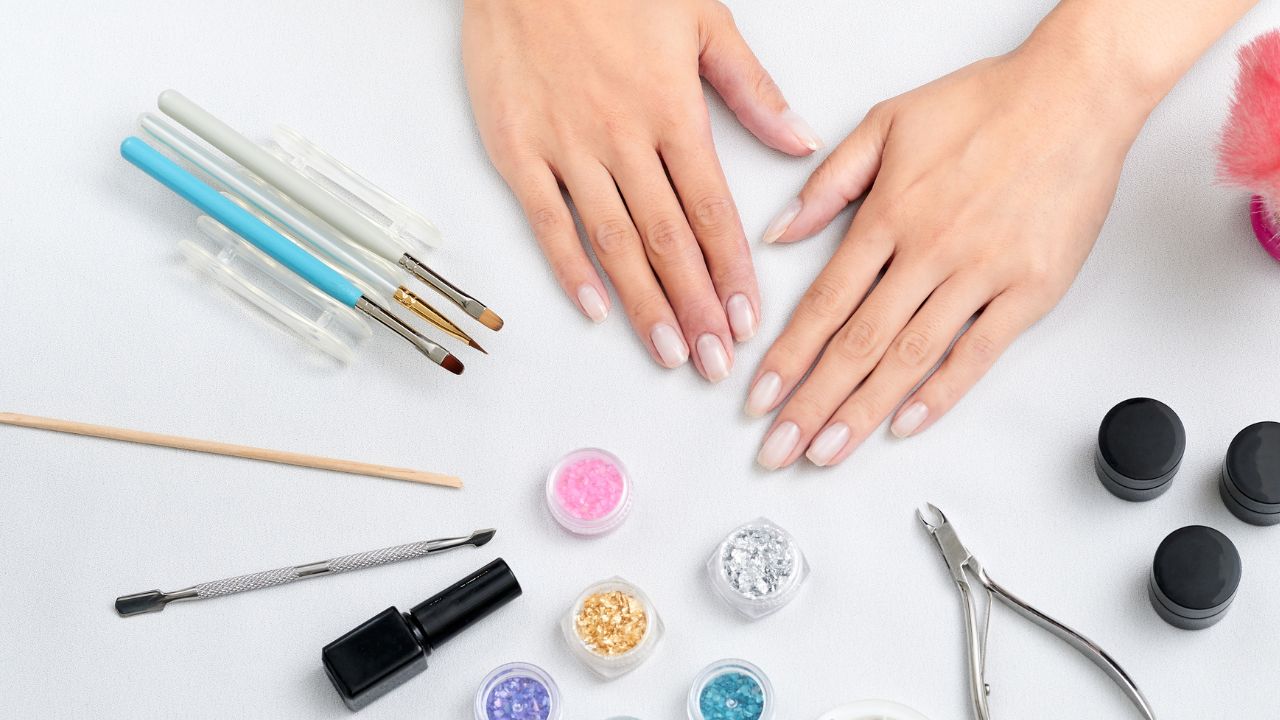
Born pretty nail products are a way that you can do your own nails at home. Their products are also affordable. They have many products to choose from to help extend your nails and also for making some really cool designs.
Customers talk about their quality, durability of their products and affordability. You can order everything in their Amazon store. They offer gel color kits, polygel, nail art decorations and so much more.

Even before this collaboration, we have used the Born Pretty brand many times over the years. They have some of the top selling nail art supplies.
Some favorites are the solid gel polishes that come in a pot. And of course the 3D magnetic cat eye polish.
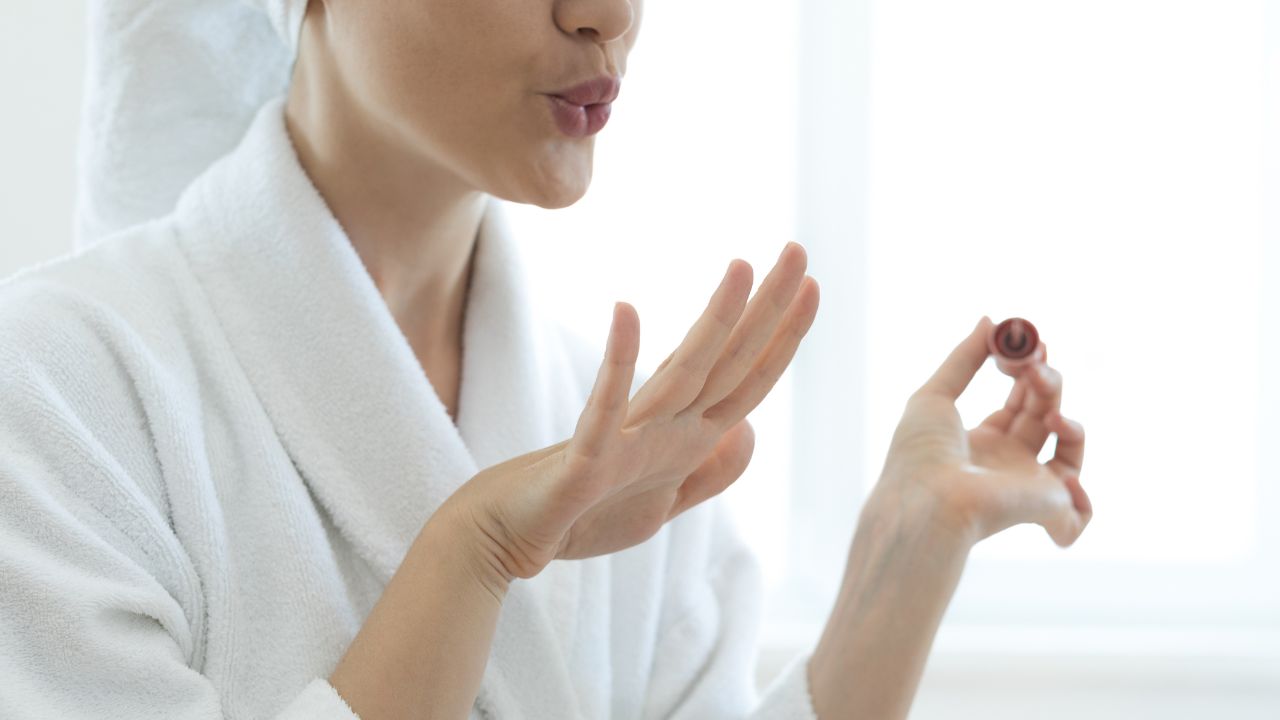
Important: Make sure that the lid is always on anything that will be cured under a UV lamp. If you are curing your nails and the gel is near the lamp, it’s also going to cure the gel in the pot!
Ok let’s get into the Born Pretty nail art products and review!
Born Pretty Review
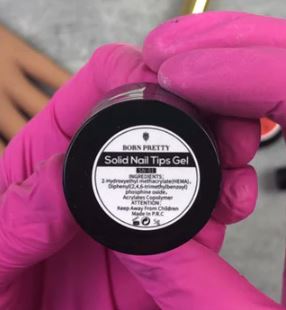
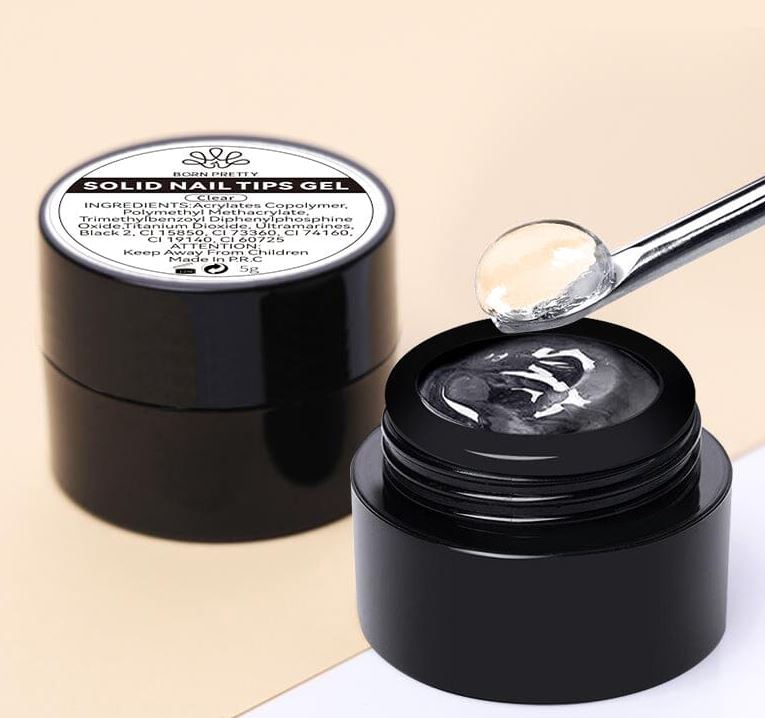
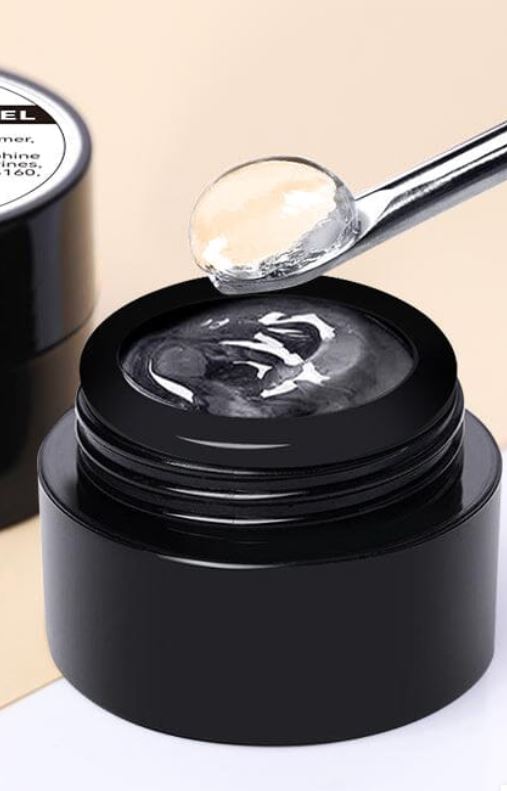
1. Solid Nail Tips Gel
This medium is a very thick and viscous gel. It is used to adhere a nail tip onto the natural nail to extend the length.
You can also use it to glue on rhinestones. In this tutorial, we are showing how to use it to apply gelly nail tips.
Using gel instead of a nail glue will give you a manicure that will last longer. But do be aware that you can’t remove them without soaking them off.
There are some steps that need to be taken to get the Solid Nail Tips Gel to last as long as possible so that the nails don’t pop off. Solid Nail Tips Gel should last up to 3 weeks or longer as long as you prep your nail properly.
To use this, you will need a cure light for the gel to harden properly and adhere to the nail.
One of the best ways to have a longer lasting manicure with the Solid Nail Tips Gel is to prep your nail before use and to use a dehydrator and base coat.
Always follow the current instructions on the Born Pretty website.
Using Solid Nail Tips Gel:
- Make sure the hands are clean
- Push back the cuticles with an orange stick
- Buff the natural nail gently to remove the shine
- Remove any nail dust with isopropyl alcohol
- Always apply a dehydrator and base coat
You are going to find this type of gel very thick and you might be tempted to roll the gel in between your fingers to soften it. Do not do this, the oils from your hands will compromise the formula.
So you open the pot of Solid Nail Tips Gel and take the nail tip and glide the nail tip through the gel to pick it up. This takes lots of practice to get the perfect amount.
Taking too much gel will result in the nail being too bulky and the gel will squish out of the sides and bottom too much. Not taking enough will make the whole nail compromised because there is not enough for a good base.
Then you put the nail tip onto the nail starting from the cuticle and gently apply pressure until the gel moves down to the end of the nail.
Clean off any excess from the sides and underneath the nails before curing.
The Solid Nail Tips Gel is very thick so it does not move around much at all which is a bonus. If you feel that the nail tip needs to be pressed down a bit while curing, use your other hand or a clip to hold the nail in place.
Flash cure so that is stays put. Then cure fully for at least one minute.
Once the Solid Nail Tips Gel is cured, you can now do your manicure design as you normally would.
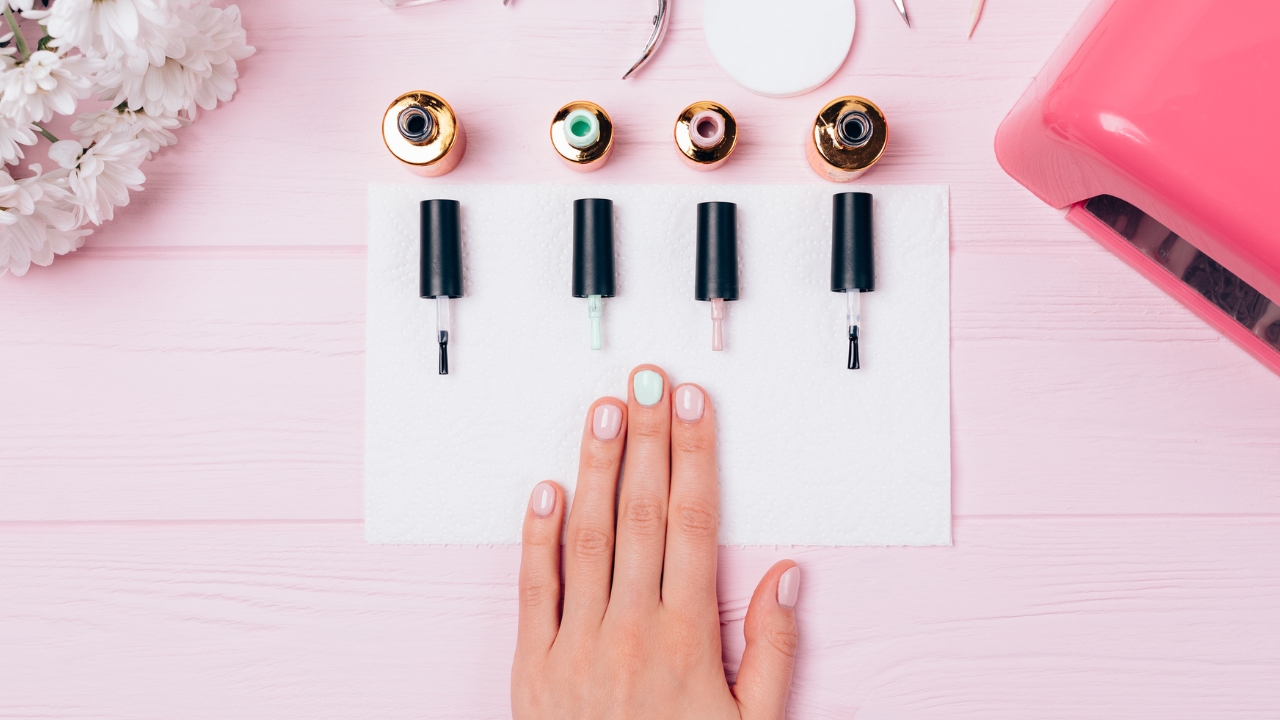
2. Solid Cream Gel Polish In A Pot
This is how to use the Born Pretty solid cream gel polish in a pot. Solid gel colors that come in a pot are so fun to use. The creamy formula makes it just glide onto the nail in a way that is different from gel polish in a bottle.
With solid cream gel in a pot you will need to have a medium bristle nail art brush so that the gel brushes onto the nail or nail tip smoothly.
Remember with gel polish, it cannot be removed like a regular nail polish. It will need to be soaked off with acetone or removed with a file.
Here are the steps to using the Born Pretty solid cream gel polish:
First you lightly buff the natural nail or nail tip to remove any shine. This is going to help the base coat adhere properly to make the gel manicure last as long as possible. Then remove the dust with a brush or some isopropyl alcohol.
Next, apply a dehydrator and base gel and cure in your nail lamp. In the video we skipped the dehydrator because we are using jelly nail tips with a silicone practice hand.
Use a dehydrator if you are doing this on your natural nail because it will help the manicure to last longer.
Then take some of the gel polish with your nail art brush. Try to determine how much you will need to cover the nail without taking too much.
Don’t worry because it’s not going to dry or cure unless it is under the lamp. You can take your time to get it perfect.
Then cure under your lamp for at least 30 seconds.
Apply a second coat for full coverage and cure for another 30 seconds.
Finally, add a top coat and fully cure for at least 1 minute.
With nail gel polish that comes in a pot, it’s really quite different to use than regular gel polish in a bottle. It’s a totally different experience.
Important: Make sure that the lid is always on the pot because if you are curing your nails and the gel is near the lamp, it’s also going to cure the gel in the pot! So always keep the lid on after you brush the gel onto the nail.
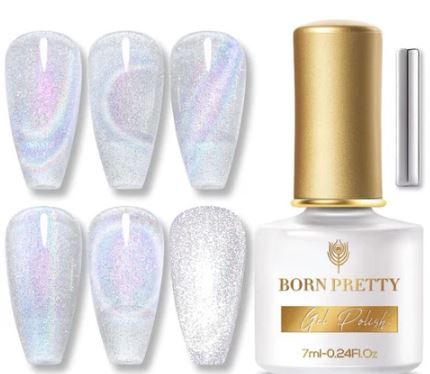
3. 3D Cat Eye Gel Polish
Cat eye gel polish is a type of nail polish that creates a beautiful changing effect on your nails. It is usually applied with a couple of coats and then cured under a UV or LED light to cure the gel.
The cat eye gel polish comes in many different colors and can be used to create a variety of looks. To use the Born Pretty cat eye gel polish, you will need a nail magnet to move the little specs around.
Hold the magnet close to the wet polish and move it in different directions and watch the transformation.
You can experiment to create lots of shapes & patterns and also use more than one magnet at the same time.
Once you are happy with the design, cure the polish under a UV or LED light quickly so that it doesn’t move around on you. Your cat eye manicure is now complete!
The polish will look totally different on a lighter base or a dark base and you can play around with so many looks with just one bottle.

The gel polish doesn’t cure until it’s under the lamp so you have lots of time to move the glitter around perfectly.
If you move the glitter and it kind of disappears, then hold the magnet very still on the side of the nail so you can see where it went.
Turn your camera light on to really see the cat eye effects come to life, they are absolutely stunning in the light.
Thanks for reading!