19 Pro NAIL ART PHOTOGRAPHY Tips
Here are some pro nail art photography tips for getting amazing pictures of your finished nail art. Get ready to elevate your nail art photography to the next level with these hands-down best tips.
From mastering lighting techniques to incorporating creative elements, these expert suggestions will help you capture stunning images that showcase the intricate details and artistic beauty of your nail art creations.
With these nail photography tips, you’ll be able to show off your creations to the world and amaze everyone with your skills!
This is especially important if you are trying to get your press on nails into a gift guide or selling nail art products in your Etsy nail shops.
So whether you’re a newbie or an old pro, here are some tips for taking photos of your nail art that will make jaws drop. Enjoy! 🙂
Get your camera ready and prepare to make your nail art photography shine like never before.
Best nail art photography tips
1. Start With Fresh Nails
Starting with fresh nails is crucial for nail art because it ensures a smooth and polished base, allowing the colors and designs to stand out without any distractions or imperfections.
Additionally, freshly done nails provide a professional and well-groomed appearance, enhancing the overall aesthetic of the nail art.
2. Moisturize Your Hands
Moisturizing before a photo is important because it helps to nourish and hydrate the skin, giving it a healthy and radiant appearance.
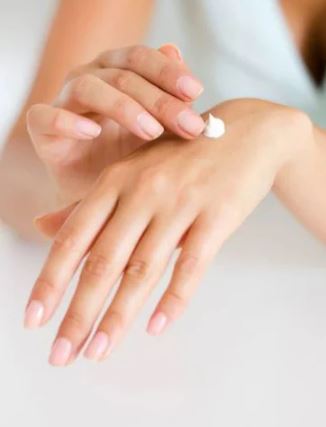
It can also help minimize the appearance of fine lines and wrinkles, creating a smoother canvas for the photo and enhancing overall skin texture.
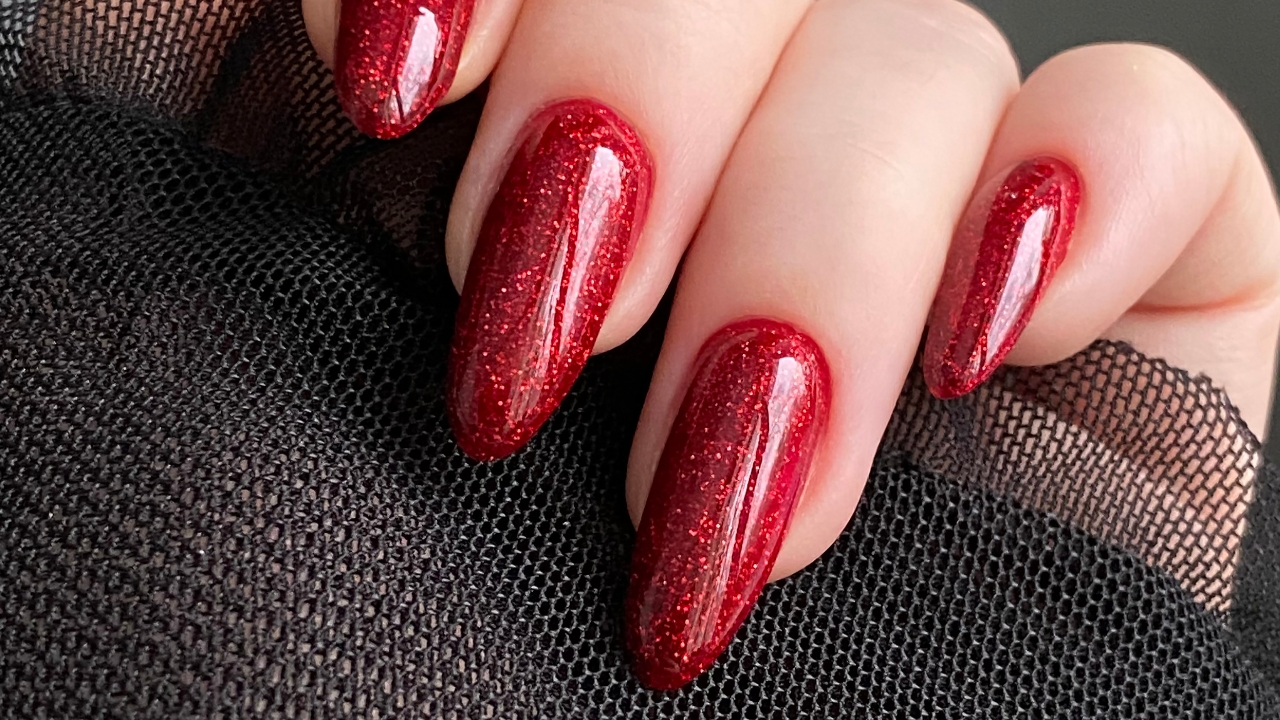
3. Choose A Background
What type of background are you using? The background will depend on what kind of aesthetic you are going for.
There’s many backgrounds that you can use for your photos. Using scrapbooking paper, paper towel, a clean cotton cloth or going with a white poster backing are great for working on nails and showing off nail art designs.
You might think that this photo is taken on a wooden backdrop, but it’s actually scrapbooking paper.
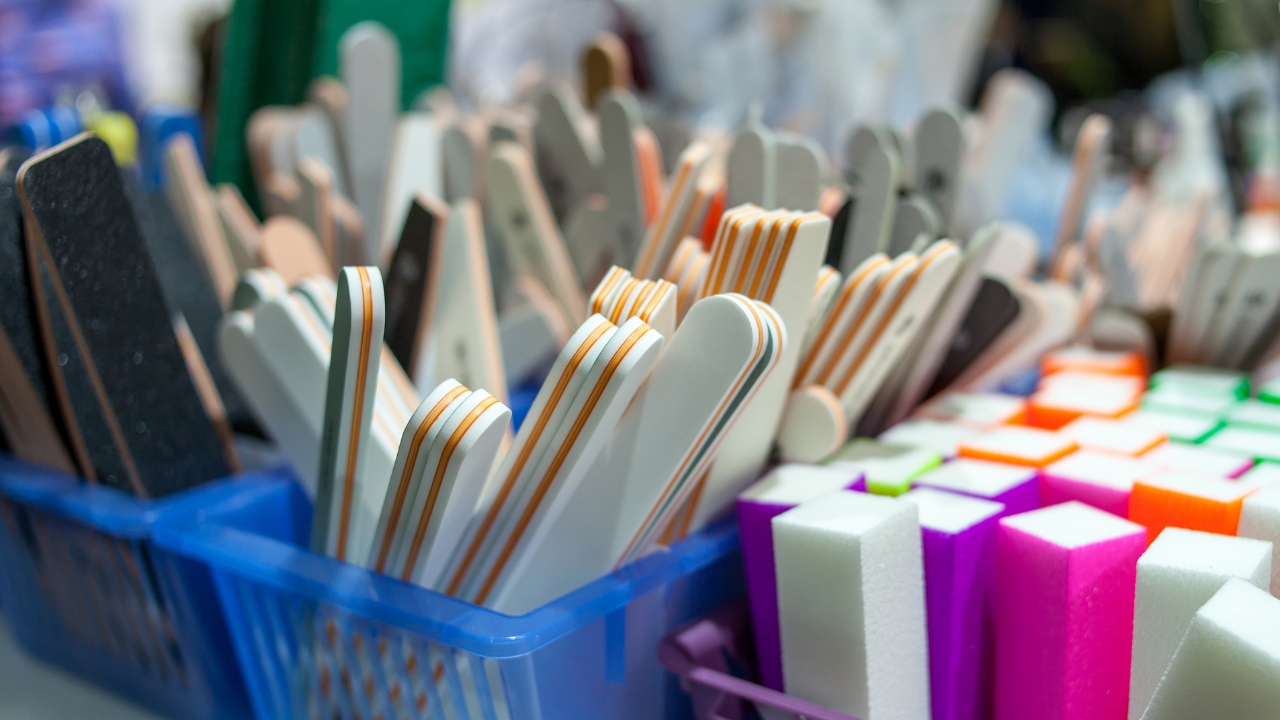
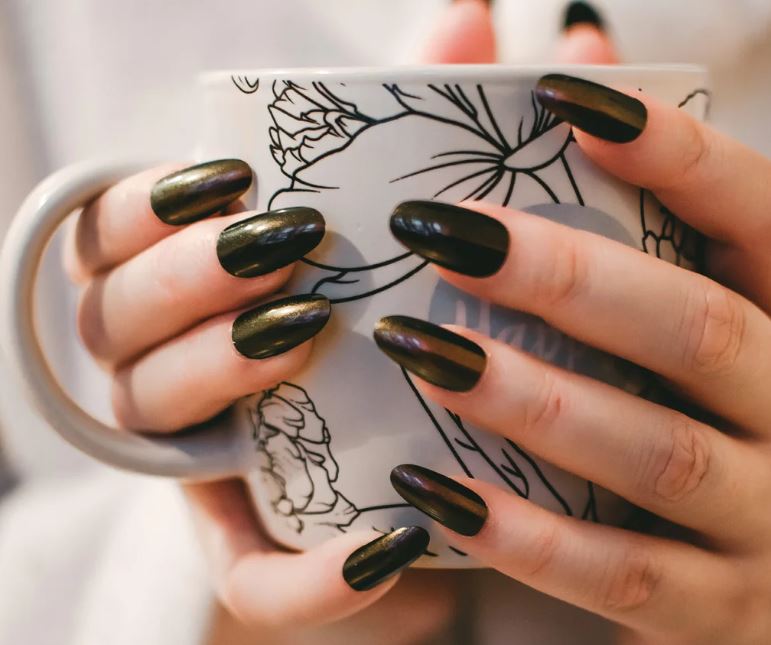
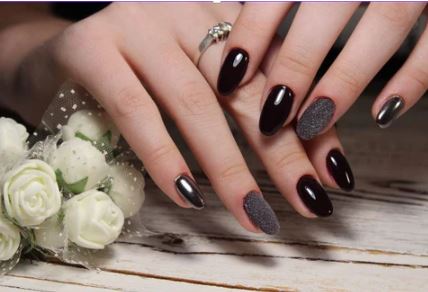
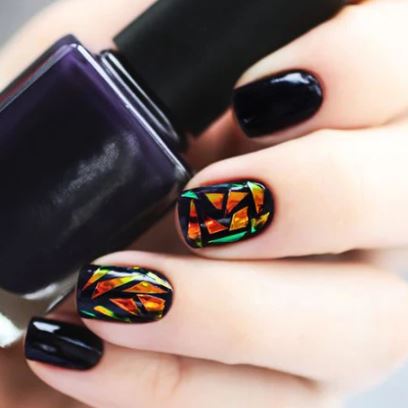
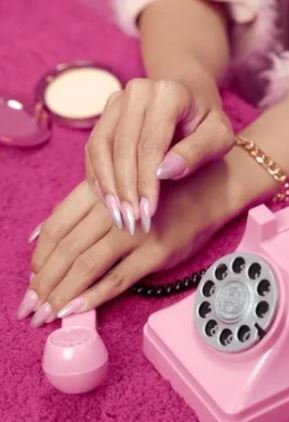
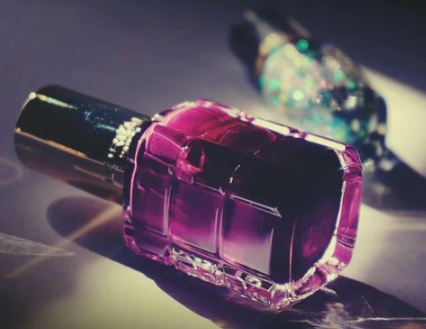
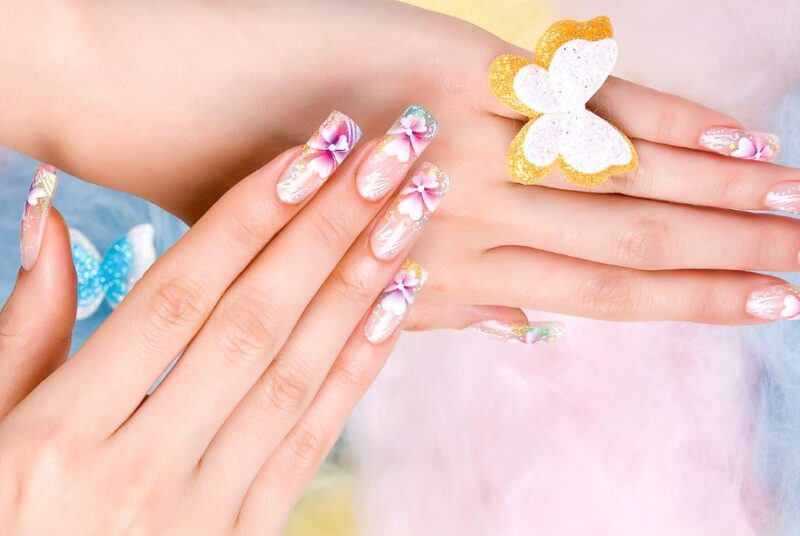
4. Use Props For Nail Photos
If you want to get creative, use props such as flowers or jewelry to add to your photos. Or use what you have on hand like nail polish bottles and nail tools.
The good thing about nail artists is we have endless props and nail art decorations to use for our nail art videos and photos.
5. Try Your Phone Light
Your phone light can be a best friend when it comes to taking photos of nail art ideas. Under phone light, certain types of nail art tend to stand out and look particularly appealing.
Here are some nail art styles that can look good under phone light:
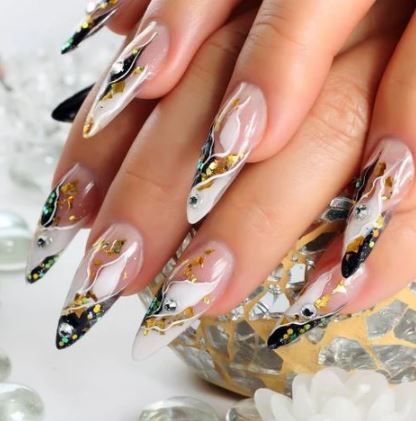
1. Holographic nails: The reflective nature of holographic nail polishes creates a captivating effect under phone light, with the colors shifting and shimmering.
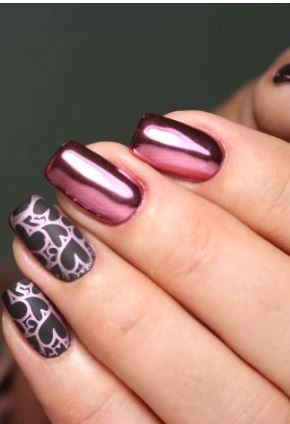
2. Chrome nails: Chrome or metallic finishes can appear striking and mirror-like under phone light, reflecting the light source and creating an eye-catching look.
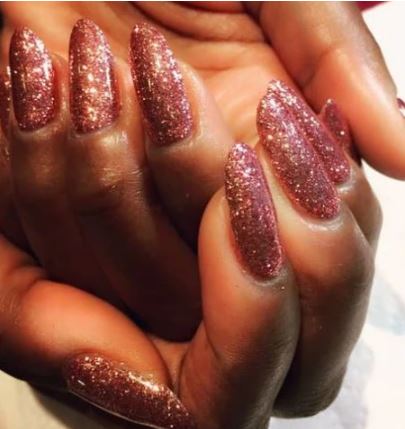
3. Glitter nails: Glittery nail polish catches the light beautifully, sparkling and adding a touch of glam under phone light.
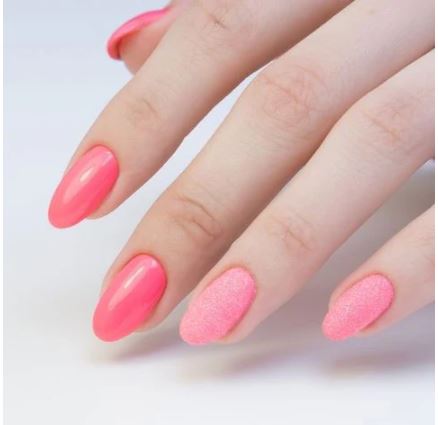
4. Neon nails: Vibrant and bright neon shades can pop and glow under phone light, creating a vivid and attention-grabbing effect.
5. Negative space designs: Nail art with negative space, where parts of the nail are intentionally left bare or unpainted, can create interesting patterns and contrast under phone light.
6. Use Studio Lights
One of the best nail art photography tips is using studio lights is another option for taking really great videos and photos of your nails. Studio lights are very budget friendly too.
Studio lights are ideal for nail art photography because they provide consistent and adjustable illumination, allowing you to create the nail art with clear visibility and capture high-quality pictures with accurate colors and details.
7. Set Your Camera To Macro
This will allow your followers to see all the details of your nail designs. The new cameras are pretty easy to use with just a click.
When using a professional camera like the Canon Rebel, then the best setting to use is the custom setting so that you never have to keep changing it. Just set it once and then you are ready whenever you need to take a photo or video.
The other best setting for taking photos of nails is with the flower setting for extremely crisp close up shots.
8. Play With Depth Of Field
Changing the depth of field (the area of the photo that appears in focus) can help to create interesting effects for your nails.
A shallow depth of field (where only part of the photo is in focus) can be used to draw attention to your subject, while a deep depth of field (where everything is in focus) can be used for more detailed shots of your nail art.
9. Use A Photo Filter
A subtle filter can make your nails look even more amazing. Usually filters are built right into the app that you are using like Instagram.
If you can’t find what you are looking for there, you can also download filter apps too.
By using the same filter on your Instagram posts, your feed will look professional, like a collection.
Etsy has lots of different filters to choose from. You can go with aesthetic, vibrant, natural and more.
10. Experiment With Different Angles
Sometimes the most interesting photos are taken from unexpected angles. Get down low, shoot from above, or try taking a photo from the side for a different perspective.
11. Try Flash For Nail Art
If you’re shooting in low light or want to add some extra light to your photo, using a flash can help. Just be careful not to overdo it, as too much flash can be really unflattering.
Don’t be afraid to experiment – nail art photography is all about trial and error, so don’t be afraid to experiment with different lighting and flash techniques until you find something that works for you.
12. Use A Goose Neck Phone Holder
To avoid camera shake and ensure sharp, clear photos, using a tripod or something that can hold your phone at the right angle can be really helpful.
This is especially important if you’re using a low light setting or shooting with a long exposure time. There are a few key reasons why it’s important to use a tripod when taking still photos or videos of nails and nail art.
First, it helps to keep the camera steady and avoid blurry images. Second, it allows you to take longer exposures without worrying about camera shake.
And finally, it can be helpful in low light situations where you need to keep the camera perfectly still to avoid blur. This is especially helpful since nails are very small and the slightest movement can ruin the shot.
13. Take Multiple Photos And Videos
This way you’ll have plenty of options to choose from when you’re ready to edit your nail photos and post them on your websites, blogs or social media accounts.
By taking multiple photos, you can try different angles and compositions until you find the one that looks best.
Having lots of photos and videos to choose from will also help save time when you need to post to your social accounts.
Keep them handy in your google drive in folders so that you can download them quickly and efficiently.
14. Edit Your Nail Art Photos
There’s no need to go overboard, but a little bit of editing can really make your photos pop. Even the most expertly taken photo can benefit from a little bit of editing.
Make sure that any lint or dust is edited out of your photos, especially if you are selling your nail art. Nobody wants to see dirty backgrounds.
Whether you’re using a basic editing program from your phone or something more advanced like Photoshop.
Playing around with the brightness, contrast, and saturation levels can help to enhance your photos and make them look their best.
15. Consider Using A Reflector
A reflector is a great way to add light to your nail art photography. By reflecting light onto your nails, you can create a more evenly lit image of your manicure.
This is especially useful in low light situations, or when you want to add some fill light to your nail art videos and photos. Reflectors come in a variety of sizes and shapes, so you can find one that fits your needs.
Reflectors are also great for bouncing light into dark areas in your photos. By using a reflector, you can brighten up shadows and create a more even overall exposure.
When shooting nail art that has muted colors a reflector can help to soften harsh shadows on the nails even more.
16. Write Down Future Ideas
Have a planner or book handy so that you can jot down different ideas when they come to mind.
As a nail technician or nail artist, it’s important to have a planner to keep track of your thoughts and ideas.

Having a planner allows you to see your ideas at a glance and make sure that you’re always moving forward.
It’s never fun to come up with a brilliant idea for your photos and then forget the next day!
17. Use A Matte Top Coat
When photographing glossy nail art, the shiny surface can often reflect light sources and create unwanted glare or hotspots.
The matte finish of the top coat diffuses the light that falls on the nails, reducing the intensity of reflections and minimizing glare.
As a result, the design and details of the nail art become more prominent and easier to capture in a photograph.
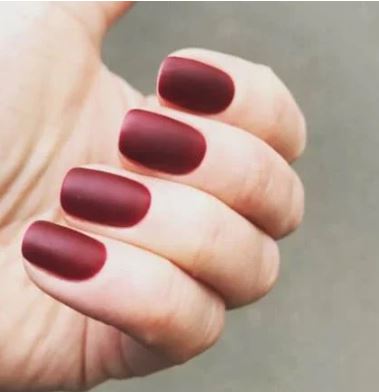
The matte effect also adds a unique visual appeal, creating a soft, velvety texture that can enhance the overall aesthetics of the nail art.
Applying a clear, matte top coat over the glossy polish helps to eliminate this issue.
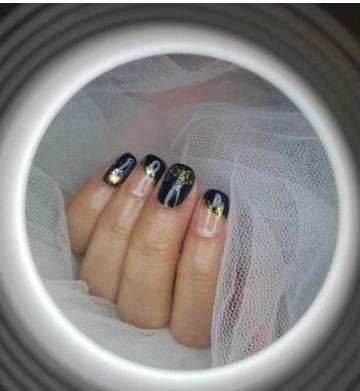
18. Create A Story About Your Nails
Creating a story or theme in your nail art photography adds depth and meaning to your images, elevating them from simple documentation to a more immersive and artistic experience.
By incorporating elements that reflect a specific mood or concept, you can evoke emotions and engage viewers on a deeper level. For example, you could explore a retro theme by arranging vintage props around your nails.
Alternatively, a moody, dark theme with rich, dramatic colors and edgy accessories can create a sense of mystery and intrigue.
By carefully selecting props, backdrops, and lighting to align with your chosen theme, you can create a cohesive and captivating narrative that brings your nail art to life, making it more than just a design, but a story waiting to be told.
19. Capture Reflections
Capture reflections of the nail art on glossy surfaces like mirrors or glass for a unique and abstract perspective.
Capturing reflections in nail art photography adds an element of intrigue and depth, as the mirrored surfaces reveal different angles and perspectives, creating a visually captivating and dynamic composition that elevates the overall impact of the image.
Did you find some amazing photography ideas from this list? We hope so!
Thanks for reading the best nail art photography tips and being here with us today.
If you would like to support our nail blog, we would love it if you could share this article on your social media, Facebook groups or link back to this article from your own blogs and websites.
We would really appreciate that so very much 🙂
More Nail Articles You Might Love
Best nail tech chairs that are comfortable