15 Reasons Why Your GEL POLISH Is NOT CURING
Here are the reasons why your gel polish is not curing properly. Welcome to your #1 nail art blog. Today we are going to discuss the top reasons why gel polish is not curing the right way.
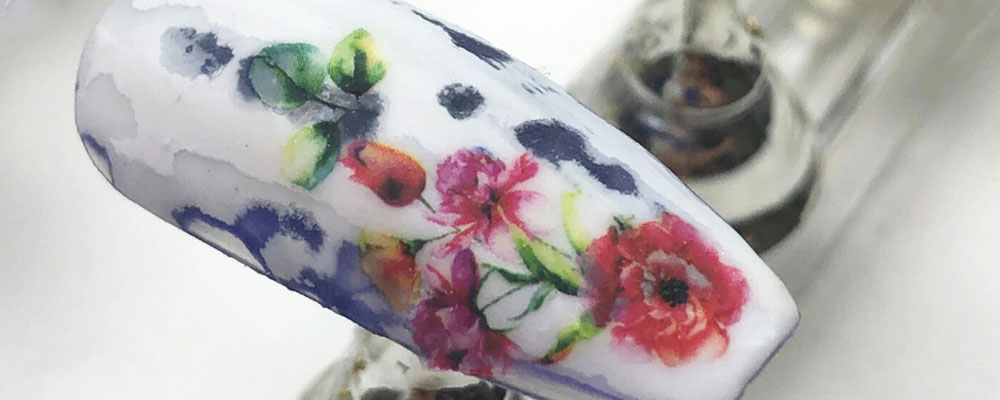
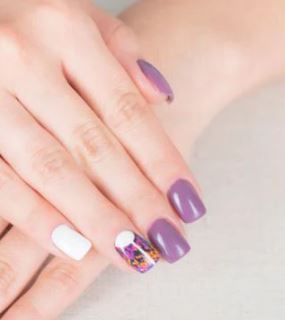
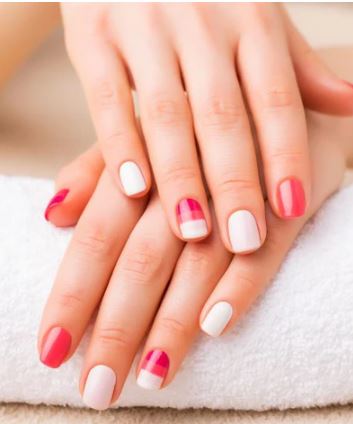
The allure of gel polish lies in its glossy finish, chip-resistant quality, and long-lasting wear.
However, when your gel polish fails to cure properly, frustration can easily outweigh the benefits. Gel polish not curing is a common woe in the world of nail enthusiasts and professionals alike.
The process of curing involves polymerization, where the gel molecules react with UV or LED light to create a hard, durable surface on the nails.
There are lots of factors that can contribute to the gel polish not curing as expected for gel manicure art.
In this article, we will delve into the potential reasons behind this issue, shedding light on each one and offering practical solutions to salvage your manicure.
Main reasons why gel polish is not curing
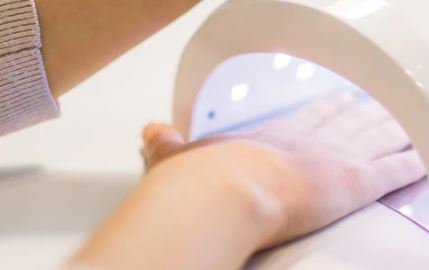
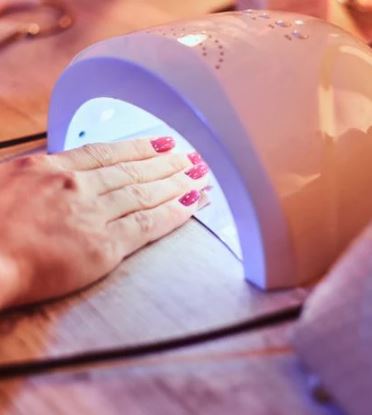
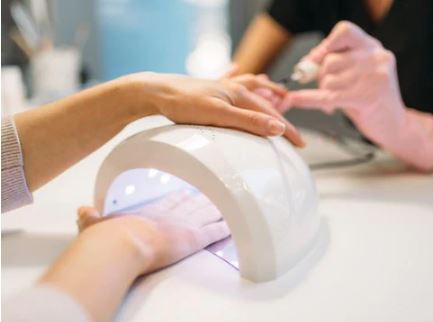
1. Insufficient UV/LED Exposure
Gel polish requires a specific amount of UV or LED light exposure to polymerize properly. If the lamp you’re using is not strong enough or your curing time is insufficient, the gel may not cure completely.
Among the myriad factors that can contribute to gel polish not curing, inadequate UV or LED exposure stands as one of the most critical.
Proper curing is pivotal in transforming the liquid gel into a hardened, durable surface that promises the coveted longevity and brilliance of a gel manicure.
To truly understand the significance of sufficient light exposure, let’s understand the formulation behind the curing process and explore the repercussions of insufficient UV or LED exposure.
The Science of Curing: A Molecular Transformation
Gel polish curing isn’t just a superficial transformation; it’s a chemical reaction that occurs at the molecular level. Gel polish is composed of oligomers, monomers, and photo-initiators.
When these molecules are exposed to specific wavelengths of UV or LED light, they initiate a polymerization process. This process forms cross-links between the molecules, creating a solid and durable layer on the nail’s surface.
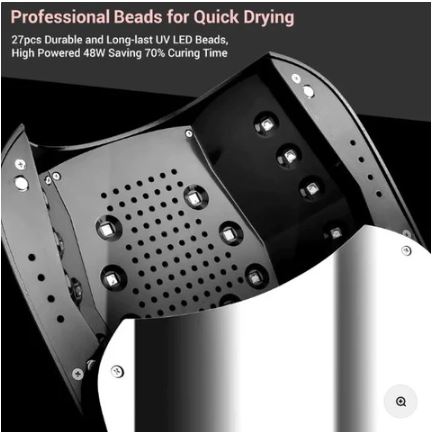
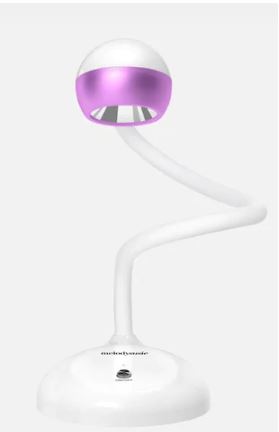
2. Weak Nail Lamp Output
Gel polish requires a specific intensity of UV or LED light to facilitate the polymerization process effectively.
If the lamp you’re using has a weak output, it might not provide enough energy to initiate the chemical reactions needed for proper curing.
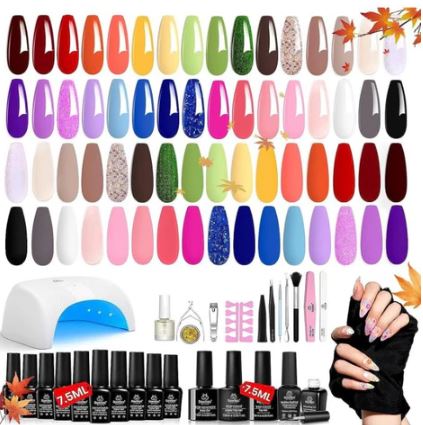
A top selling nail art lamp is Melody Susie. Their nail lamps have garnered popularity among nail enthusiasts and professionals alike due to their exceptional performance and user-centric features.
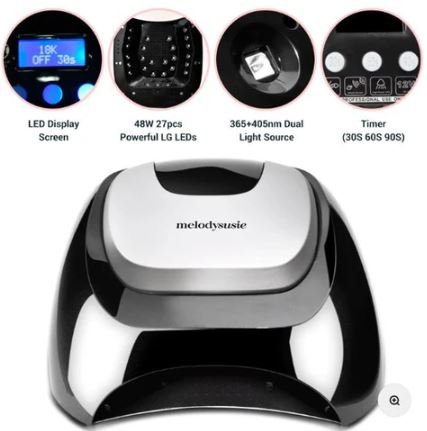
Renowned for their reliable UV and LED light sources, these lamps offer consistent and powerful curing capabilities, ensuring even and thorough polymerization of gel polish.
Melody Susie’s attention to detail is evident in their thoughtful design, which often includes spacious interiors to accommodate a variety of hand sizes and removable magnetic panels for easy cleaning and maintenance.
The lamps frequently come equipped with various timer settings, offering flexibility in adjusting curing times to cater to different gel polish formulations.
This combination of reliable performance, user-friendly design, and customization options makes Melody Susie nail lamps a trusted choice for achieving flawless and long-lasting gel manicures.
3. Inaccurate Curing Time
Each gel polish brand and type specifies an optimal curing time. Deviating from this recommended time can result in either under-curing or over-curing.
Under-curing leaves the gel soft and prone to chipping, while over-curing can cause it to become brittle and prone to premature lifting.
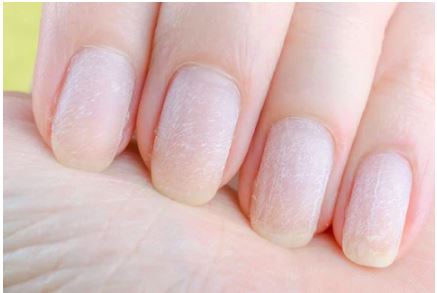
The Telltale Signs of Insufficient Curing
Identifying whether your gel polish has suffered from insufficient curing isn’t always immediately evident. However, there are some telltale signs to watch out for:
Tacky or Sticky Surface: If your freshly cured gel polish feels tacky or sticky to the touch even after following the recommended curing time, it’s a strong indicator of incomplete curing.
Premature Chipping or Lifting: Gel polish that hasn’t fully cured is more susceptible to chipping and lifting from the nail bed. If you notice these issues shortly after your manicure, improper curing could be the cause.
Fading or Dullness: Uncured gel polish may appear faded or dull compared to the vibrant shine that’s expected after proper curing.
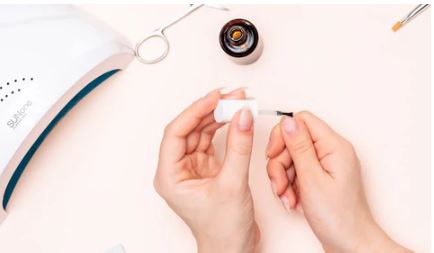
4. Application Thickness
Applying gel polish too thickly can lead to improper curing. Thin, even coats are crucial for proper polymerization. Thick layers can trap uncured gel underneath, causing a tacky layer on top after curing.
Applying gel polish in the appropriate thickness is paramount to achieving a flawless and durable manicure. The thickness of the gel layer directly impacts the curing process and the overall longevity of the manicure.
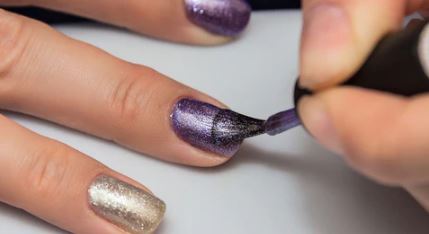
If gel polish is applied too thickly, it becomes challenging for UV or LED light to penetrate through all layers evenly, resulting in uneven curing and an increased risk of uncured patches.
Moreover, thick layers of gel polish can trap air bubbles, leading to a lumpy texture and an unsightly finish. Furthermore, thick gel layers are more prone to chipping and lifting as they lack the flexibility that thinner layers offer.
By adhering to the recommended thin, even coats, you ensure that the curing process is efficient and consistent, while also maintaining the structural integrity of the manicure for a polished and enduring result.
5. Incorrect Base or Top Coat Usage
Using the wrong type of base or top coat can hinder the curing process. Make sure to use a compatible base and top coat from the same brand as your gel polish to ensure proper adhesion and curing.
Sticking to the same brand for both the base and top coat in gel polish application is a good idea for ensuring a seamless and successful manicure.
Gel nail systems are carefully formulated by brands to work harmoniously together, with the base coat acting as the foundation for adhesion and the top coat providing protection and shine.
Using a base coat from a different brand could potentially result in compatibility issues, affecting the bond between the natural nail and the gel polish.
This could lead to lifting, chipping, or even premature peeling of the gel layer. Similarly, utilizing a top coat from a different brand might not provide the desired level of protection, gloss, or longevity, as the formulation might not align with the underlying gel polish.
Consistency in brand selection ensures that the chemical composition and curing requirements of the products match, enhancing the likelihood of achieving a flawless, long-lasting, and aesthetically pleasing gel manicure.
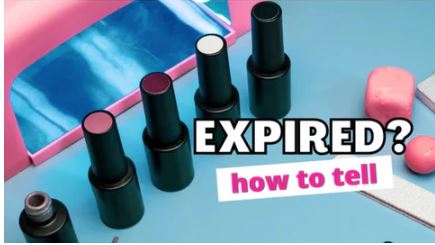
6. Old or Expired Products
Gel polish has a shelf life, and using old or expired products can result in poor curing. Check the expiration dates on your gel polish bottles and replace any that are past their prime.
We have a helpful article how to tell if your gel polish has expired.
7. Wet or Damp Nails
Applying gel polish over wet or damp nails can severely impede the curing process.
Moisture creates a barrier between the gel and the nail surface, preventing proper adhesion and polymerization.
It’s crucial to ensure your nails are completely dry and free from any moisture, oils, or lotions before starting the gel polish application.
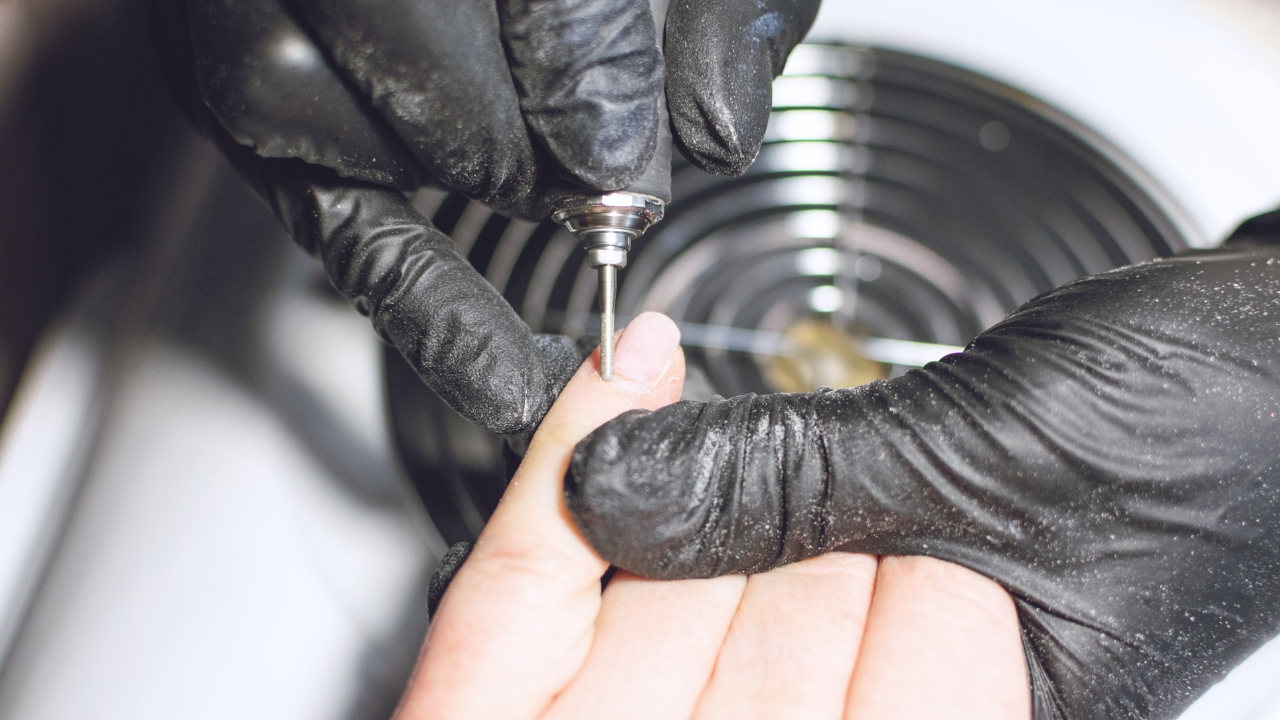
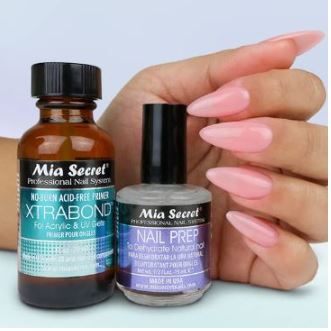
8. Nails are not properly prepped
Thoroughly cleanse and dry your nails. Then lightly buff and apply a dehydrator & primer to your nails with a nail prep dehydrator set before applying gel polish to ensure a proper adhesion,
Mia Secret Primer & Dehydrator
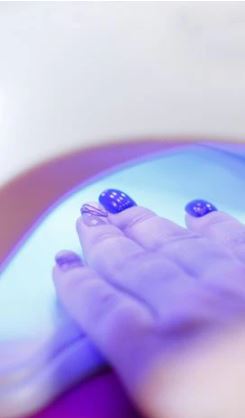
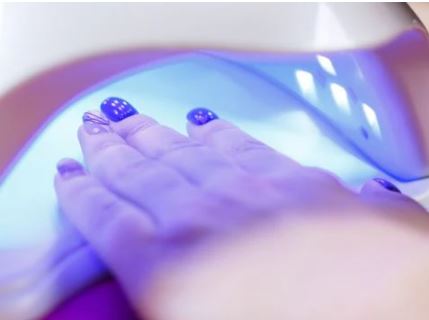
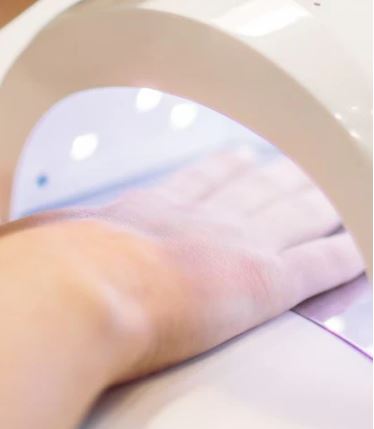
9. Incorrect Lamp Positioning
If the nails are not properly aligned under the lamp, certain areas may not receive adequate light exposure, leading to uncured patches. Position your hands correctly and consider curing thumbs separately to ensure even curing.
10. Gel Polish Formulation
Not all gel polishes are created equal. Some formulations may be more sensitive to specific curing conditions.
A brand that is a top seller is Venalisa. Crafted with a focus on both durability and aesthetics, Venalisa gel polish boasts a meticulously balanced blend of pigments and ingredients, resulting in rich, vibrant colors that retain their brilliance over time.
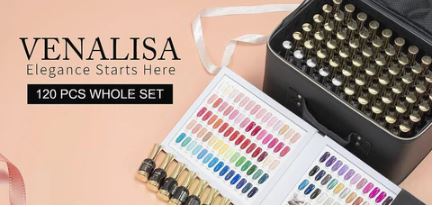
Its advanced formulation promotes strong adhesion, preventing chipping, fading, or lifting, even in demanding environments. The consistency and ease of application ensure precise results, while the gel’s self-leveling properties contribute to a smooth, long lasting finish.
These attributes, combined with its resistance to scratches and the capacity to maintain a high-gloss shine, showcase Venalisa’s commitment.
They provide a professional-grade gel polish that meets the exacting standards of nail technicians. I also have a helpful article about the best gel polish kits for beginners with budget friendly options.
11. Overcrowding the nail Lamp
Curing too many nails at once can result in uneven light distribution, causing certain areas to remain uncured. Cure fewer nails at a time or invest in a larger lamp if needed.
If you need to set a design quickly before the final cure, consider a nail art lamp that has an arm attachment for a fast set before the finial cure.
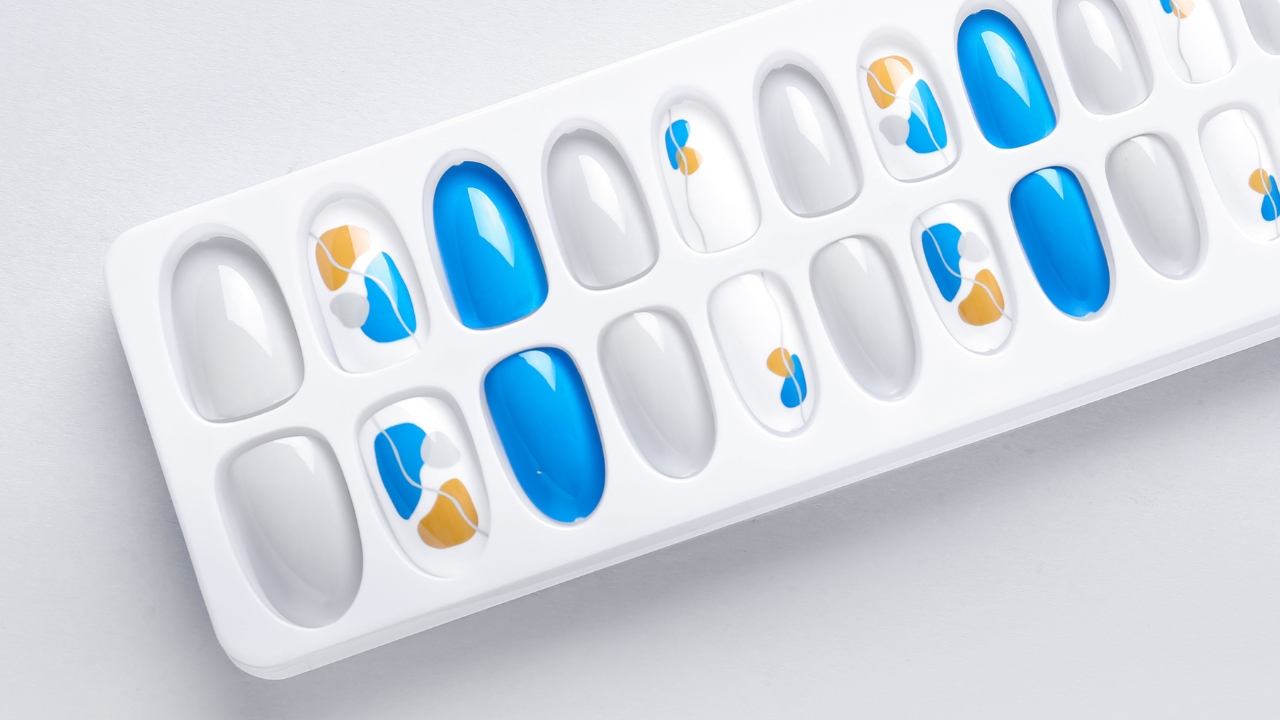
12. Shape of Nails
Long or curved nails may not receive uniform light exposure, leading to uneven curing. Adjust your curing technique for nail length and shape by curing nails in different positions to ensure complete coverage.
When it comes to curing nails under a lamp, certain nail shapes, like short nails are generally easier to work with. This is due to their flat and open surfaces that can be evenly exposed to UV or LED light.
The easiest shapes to cure under a lamp include square and squoval (a combination of square and oval) nails. These shapes provide a broader and more uniform area for light exposure. This ensures that the gel polish cures consistently and thoroughly.
The straight edges of square nails and the slightly rounded edges of squoval nails help the light reach the whole nail. This reduces the risk of uncured patches of gel.
13. Improper application
Applying gel polish directly onto the natural nail without a base coat can hinder proper adhesion and curing. Always start with a proper base coat to create a smooth surface for gel polish application.
14. Temperature and Humidity Factors
Temperature and humidity can impact the curing process of gel polish. Extremely low temperatures can slow down polymerization, leading to incomplete curing.
Similarly, high humidity can interfere with proper adhesion and curing. Aim to work in a controlled environment with optimal temperature and humidity levels for consistent results.
15. Not Curing In Between Layers
Applying multiple layers of gel polish without curing each layer separately can result in uncured patches.
Cure each layer individually before applying the next to ensure complete polymerization and a smooth, even finish.

In Conclusion:
So, can you do nail art with gel polish? The answer is yes, as long as your gel polish is curing properly.
The next time you encounter uncured gel polish, you’ll be armed with the knowledge needed to troubleshoot and achieve the dazzling results you desire.
Next, head on over to our blog post and learn how to use gel polish properly.