How To Make Nail Polish Last Longer: PRO TIPS ✅
This is how to help a manicure using regular nail polish last longer without chipping.
Every nail polish manicure is a beautiful creation, and it would be great if we could keep that new polish look for as long as possible without peeling or chipping.
Regular nail polishes don’t tend to last very long, so to make sure your polish stays intact longer, here are some tips on how to prolong manicures and help give you a couple extra days of wear.
We will discuss:
- Prepping the nail first so that the nail polish applies evenly
- How to avoid early chipping
- The right ways to store nail polish
- The importance of using a quality brand
- What you can do to cover up nail polish chips
- How to keep your nail beds healthy for a proper base for the nail polish
How To Make Nail Polish Last Longer
1. Start With Clean & Dry Hands
Applying regular nail polish is a great way to express yourself and ensure your nails look fabulous. However, one of the most important steps when it comes to achieving an amazing manicure or pedicure, is starting with clean and dry hands.
That’s because anything on your hands, such as oils or lotions, can interfere with adhering properly and staying on for longer periods of time.
Hands must be completely dry, especially around the cuticle area so avoid washing your hand right before the application. Also, avoid applying any hand cream or cuticle oils before doing a manicure.
In order to make sure your polish goes on smoothly and lasts you longer, it is essential to begin with clean hands and dry nail beds.
2. Remove all prior nail polish
Ella + Mila Nail Polish Remover
It’s important to remember that the key to successful manicures is the preparation.

Before applying the polish, you must make sure to remove any existing polish.
This ensures a smooth and even finish, as any air bubbles or unevenness caused by an old layer of color can ruin the aesthetic especially with jelly nail polishes.
So before picking out your favorite color, make sure you take some time to carefully remove any existing layers first.
3. Prep your nails for nail polish
Shop for nail prep kits on Amazon
Preparing nails for regular nail polish can be like a work of art in itself. Taking the time to clean up the cuticle area by getting rid of hang nails and buffing off the shine with a manicure set is essential.
By preparing the nail bed, this will make your polish last much longer and it will also look much more professional.
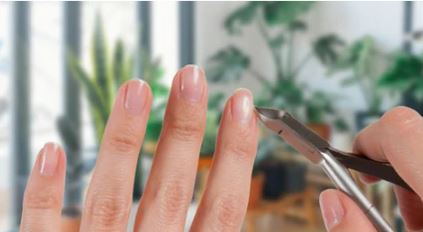
If these steps are skipped and the polish is applied on top of a shiny nail surface, it will cause the it to chip much faster. This can prevent regular nail polishes from lasting through weekly wear and tear.
4. Use a quality nail polish brand
Using a quality nail polish is important because it ensures a better and longer-lasting application, reducing the need for frequent touch-ups.
High-quality nail polishes are formulated with better ingredients, which can be gentler on your nails and cuticles, making the manicure last longer.

Additionally, they often come in a wider range of colors and finishes, providing more options to express your personal style. Another brand to try is the artisan brand, Cirque Colors nail polish.
5. Apply a base coat
Enriched Base Coats From Dr’s Remedy
Base coats help regular nail polish adhere to the nail and prevent staining from the pigments that are used.
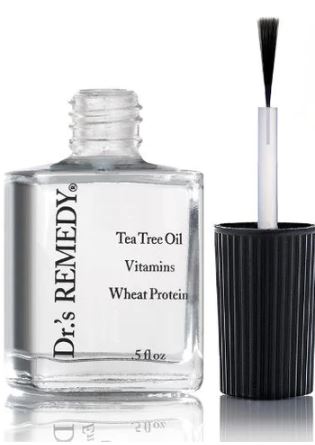
They also help regular nail polish last longer and avoid chipping or peeling.
Moreover, some base coats have properties that offer additional protection for weak or damaged nails, that helps prevent splitting and cracking.
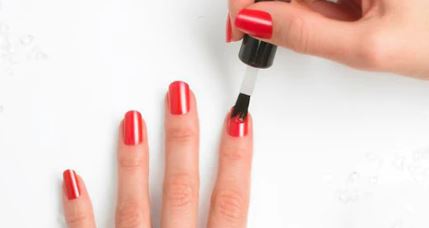
6. Paint several thin coats instead of thick coats
It’s important to paint thin coats in order to get the best results. Thicker coats are more likely to peel right off, making all the time you spent on achieving that perfect mani for naught.
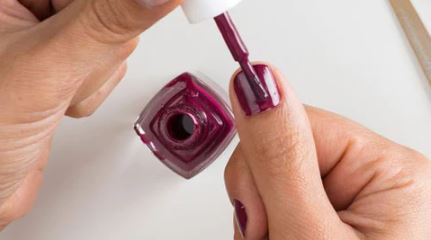
Thin coats take longer and require more patience, but you’ll be able to enjoy your freshly painted nails much longer.
Plus, if you apply it correctly, creating thin layers as you go, you can even avoid having any major mistakes around the cuticles areas.
7. Avoid flooding the cuticles
It’s important to remember that regular nail polish should always stay a millimeter or two away from the cuticle.
Going too close can cause peeling, very quickly, so always make sure to keep regular polish away from your cuticles for best results!
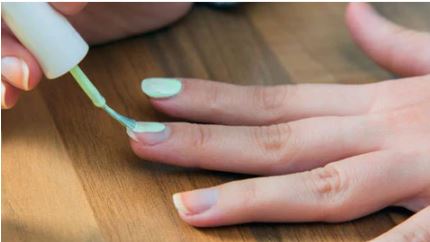
Taking a few extra seconds by going more slowly when painting your nails will save you the headache of having to fix any nail polish peeling later on.
8. Wait for each layer to fully dry
Painting your nails can be a tricky business, but here’s a hack that can save the day: always make sure each layer of polish is completely dry before painting another coat.
It may seem obvious, but it’s easy to get caught up in the moment and jump the gun – only to end up with clumps, smudges, and failed manicures. So take the time, practice patience and play it cool.
9. Use a quality top coat
Keeping nail art looking fresh can be challenging, and if you don’t seal the finished nail with a top coat, it just won’t last as long.
Applying two thin layers of topcoat not only helps protect the nail art design you have chosen and it also helps the nails more durable and resilient against everyday wear and tear.
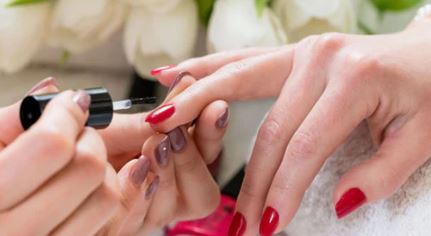
10. Apply polish and top coat to the free edge
Capping your nails after applying nail polish eliminates any gaps or rough edges, creating a smooth finish that significantly enhances the overall look of your manicure.
In addition to making your nails look more polished, capping helps protect the fresh color and enables it to last longer.
Taking that extra step to cap your nail when applying polish is worth it in the long run – you’ll get a longer lasting, cleaner looking manicure every time!
Just be careful not to paint the free edge with more than one coat of polish to one coat of top coat because you can ruin the crisp lines of your shape. Thin coats are best.
11. Dry your nails completely
Not letting polish properly dry can be a huge mistake. If your nails aren’t completely dry, the nail polish won’t lay on the surface well and will chip away easily. Read our pro guide on how to dry nail polish quick!
12. Maintain your manicure
Taking the necessary steps to maintain regular manicures can be a great way to keep your nails looking polished and free of chipping and peeling.
Applying a thin layer of top coat every few days is especially important as nail polishes are known to chip and dull over time.
Not only does a regular top-coat help keep your nails looking vibrant, it also adds an extra layer of protection.
13. Cover up chips
For those of you who are tired of fixing chips in regular nail polish, there’s an easy hack!
Try covering up small chips with either rhinestones or nail art stickers.
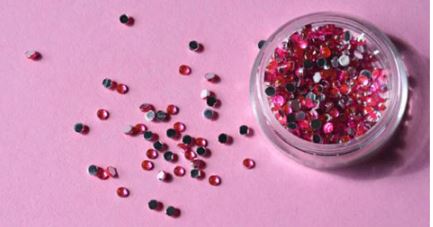
Rhinestones come in all shapes and sizes and can hide chips without too much effort.
Alternatively, if you’re looking for something a bit simpler, try using nail art stickers that can easily match the color or nail aesthetic.

14. Avoid getting bubbles in your nail polish
Avoid ever shaking the bottle – instead, gently roll it to mix the lacquer together. Giving it a vigorous shake can add air bubbles to your lacquer, leaving you with an uneven or bumpy result.
Your manicure will look as good as new for much longer if you’ve applied it without bubbles. So take your time and give your bottles a gentle roll between your hands when needed – it makes all the difference.
Roll the bottle for about 30-60 seconds to really get it mixed up properly.
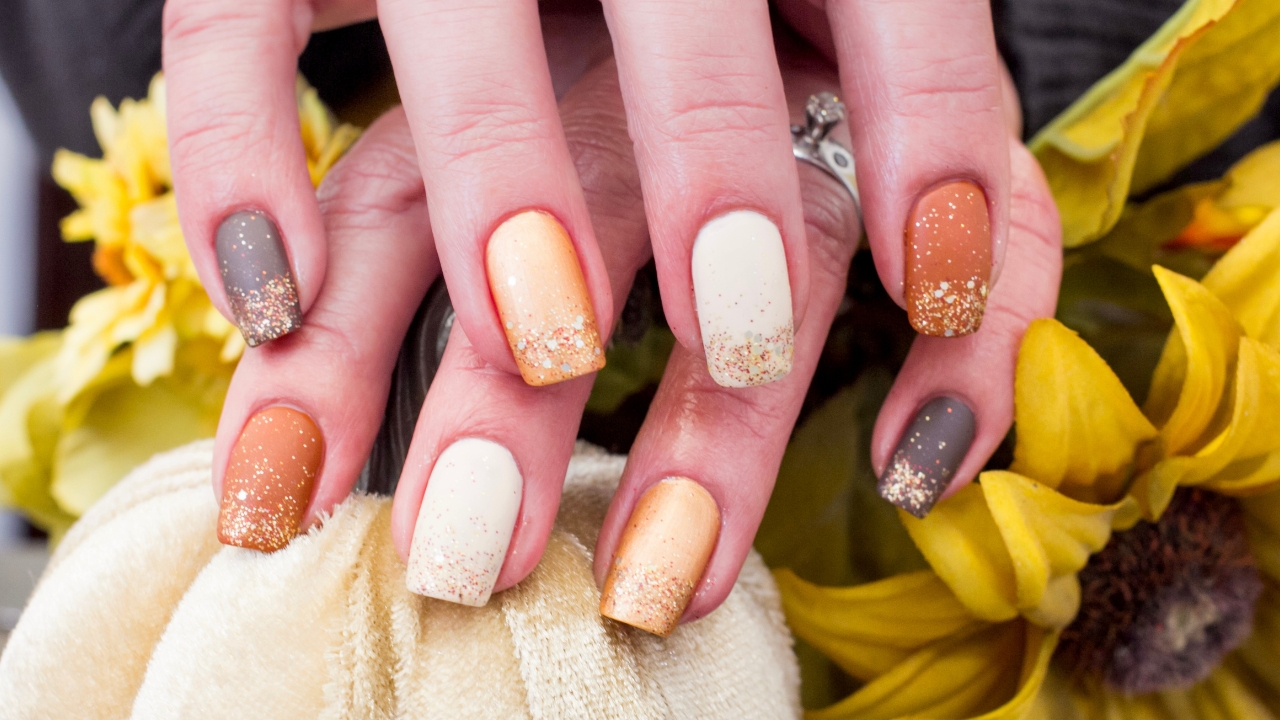
15. Place glitter polishes upside down
Glitter nail polish is a favorite way to add a touch of sparkle and pizazz. When it comes to glitter polish, it’s important to place the bottle upside down for a few minutes.
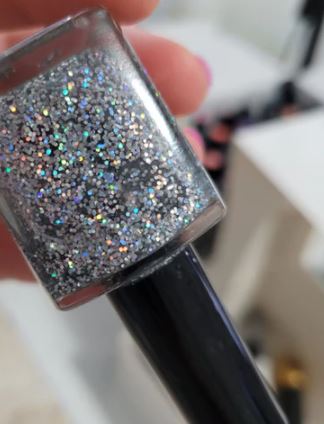
Why? The particles in glitter polishes will settle in the bottom of the bottle over time. By turning the bottles upside down, you keep all those gorgeous sparkles dispersed evenly and closer to the top.
Just be sure the lid is on night and tight.
16. use lighter shades
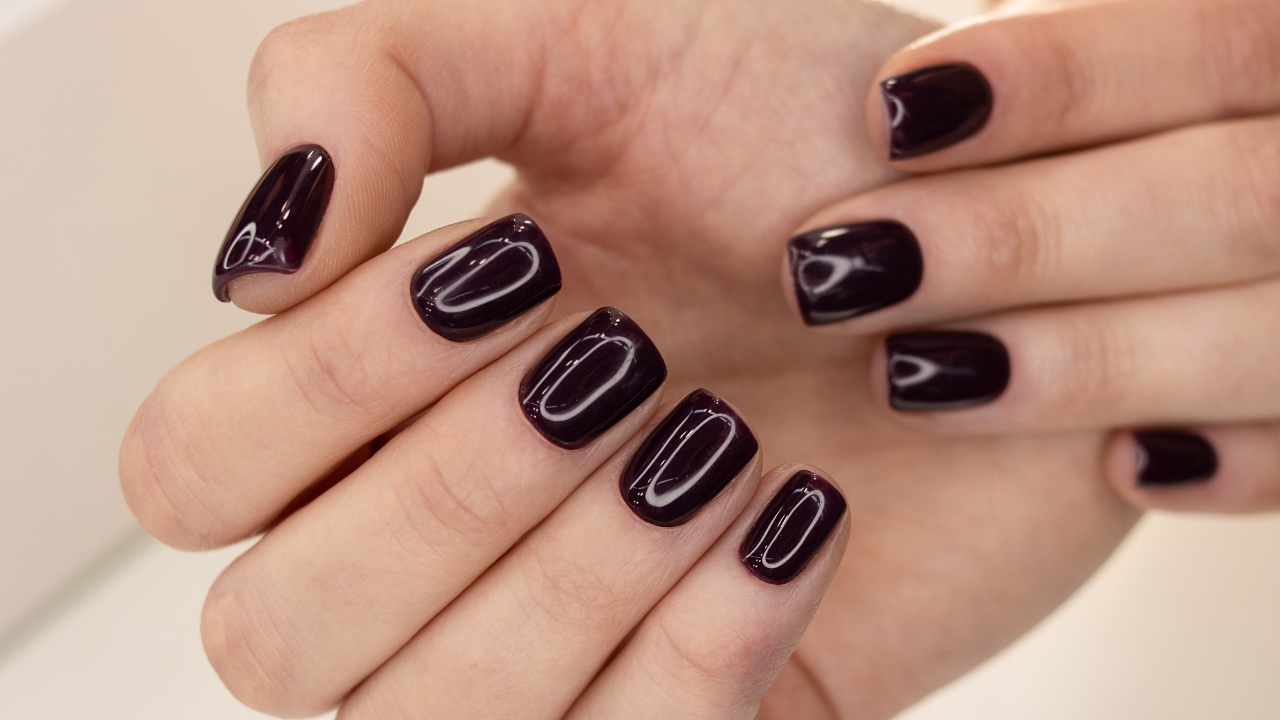
Many regular nail polishes tend to last longer when the color is a lighter shade. This has to do with how regular nail polish is formulated – since lighter colors are less pigmented, they have more binders instead of pigments.
Darker shades of nail polish, being more heavy on color leads and therefore deeper in color, have more pigments making it more prone to chipping away or wearing off faster than lighter shades.
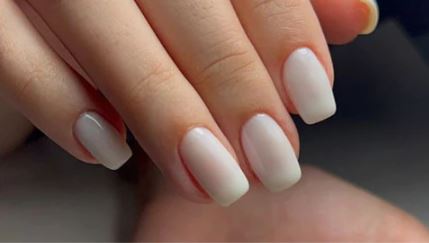
So if you’re hoping for a manicure that lasts longer, it’s best to stick to a lighter color like light pastel or jelly colors.
17. Protect your hands when cleaning
Wearing gloves when cleaning is an easy way to protect those freshly-painted nails, so you can stay selfie-ready without worrying about regular maintenance.
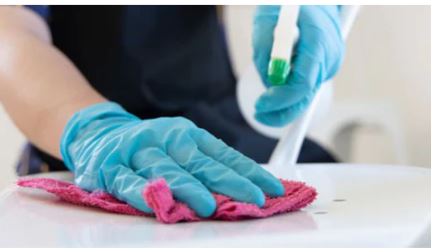
Gloves also create a barrier between your skin and the harsh chemicals used in cleaning agents, which can otherwise dry out your hands and lower the quality of your manicure in the long run.
18. Store nail polish correctly
Keeping your nail polish in a cool, dry environment is an essential part of storing it properly.
When exposed to high temperatures or humidity, nail polish and its components can separate and the pigments may no longer be evenly distributed throughout the bottle.
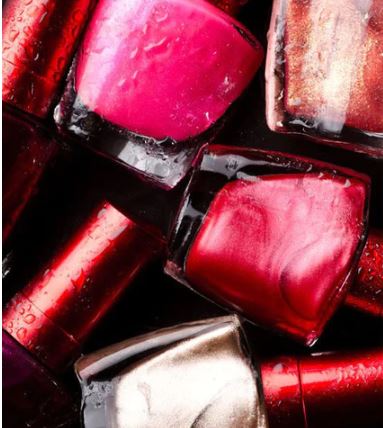
That’s why storing regular nail polish in a dark, temperate place away from radiators and heat vents helps maintain its stability and usability for much longer.
This also keeps it from becoming clumpy, gritty, or discolored due to poor storage and handling conditions.
Properly storing regular nail polish gives you more bang for your buck and get you more use out of your polishes. Especially darker colors that tend to thicken more quickly like black nail polishes.
19. Thin your polish
We all have those favorite colors that are now thick and gloopy. One key factor to consider when applying polish is ensuring that it’s not too thick.
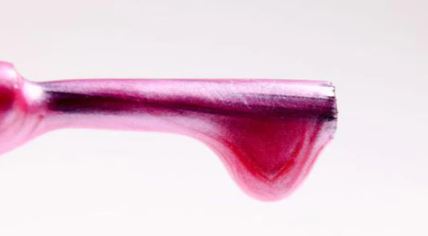
If it’s too thick you are taking a risk because chances are the finish won’t turn out as expected. So if you’re looking for a professional finish each time, try using a nail polish thinner to revive your favorite colors.
20. Use natural based hand creams
Natural hand creams moisturize, protect, and soothe cracked skin with powerful ingredients like shea butter and jojoba oil, which are safe for regular use.
Plus, these natural creams are free of irritants so you can trust them to keep your hands and cuticles looking and feeling wonderful!
21. Keep nail beds healthy
A really good long lasting manicure starts with a healthy nail bed. Maintaining strong, healthy nails is essential. Enter nail strengthener.

A nail strengthener can work wonders if you’re looking for improved nail strength and protection from broken or chipped nails.
And in the long-term, regular use of specific nail products designed to strengthen your nails will help avoid thinning and splitting – both common problems.
22. Handmade soap for washing
Not only do handmade soaps add an extra dose of moisture, they often contain natural ingredients like herbs and oils that help restore dryness and nourish the skin.
These natural ingredients are great for keeping nails strong and healthy, whereas regular soap can sometimes be harsh on the delicate cuticles and nail bed.
Not only are handmade soaps great for protecting your regular manicures, but they can also be used as part of regular at-home maintenance that will keep your nails looking their best.
23. Maintain your natural nails
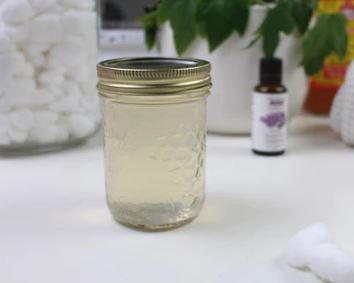
How to strengthen nail beds with apple cider vinegar
This totally natural DIY nail strengthener will keep in the fridge for up to two weeks. Once you start making your own nail helper you will never want to go back to store bought again.
Using natural nail strengtheners will help give the nail polish a good base to start off from and that will help prevent chipping.
In Conclusion:
Using regular nail polish is something that you might reach for often for a quick manicure but if you really want your nails to last then you might want to try gel polishes.