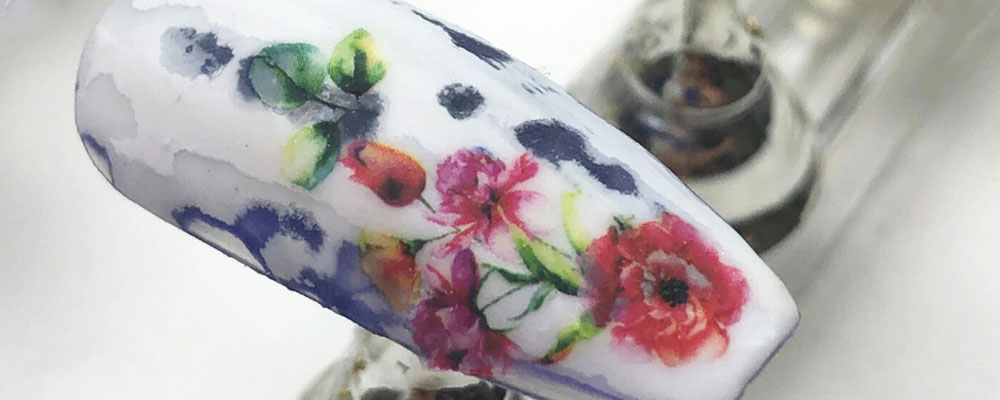
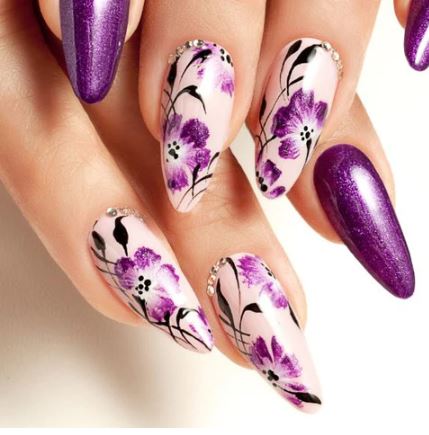
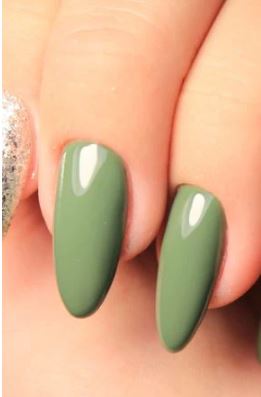
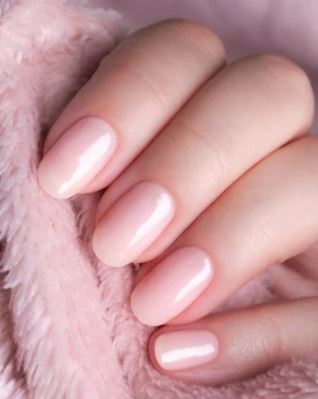
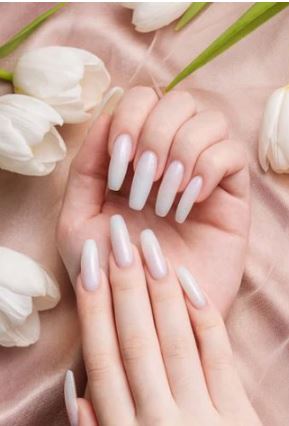
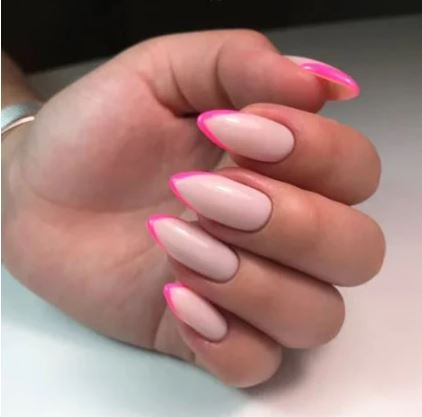
Acrylic vs gel nails: 10 differences
Here are the differences between acrylic nails and gel nails.
Trying to decide if acrylic or gel nails are the better choice for your needs? Knowing the key differences between acrylic and gel nails can help you make this decision.
Acrylic and gel nails both create a great look, however, there are important factors to consider when deciding which is best for you.
Understanding these differences can help you choose the best option for your desired look! Let’s explore some important differences between getting your nails done with acrylic or gel polishes.
Acrylic Nails vs Gel Nails: Must Know Differences
1. Composition Of Ingredients
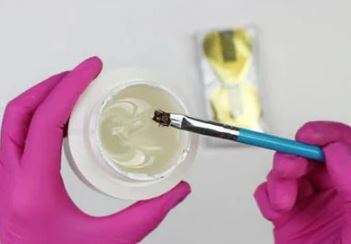
Gel polish contains gel-like ingredients, whereas acrylic nails consist of a liquid and powder mixture that hardens upon drying.
Nail technicians use acrylic nail powder and monomer as two key components in applying acrylic nails.
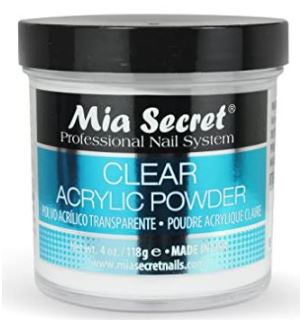
Acrylic nail powder, also known as polymer powder, is typically made from a polymer called Poly(methyl methacrylate) or PMMA, which is a type of acrylic polymer.
The powder is usually a fine, odorless powder that is used to create a bond between the natural nail and the acrylic material.
Acrylic monomer, also referred to as liquid monomer, serves as a liquid component mixed with acrylic powder to form a workable mixture.
It is typically made from ethyl methacrylate (EMA).
MMA was commonly used in the past as a key ingredient in liquid monomer but is now considered unsafe due to its high levels of toxicity and potential for allergic reactions.
Many manufacturers have since switched to EMA, which is considered safer and less likely to cause skin irritation or allergic reactions.
Nail technicians apply the mixture of monomer and acrylic powder to the natural nail or nail form, shaping it into the desired length and shape before it solidifies into a durable, artificial nail.

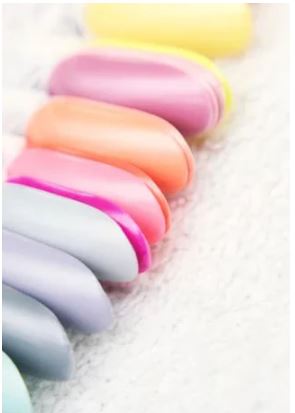
Gel nail polish is typically made from a combination of ingredients that can vary slightly among different brands and manufacturers. However, some of the most common ingredients found in gel nail polish include:
1. Acrylates copolymer:
This ingredient is the primary component of gel nail polish and is responsible for its thick, viscous texture.
2. Photoinitiators:
These are chemicals that help the gel polish cure or harden under a UV or LED lamp.
3. Pigments:
These are added to give the gel polish its color.
4. Solvents:
These are used to help dissolve the other ingredients and create a smooth, even consistency.
5. Additives:
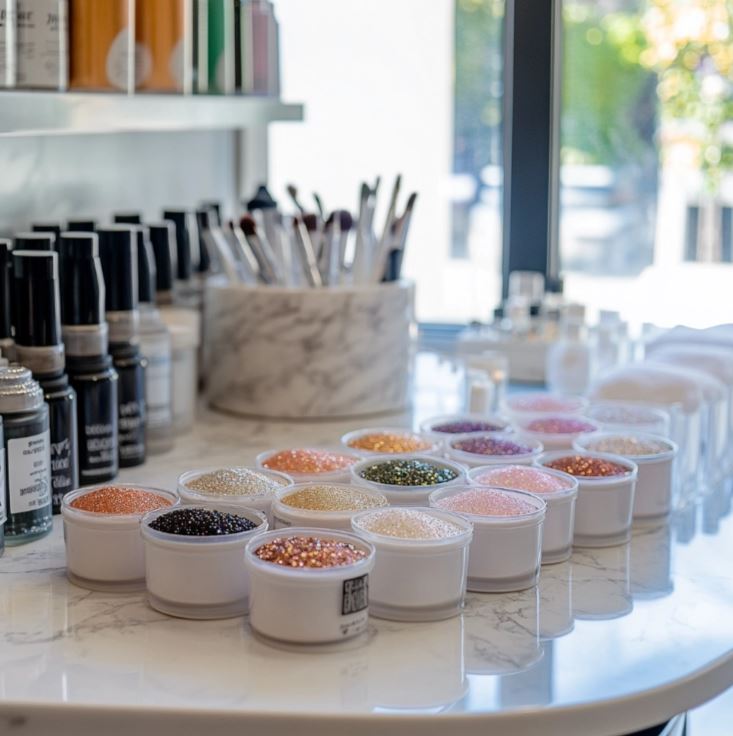
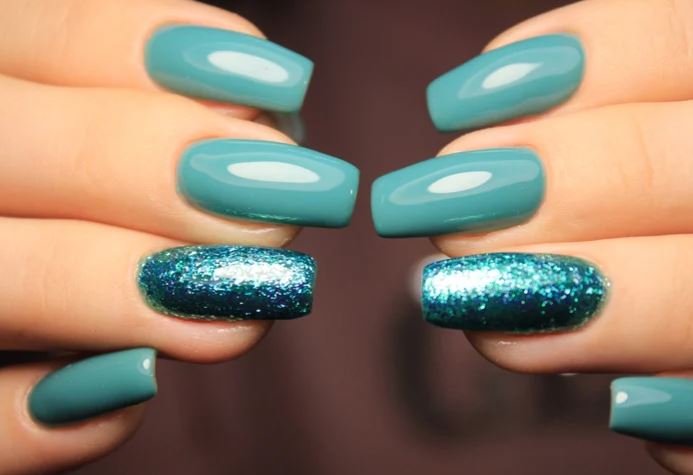
Various additives may be added to enhance the performance or aesthetic properties of the gel polish. Popular additives are glitter, shimmer, matte finishes or adding metallic flakes to create cat eye nail polish.
Plasticizers:
These are added to increase the flexibility of the cured gel polish, which helps prevent cracking or chipping.
It’s important to note that gel nail polish may also contain other ingredients or chemicals. Each brand has their own formulations.
Also note that gel polishes are not the same as shellac gel polish. We have a helpful article about what is shellac polish to learn more about the CND brand.

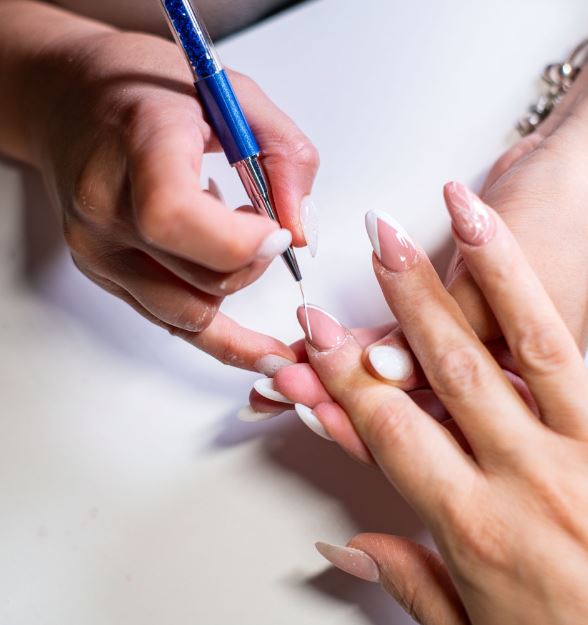
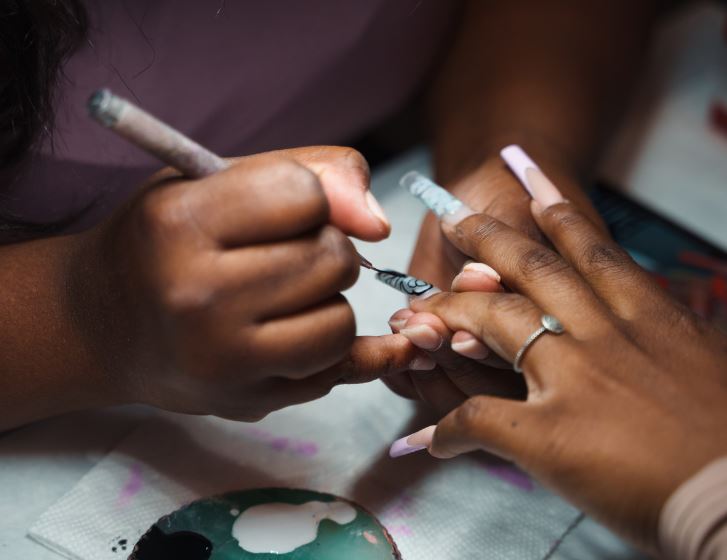
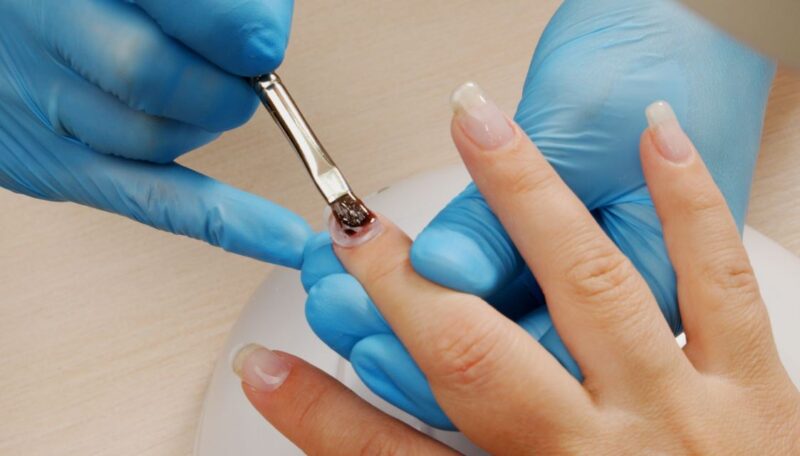
2. Application Process
Gel polish, no matter if it is gel that comes in a bottle or solid cream gel polish is applied like regular nail polish. While acrylic nails require a different application process. Here are the general steps for each:
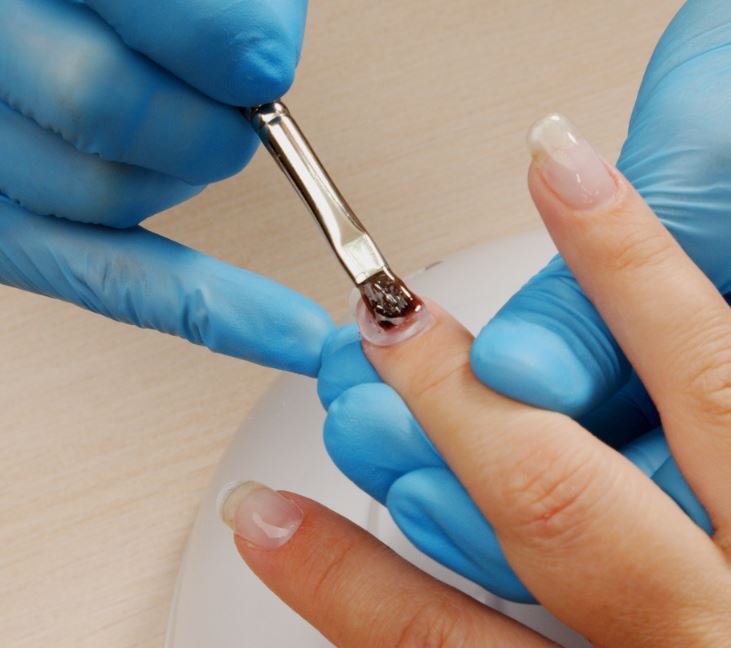
Application Process for Acrylic Nails:
- The natural nails are prepared by cleaning and buffing the surface.
- An adhesive or primer is applied to the natural nails to help the acrylic adhere to the surface.
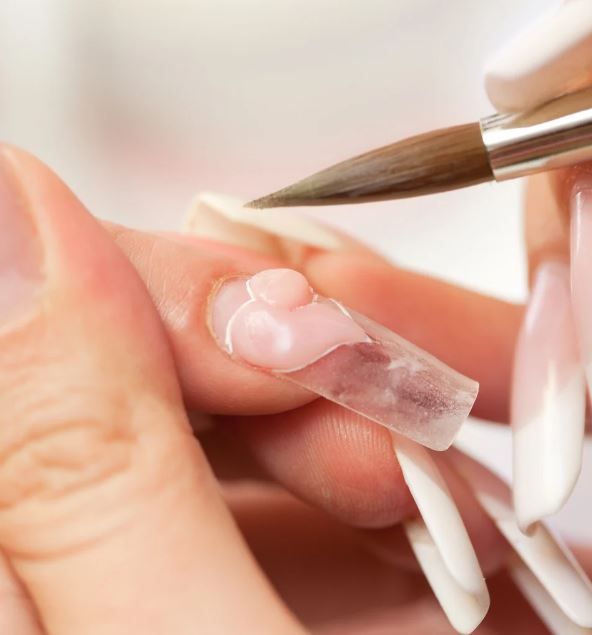
- The nail technician then dips a brush into the liquid monomer and then into the acrylic powder to create a bead of acrylic.
- The bead of acrylic is then placed onto the natural nail. Then it is spread out using the brush to create the desired shape and length.
- The acrylic mixture hardens and dries on its own, without the need for a curing lamp.
- The nails are then shaped and smoothed using a file and buffer, and then polished with a topcoat.
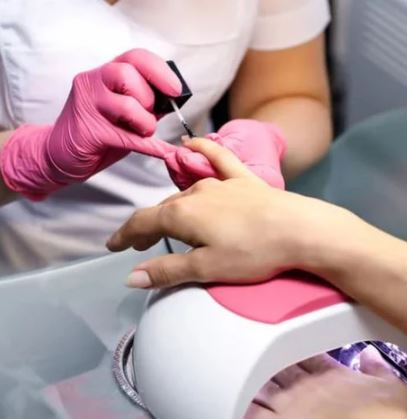
Application Process for Gel Nails:
- The natural nails are prepared by cleaning and buffing the surface.
- An adhesive or primer is applied to the natural nails to help the acrylic adhere to the surface.
- A base coat of gel polish is applied to the natural nails.
- The nails are then cured under a UV or LED lamp for a specified amount of time. This will harden and dry the gel polish.
- Additional coats of gel polish can be applied and cured under the lamp in the same way.
- The nails are then shaped and smoothed using a file and buffer, and then polished with a topcoat.
Overall, the application process for acrylic nails involves the use of liquid and powder that are applied to the natural nail.
The application process for gel nails involves the use of a gel polish that is cured under a UV or LED lamp.

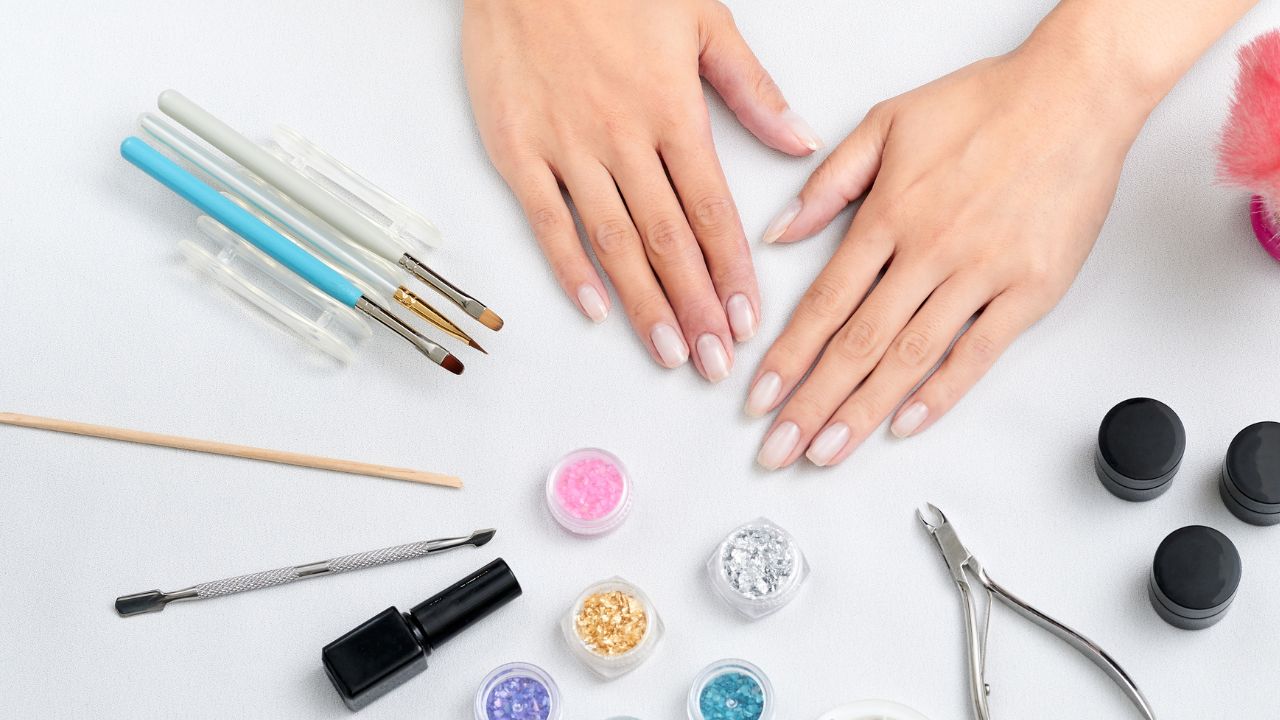
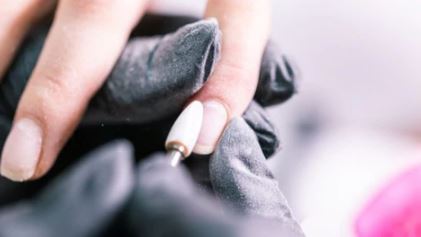
3. Supplies And Tools
There are differences in the tools required for acrylic nail and gel polish nails. A proper brush is required for acrylics. It is the number one tool needed to shape the acrylic powder and monomer.
Both acrylic nails and gel nails require some of the same nail tools for prepping the nails. A general nail art tools would be a nail drill. Here are some of the different tools needed for each.
Tools Needed For Acrylic Manicures
Acrylic powder: This is the main component of the acrylic nails. It is mixed with liquid monomer to create a paste that can be molded onto the nails.
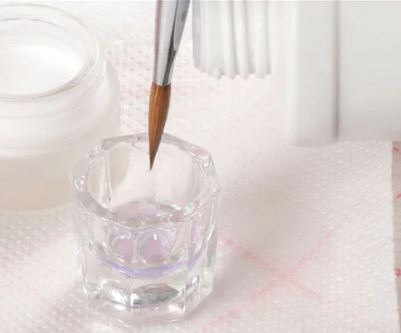
Liquid monomer: This is the liquid that is mixed with the acrylic powder to create a paste.
Nail forms: These are used to create the shape of the acrylic nails. They are placed under the natural nail and the acrylic mixture is applied over the top.
Acrylic Nail brush: A brush is needed to apply the acrylic mixture to the nails.
Dappen dish: This is a small glass or plastic dish that is used to hold the liquid monomer during the application process.
Tools Needed For Gel Manicures
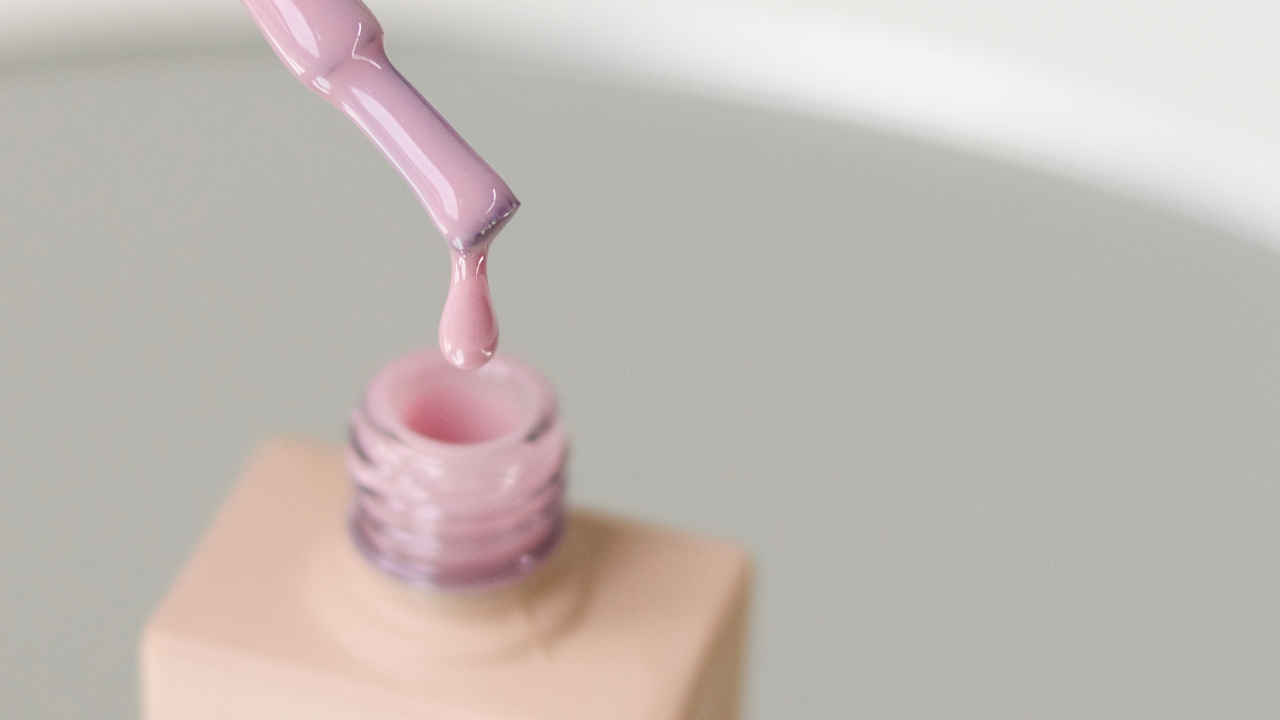
Gel polish: This is the main component of the gel manicure. It comes in a variety of colors and finishes.
UV or LED lamp: Gel polish requires a curing lamp to dry and harden the polish. LED lamps cure the polish faster than UV lamps.
Base coat & Top Coats: This is applied to the nails before the gel polish. It creates a smooth surface and help the polish adhere better to the nails. The top coat is applied after the gel polish to protect the nails and add shine or a matte finish.
Lint-free wipes: These are used to remove any residue or tacky layer.
Gel Polish Removal Kits: Used to soak off the gel polish.
Gel Brush Cleaner: Used to remove the gel polish from nail art brushes.
Alcohol or gel cleanser: This is used to remove any oil or residue from the nails before the gel polish application. Also used to remove the sticky layer (inhibition layer) of gel when not using a no wipe top coat.
4. Curing Process
When it comes to curing, gel polish and acrylic nails have different mechanisms for hardening and drying.
Acrylic nails harden through a chemical reaction between the liquid monomer and powder polymer. When the liquid monomer and powder polymer are mixed together, a chemical reaction called polymerization occurs.
During polymerization, the liquid and powder mixture starts to solidify and harden into a durable, artificial nail.
This chemical reaction is not affected by light and does not require a curing lamp. However, it is important to note that the chemical reaction for acrylic nails can take several minutes to fully harden and dry.
This is why nail technicians typically work on one nail at a time during the application process
Gel polish is a type of nail polish that contains photoinitiators, which are chemicals that react to UV or LED light. When a layer of gel polish is applied to the nail, the photoinitiators in the polish are activated by exposure to the light from a UV or LED lamp.
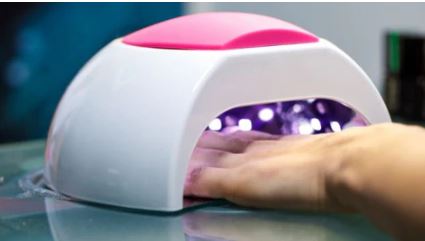
This triggers a chemical reaction that causes the polish to harden and dry, forming a durable, glossy coating on the nail.
The curing process typically takes between 30 seconds to 2 minutes under a UV or LED lamp, depending on the brand and formulation of the gel polish.
5. Drying Time
It’s important to note that the drying time for both gel polish and acrylic nails can vary.
This depends on factors such as the brand and formulation of the product, the thickness of the application, and the type of curing lamp used.
Additionally, it’s important to follow the manufacturer’s instructions for curing and drying times to ensure that the product is fully hardened and dry before touching or manipulating the nails.

6. Thickness Of The Nail
When it comes to thickness, acrylic nails tend to be thicker than gel polish. This is because acrylic nails are created by mixing a liquid monomer with a powder polymer to form a paste.
Then, that is applied to the natural nail and then sculpted and shaped to create the desired length and thickness.
The thickness of acrylic nails can have both advantages and disadvantages. On the one hand, a thicker nail can be more durable and less prone to breaking or cracking.
This can be especially beneficial for people who work with their hands or have weak, brittle nails. On the other hand, a thick nail can feel heavy or uncomfortable, and may not look as natural as a thinner nail.
The resulting acrylic nail can be quite thick, depending on how much of the liquid and powder mixture is used and how it is applied.
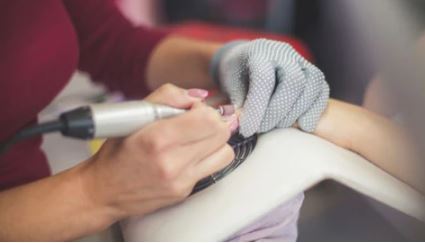
With both applications of acrylic and gel polishes, the bulk of the nail can be filed down with a nail file or electric edrill for nails for those who are experience with using them but gel polish does not normally require any filing unless it’s a builder gel.
7. Durability Of The Materials
While gel polish does tend to last longer than regular nail polish, it may not be as durable as acrylic nails.
Here’s the difference in durability of gel polish and acrylics.
Acrylic Nails Durability
Acrylic nails can last for several weeks to a month or more. This depends on factors such as how well they are cared for, the thickness of the application, and the rate of natural nail growth.
Acrylics can be more durable than gel polish, and may be less prone to chipping or peeling.
However, acrylic nails may require more frequent maintenance and refills to maintain their shape and thickness.
It’s important to note that the durability of both gel polish and acrylic nails can vary depending on factors such as how well the nails are cared for, the quality of the products used, and the individual’s natural nail health.
It’s also important to work with a trained and experienced nail technician to ensure that your nails are applied and maintained properly, and to address any concerns about durability or other aspects of the nail application.
Gel Polish Durability
In contrast, gel polish is a thin, flexible layer of polish that is applied to the nail and cured. This process creates a durable, glossy coating.
While multiple coats of gel polish can be applied to create a thicker layer, the overall thickness of gel polish is much thinner than that of acrylic nails.
Gel polish generally lasts longer than regular nail polish but not as long as acrylic nails. Durability is an important factor to consider when choosing between gel polish and acrylic nails.
Generally, gel polish can last up to three weeks or more, depending on factors such as the brand and formulation of the polish, the thickness of the application, and how well the nails are cared for.
Gel polish can be prone to chipping or peeling, especially if the nails are exposed to harsh chemicals or frequent hand washing. However, with proper care and maintenance, gel polish can provide a long-lasting, high-gloss finish.
Builder gel can last up to 4 weeks or more. But when compared to acrylic nails the acrylic will give you a harder and longer lasting nail.
8. Removal Of The Product
The removal of acrylic and gel nails are similar in many ways. Acrylic nails do take longer to remove due to the thickness of the nail. Here are the general ways a nail tech would remove acrylic or gel nails.
Removing Acrylic Nails
- Trimming the nails: The nail technician may use a nail clipper to trim the nails down as much as possible.
- File the nails: Then the nail technician would use an electric file or hand file to file down the nails and remove the shine from the surface of the nails.
- Soaking the nails in acetone: Soaking the nails in a bowl of acetone or wrapping each nail in a cotton ball soaked in acetone will speed up the process. The nails are then covered to hold the cotton ball in place and allow the acetone to work more effectively.
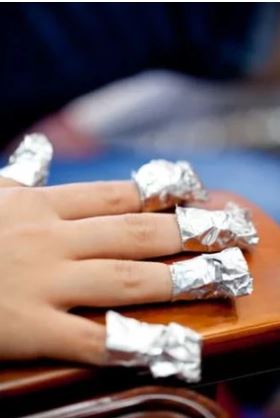
- Wait for the acrylic to soften: It is now time to wait for the acrylic or gel to soften and start to lift away from the natural nail. This can take anywhere from 10-20 minutes depending on the thickness of the acrylic or gel nails and the type of acetone used.
- Remove the acrylic: Once the acrylic or gel has softened, the nail technician will use a cuticle pusher or an orange stick to gently scrape away the acrylic from the natural nail. They may also use a buffer or file to remove any remaining residue.
- Clean the nails: Once the acrylic or gel has been removed, the nail technician will clean the nails with soap and water, then sanitize the nails with an antiseptic solution.
- Apply cuticle oil: To help nourish and moisturize the nails and cuticles after the acrylic removal process, the nail technician may apply cuticle oil to the nails.
9. Odor Of acrylic vs gel polish
Acrylic nails can produce a strong odor during the application process, while gel polish has a milder scent.
The odor difference between gel polish and acrylic nails primarily stems from the materials used and the application process involved in each nail enhancement method.
Gel Polish Odor
Gel polish is a type of nail polish that is cured under a UV or LED lamp to harden and set.
This type of nail covering known for having a relatively mild odor compared to other nail products like acrylic.
The odor is often described as a faint, chemical or sweet smell, but it is generally less pungent and overpowering than acrylic.
Gel polish is typically applied in several layers, including a base coat, color coat, and topcoat, with each layer being cured under a lamp, which contributes to the minimal odor.
Acrylic Nails Odor
Acrylic nails are created using a mixture of acrylic powder and liquid monomer, which are combined to form a dough-like substance that can be shaped and molded onto the natural nail.

The odor associated with acrylic nails is often more noticeable and stronger compared to gel polish. The smell is often described as strong and chemical, resembling a pungent, acrylic-like odor.
The strong odor of acrylic nails is primarily due to the fumes emitted during the chemical reaction between the acrylic powder and liquid monomer as they harden and set.
It’s important to note that while the odor of gel polish is generally milder than acrylic, individual sensitivity to smells can vary, and some people may still find the odor of gel polish to be bothersome.
Proper ventilation in a nail salon or at-home nail care environment is essential to minimize the inhalation of potentially harmful fumes and to maintain air quality.
Additionally, nail technicians should follow safety guidelines and use appropriate products to reduce odor and exposure to harmful chemicals.
Clients can also consider using odor-reducing techniques and products if they are sensitive to the smells associated with nail enhancements.
10. Cost Of Gels vs Acrylics
Generally you will usually pay more for a full set of acrylic nails than gel nails. There are several reasons why acrylic nails may cost more than gel nails:
1. Time:
Acrylic nails require more time to apply than gel nails. The process of applying acrylic nails involves several steps, including mixing the liquid and powder, shaping the acrylic, and allowing it to dry.
This process can take longer than applying gel nails, which typically only require a few coats of polish.
2. Materials:
The materials used to create acrylic nails, including the liquid monomer and powder polymer, can be more expensive than the gel polish used for gel nails. Additionally, acrylic nails may require more frequent maintenance and refills, which can increase the overall cost.
3. Skill level:
Applying acrylic nails requires a higher level of skill and training than applying gel nails. A skilled and experienced nail technician can command higher prices for their services.
4. Availability:
Acrylic nails may not be as widely available as gel nails, as not all nail salons offer acrylic nail services. This can result in higher prices for those who do offer the service.
5. Durability:
Acrylic nails may be more durable than gel nails, which can be a factor in their higher cost. Acrylic nails can last longer and be less prone to chipping or peeling, which can be beneficial for those who want long-lasting and durable nails.
Overall, the cost of acrylic nails vs. gel nails can vary depending on factors such as the location, the skill level of the nail technician, and the quality of the materials used.
It’s important to choose a reputable and experienced nail technician and to discuss pricing and any additional fees before beginning any nail service.
In Closing
Choosing acrylic or gel nails comes down to personal preference and desired outcome. Acrylic nails provide a stiff and durable finish at an affordable price point, whereas gel nails offer a natural feel with the added flexibility of being able to customize your look.
Whichever type of nail you choose, always remember to take care of your nails regularly for a long-lasting manicure.
As we’ve seen from this list, acrylic and gel nails have quite a few differences – but ultimately, they both provide an amazing manicure that will help you look your best!
💖 If you would like to support our nail blog, feel free to share this article on your social media or link back to this article from your own blogs and websites.
More Nail Art Ideas