How To Clean A Nail Art Practice Hand
Here is a step by step instructional how to clean a nail art practice hand made from silicone.
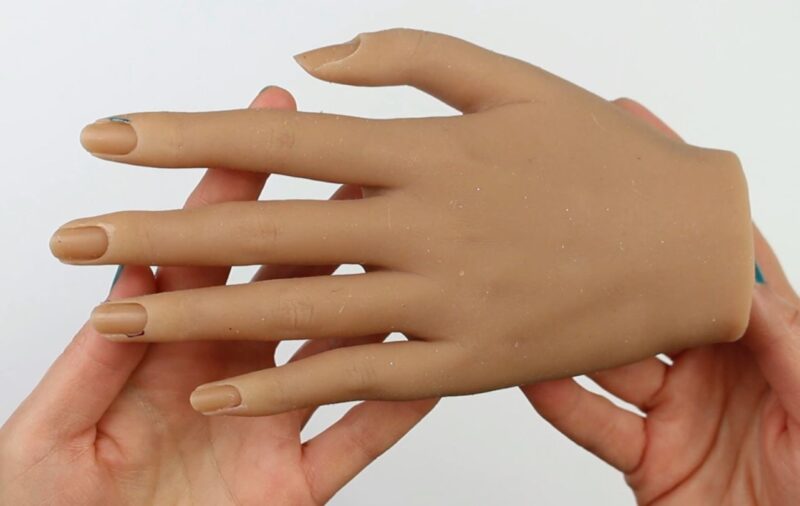
Realistic nail practice hands are a must have nail art tool for practicing your nail art ideas.
Purchasing a high quality silicone hand like the hands here on Amazon, can be very expensive.
I remember the first time I used a nail art practice hand. I was so excited to try out my new nail designs, but I didn’t realize how messy things could get.
After a couple of hours of experimenting with nail art glitter, rhinestones, and a rainbow of polish, the hand looked like it had been through a nail art explosion!
There was glitter stuck in every crevice. Dried polish around the cuticles, and tiny smudges of topcoat where I wasn’t paying attention. It was a hot mess, but I didn’t mind at first—it showed how much fun I was having.
Then I tried to switch to a new design. That’s when I realized the mess wasn’t going anywhere without some serious cleaning.
I knew I had to learn how to properly clean a nail art practice hand to keep it looking fresh.
Also, the cuticles are very thin and if you are not being careful, they can easily rip. So there goes your money right down the drain. Once a cuticle gets damaged, they just never look the same, do they?
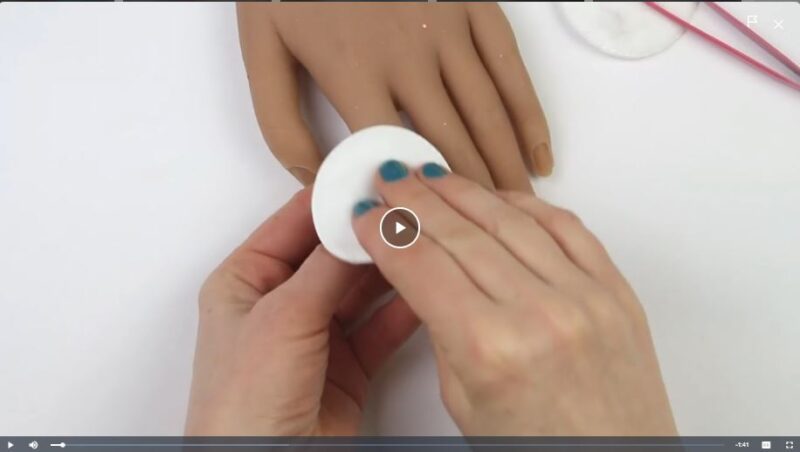
🎥 For this DIY we are partnering up with SugarField DIY. Watch this video tutorial in their Amazon shop. They show you step by step how to wash a silicone practice hand.
how to clean a nail art practice hand
Silicone practice hands can be very expensive. It’s important to make sure that it is being looked after so that it will last as long as possible. This meaning clearing them the right way.
Step by step instructions
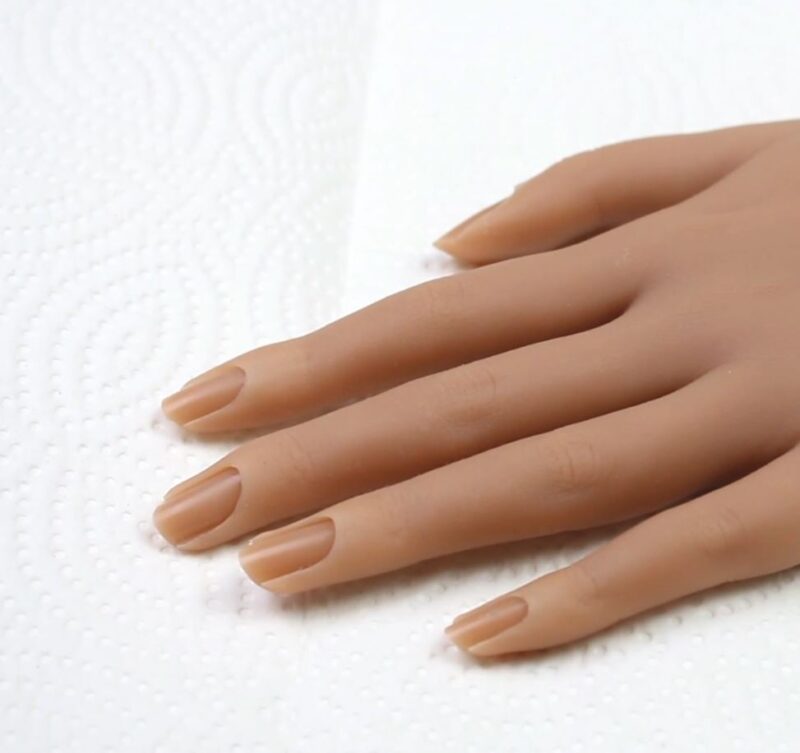
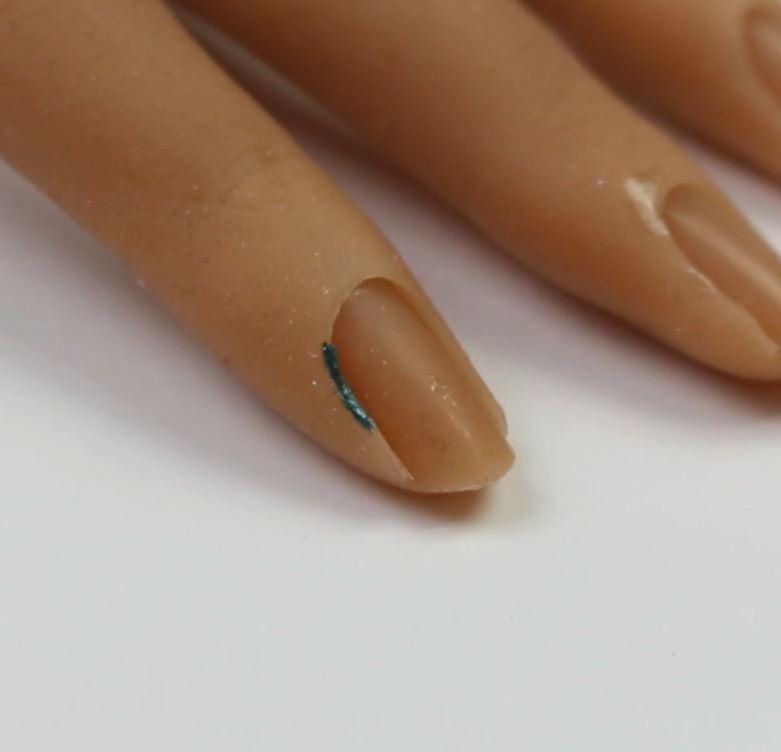
Step 1: examine the hand
Take a close look to see what needs to be cleaned off. There might be nail polish, glue, gel or other nail art supplies that you have used.
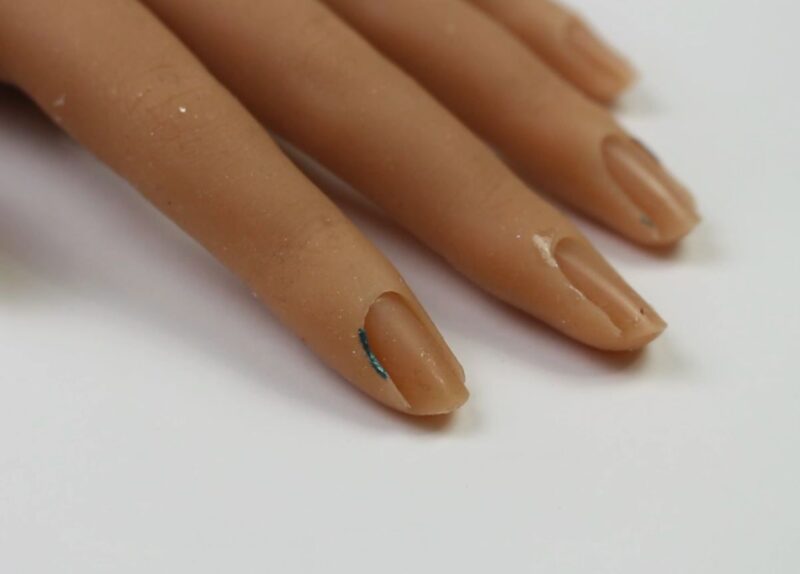
If there is any silicone that is actually damaged, then you can carefully trim those areas with very sharp cuticle cuticle scissors.
Only take the tiniest bit off at a time, if this is messed up in any way your hand will not look right.
The cuticle area might be damaged from long term use, from the nail drill or files. You can decide whether these need to be trimmed to get rid of the jagged edges.
Beware: Once you start cutting at the cuticle, your practice hand will never look the same or give the realistic look you are going for, so cut the cuticle area on extremely damaged hands.
Sometimes a practice hand might be used to the point where it just needs replacing. Here’s our article about the best silicone practice hands.
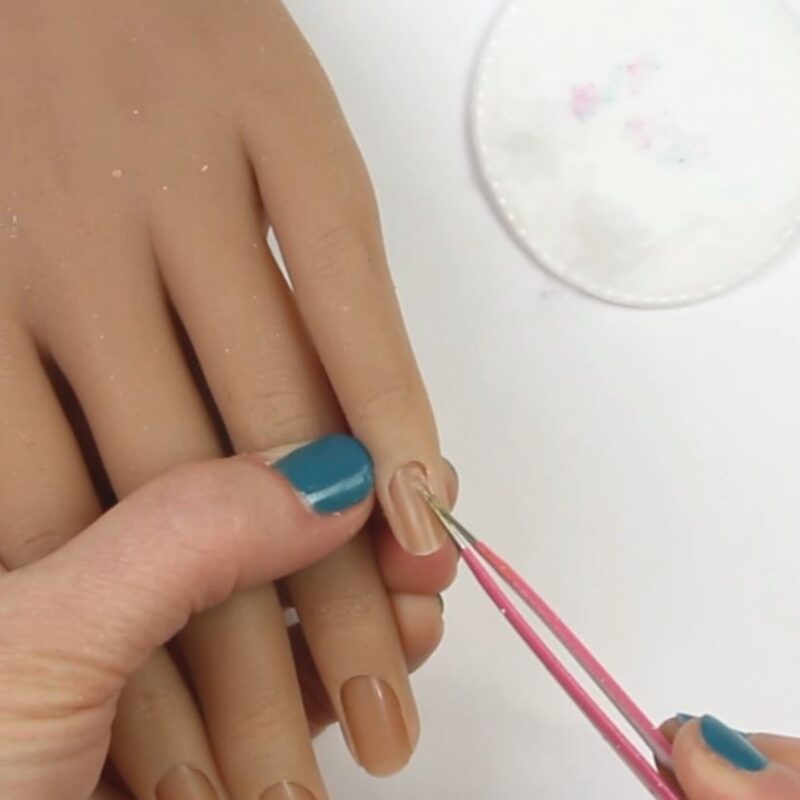
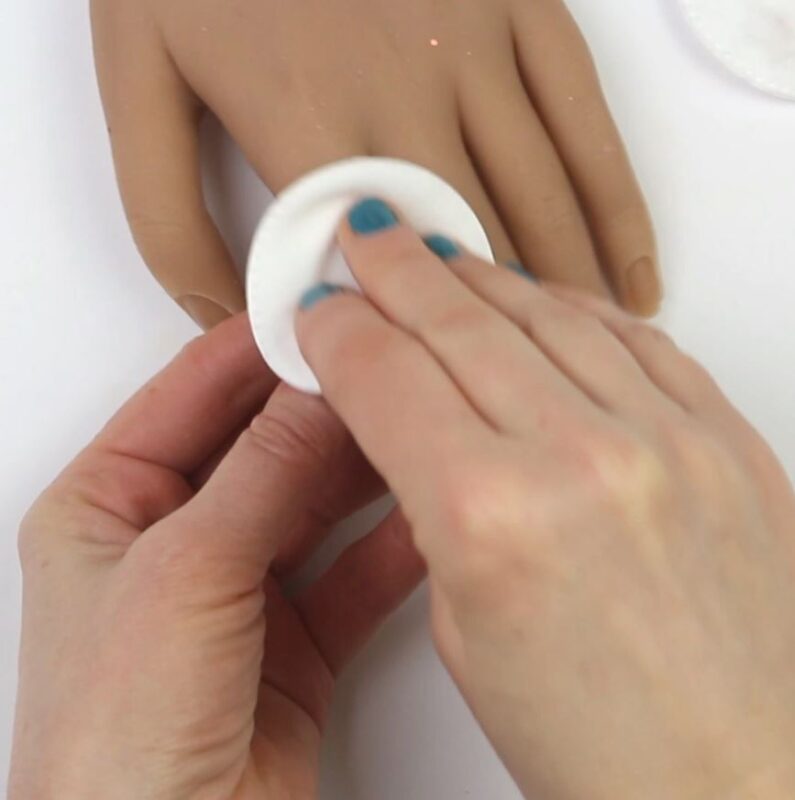
Step 2: First Wipe
Wipe off any nail polish, gel polish or glitter with acetone & lint free cotton pad.
Always wipe going from the cuticle down, not up. Going upwards can tear the thin cuticle.
If there is polygel, gel or acrylic, it should pop right off if you gently put your nail underneath it. It’s not a good idea to use any kinds of tools on the practice hands unless you are very experienced because you can easily damage the silicone.
Be especially careful around the cuticles when wiping or removing bits of gel, because that part of the silicone is very thin and can tear.
Step 3: Wipe with isopropyl alcohol
Gently wipe the whole hand with 70% isopropyl alcohol and a cotton pad alcohol for a deep cleansing. Get all of the fingers cleaned, and also the front and back of the hand.
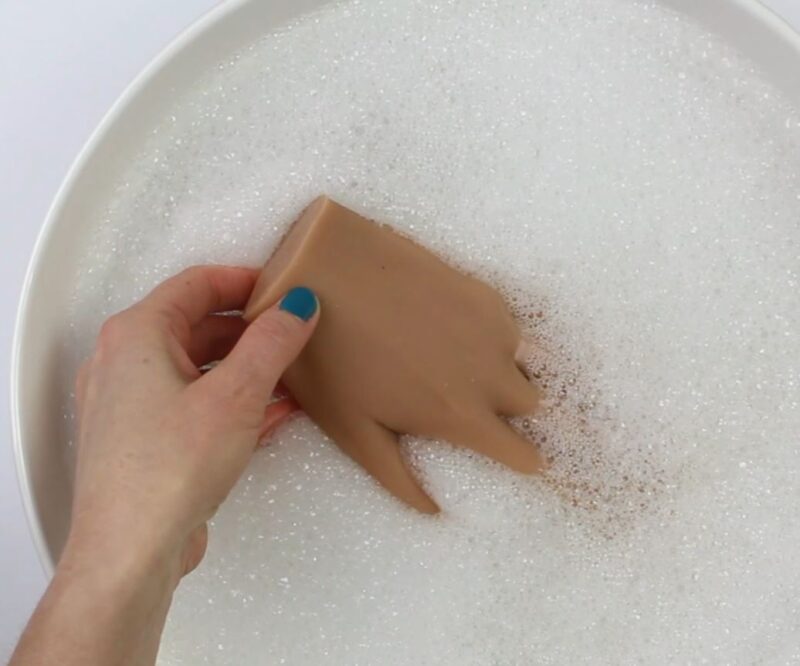
Step 4: warm water soak
Place your practice hand into warm soapy water and let it soak for 2 minutes. This is going to help loosen up any bits or glitter that might still be on the hand.
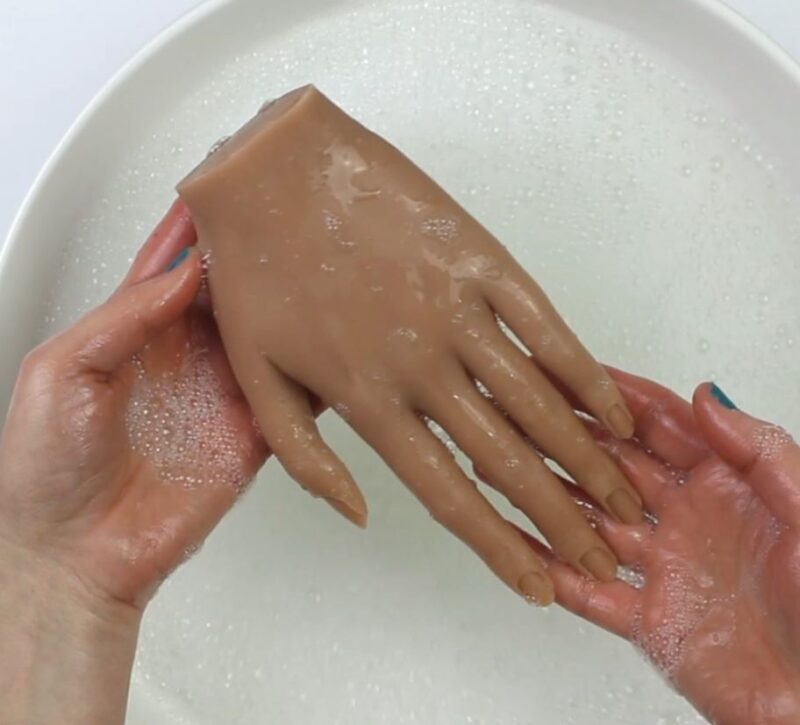
Step 5: Soapy Water
Gently rub the soapy water around the hand, making sure the whole hand is cleaned. The best way is to use your bare hands so that you can feel for anything that is still on there.

Pay special attention around the cuticle area. The cuticle area is very thin so make sure you are being careful not to rip the cuticles. Never slide up onto the cuticle area.
Step 6
Use a fine grained sugar scrub to gently exfoliate the silicone hand. It’s very important not to use a chunky scrub because you can ruin your hand.
Make your own sugar scrub for your practice hand by mixing together 1 tsp of sugar and 1 tsp of olive oil. Avoid the cuticle area.
Step 7: Remove scrub
Dip the hand back into the soapy water to remove the scrub. Go over the whole hand to make sure there is no scrub left on the hand.
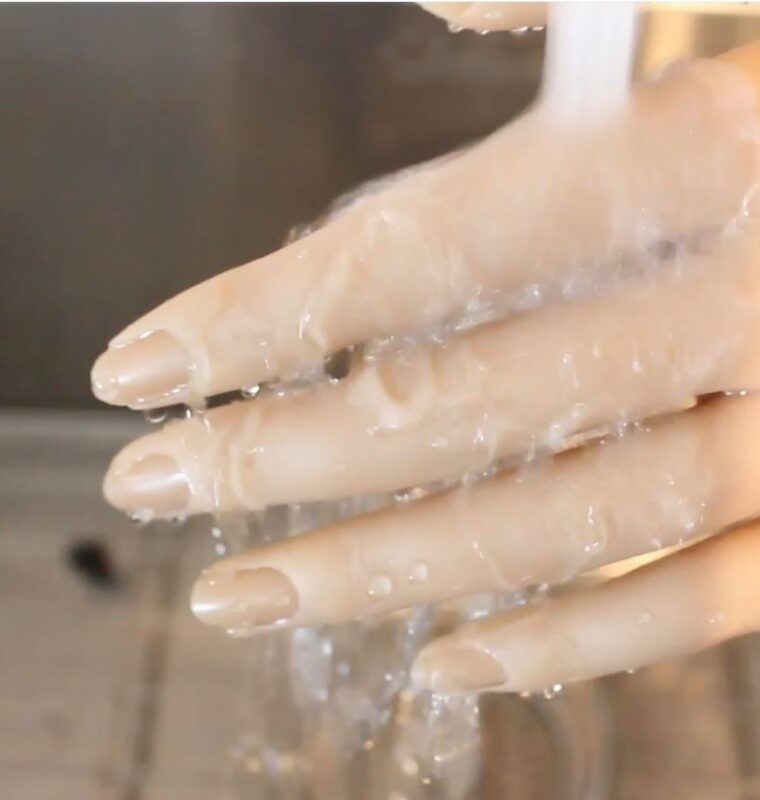
Step 8: Rinse
Rinse the silicone hand under warm water. Make sure that the whole hand is completely free of the sugar scrub. Inspect the hand while you are rinsing to see if there is any left over polishes or gels that still need to be removed.
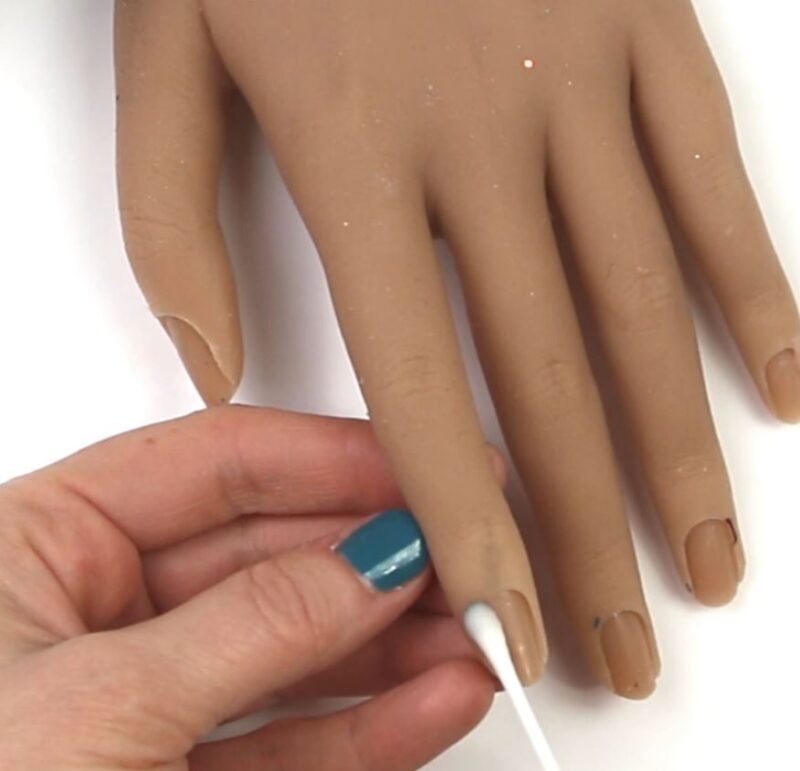
Step 9: Dry the practice hand
Now it’s time to put the hand onto a piece of paper towel & gently press the cuticle area downward to push out any water that might be trapped up there.
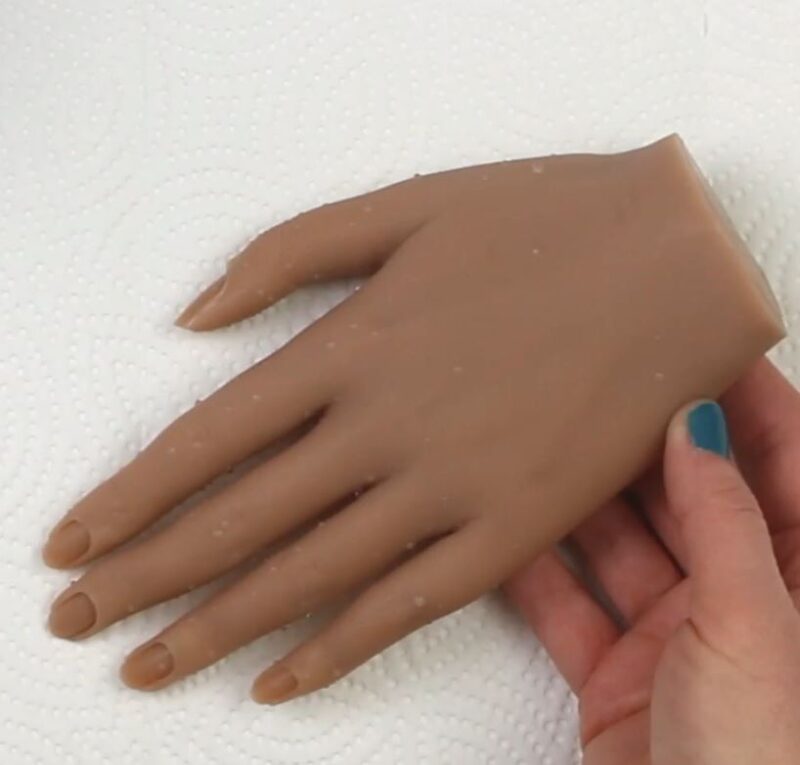
Use a piece of paper towel or cotton pad to remove any extra water from this area, just dab it to collect the water droplets.
Step 10: Air Dry and Store
Let the practice hand completely air dry.
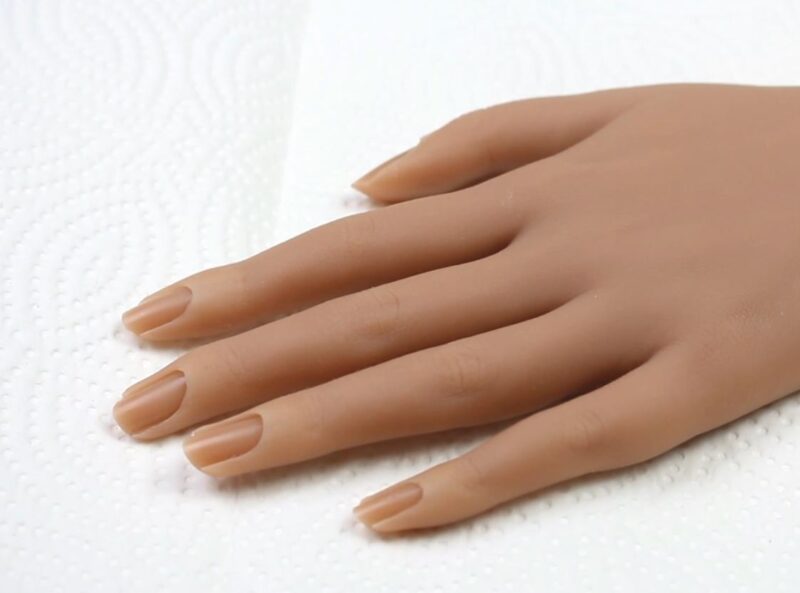
Store your practice hand in a plastic container with a lid. Use it for your practice hand. Lining the container with paper towel will help keep it clean.
Thanks for reading and we hope you found this article on how to clean a nail art practice hand helpful. Feel free to share this article on your socials and blogs by linking back to us.
Video: how to wash a nail art practice hand