How To Use Waterslide Nail Decals
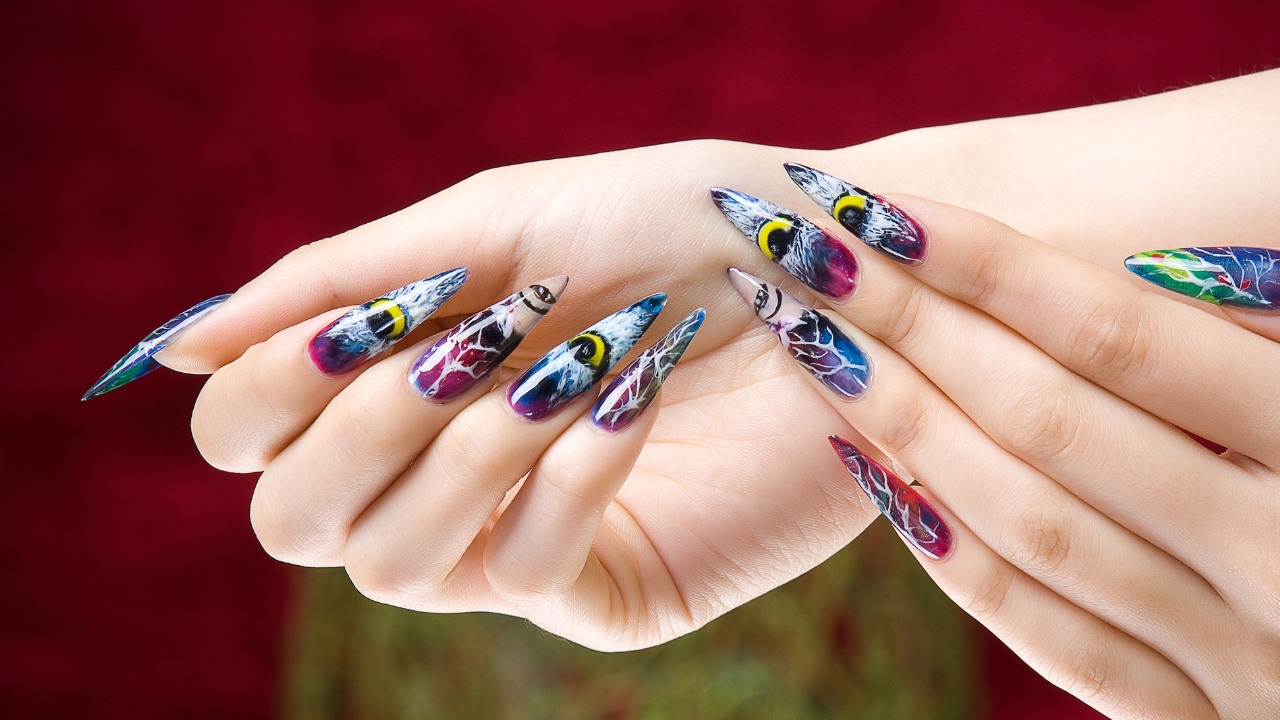
Here is how to apply waterslide nail decals. This water nail decal tutorial shows you step by step with easy to follow instructions. Waterslide nail decals are easy to use and with so many fun and amazing designs they are one of the nail art tools I like to have on hand.
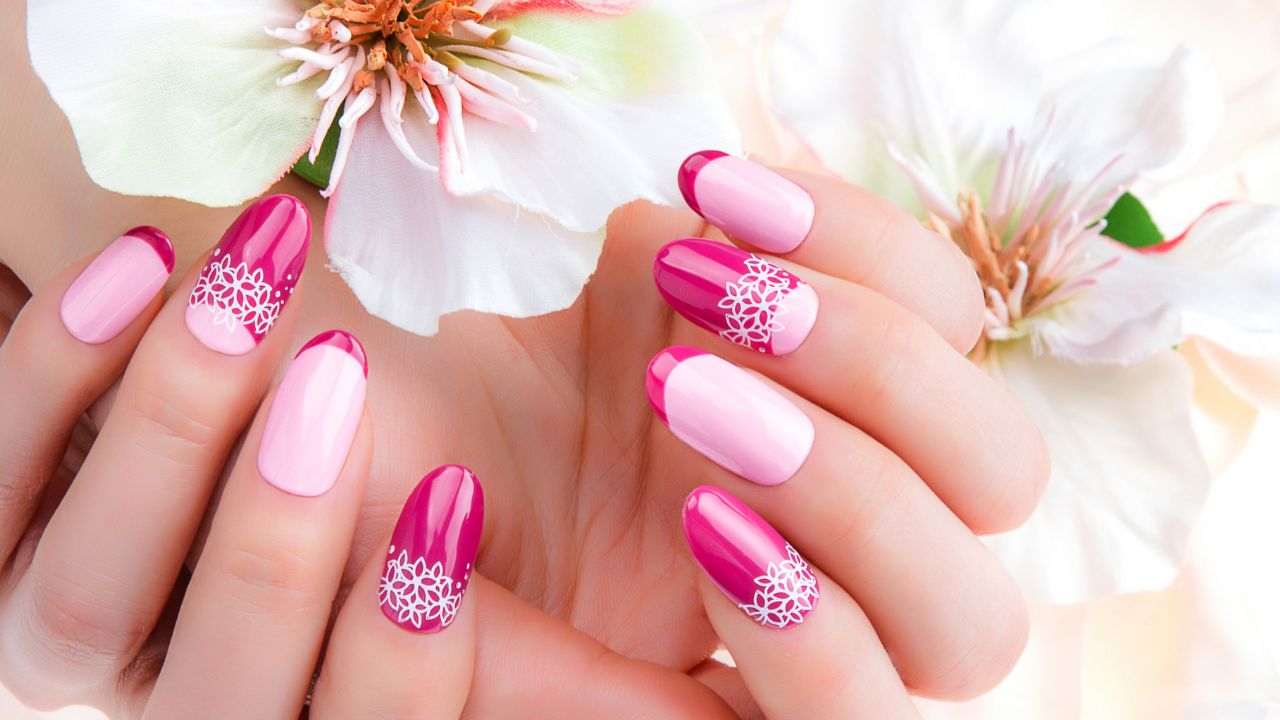
The nice thing about waterslide nail decals is that you can use them as is, or you can add glitter or other accents to make them even more customized. They are so much fun and can be applied to any nail size or shape.
What is a waterslide nail sticker or decal?
A waterslide nail decal is a very thin nail art sticker that uses water to separate the sticker from the special decal paper. The ultra thin sticker can be used in many applications including regular polish, gel polish, builder gel and acrylic nails. A waterslide nail decal will require a top coat to prevent lifting.
Waterslide nail decals come in a couple different ways
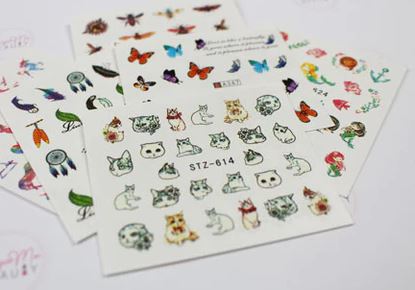
Waterslide sticker sheets
A sticker sheet that has several different small stickers that you can cut out and use. The water nail decals are great for accenting nails without having to paint on a design.
full coverage sheets
Full coverage waterslide sheets that will cover the whole nail. These can be found in many different designs and are for covering the whole nail with a design. There are different techniques depending on what type of waterslide nail decal you are going to be using for your manicure.
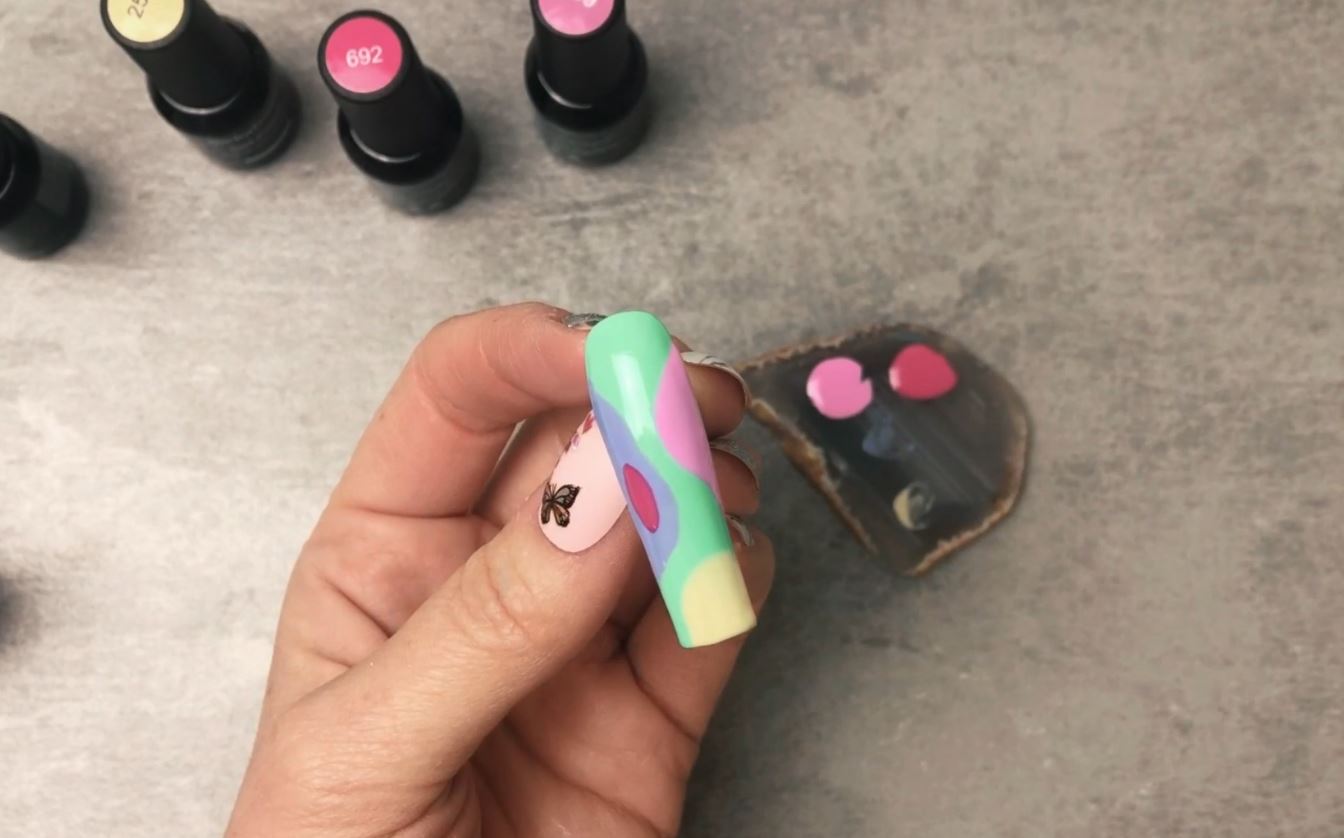
In this nail art tutorial I will show you how to apply the single waterslide nail decals.
How to apply waterslide nail decals
Supplies needed for using waterslide nail decals
Water Decals – Here is an article about the best waterslide nail decals. I found some amazing Etsy sellers and cool ones on Amazon.
Nail Scissors – The smaller ones with a curved edge are best.
Tweezers – Long slim tweezers are best for nail art stickers.
Shallow Tray – The best trays are the ones for sorting beads. They are shallow and easy to use.
Silicone Tools – Use these to gently press down the waterslide nail decal.
Gel Polish Set – You will need a set that comes with a base coat, color of your choice and a no wipe top coat.
Nail Lamp: Read this article about the best nail lamps for gel polish.
Step 1
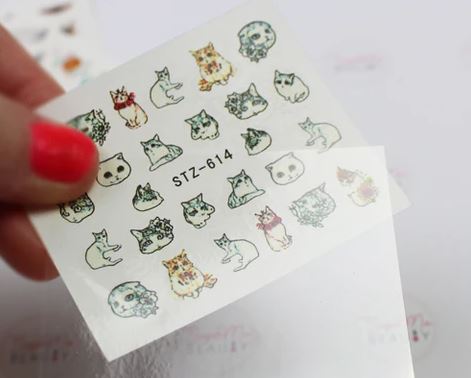
Decide what nail art stickers you want to use for your designs. It’s a good idea to plan your designs ahead of time on a sheet of paper or a silicone practice mat.
Step 2
Remove the plastic film if it is on your water slide sticker. The plastic film is to protect the stickers when in storage or for shipping. This will need to be removed before using your nail sticker.
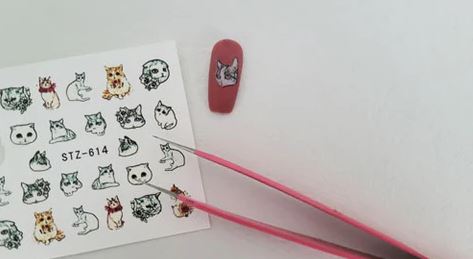
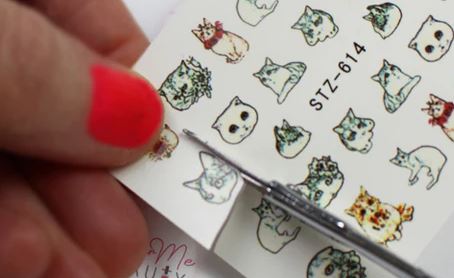
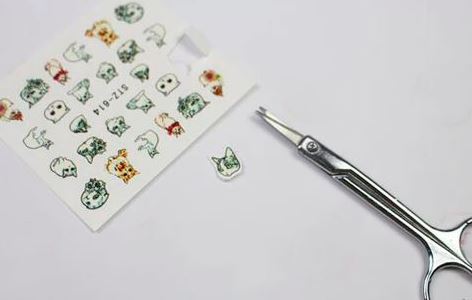
Step 3
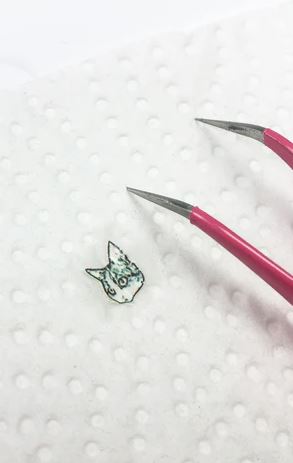
Cut out the nail decal. The best way to cut these small stickers is to use small nail scissors. Get as close to the image as possible. Set aside.
Step 4
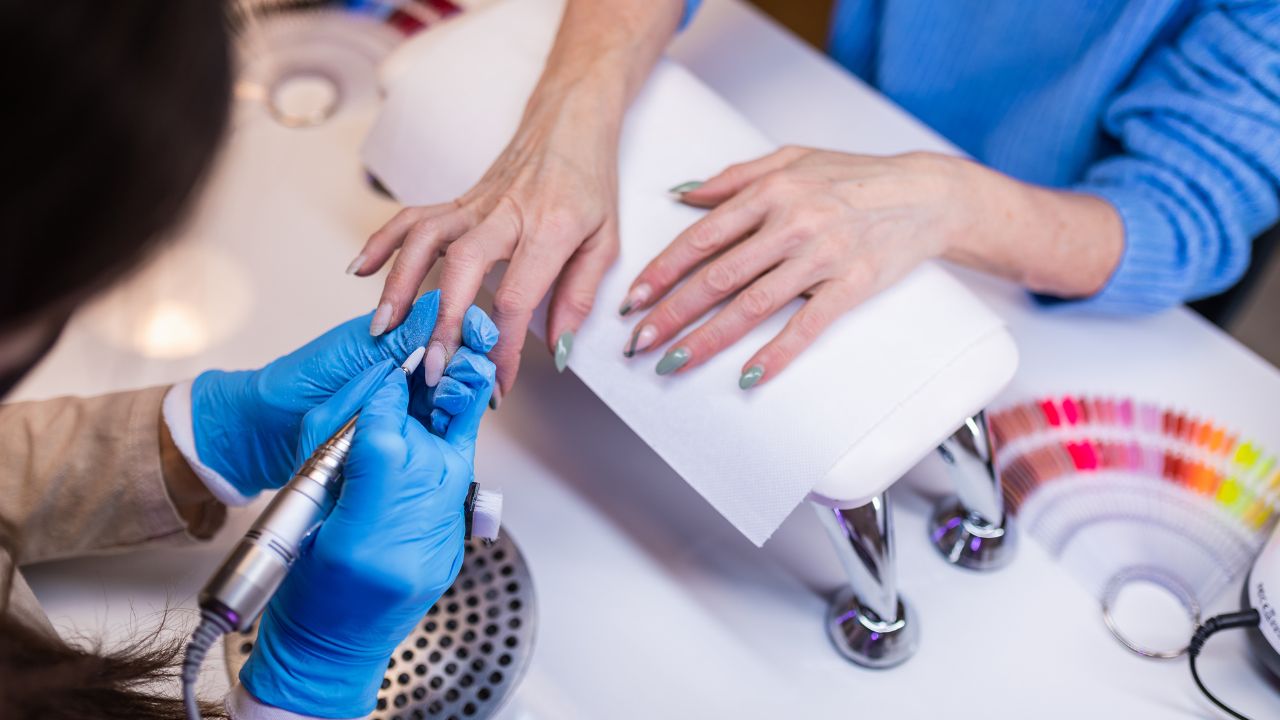
Prep your nails as you normally would when using gel polish.
Step 5
If using gel polish, paint on a base coat of gel and cure. If using regular polish, apply two coats and let dry (continue to step 7).
Step 6
Next, apply a coat of the gel polish in the color that you want the waterslide decal to go on to and cure. Keep the sticky layer on the nail.
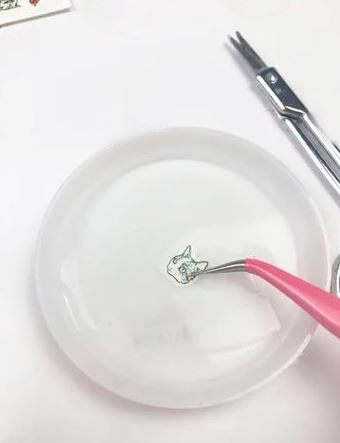
Step 7
Place the decal into room temperature water. Using tweezers, place the nail decal face up into water and let it sit for about 20 seconds. Using a dappen dish or a dish that is not too big or deep is best.
Step 8
Carefully separate the backing from the nail decal using tweezers if it didn’t separate on it’s own. Gently slide the decal from the backing. Good quality waterslide nail decals will automatically separate from the backing.
If your decal did not separate, then gently coax the image off of the decal. Be careful with this step because the decal is very thin and can tear easily.
Step 9
Place the water slide sticker onto paper towel to dry off. Make sure both sides are completely dry before placing it onto the nail. If you put it onto your nail wet, you can have all kinds of problems with the water reacting to your top coat or other additions you are going to use on the nail.
So do be sure any excess water is completely removed.
Step 10
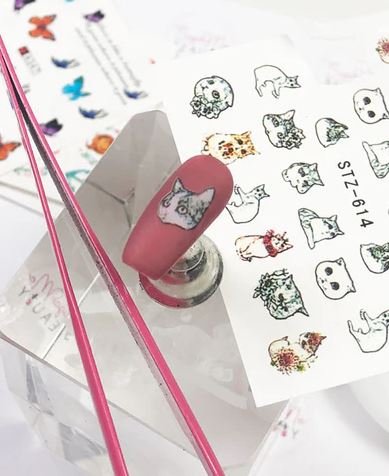
Place the waterslide decal onto the nail with tweezers. Try not to move the sticker around too much once it is placed because it can rip.
Ripping a nail decal can result in a damaged and incomplete design, leaving an unattractive and uneven appearance on the nail. It’s important to handle nail decals with care and precision to ensure they adhere properly and create a polished finish.
Step 11
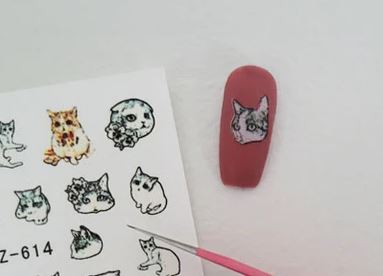
Use a silicone tool to gently go over the edges of the sticker so that it is not sticking up anywhere. Never rub a waterslide nail decal because it will rip. Just gently dab the decal to make sure the decal is laying completely flat with no wrinkles. Do not use your fingers because then your fingerprints could go into the design.

Step 12
Go over the whole nail with a base coat. You will need this base coat so that your final top coat has something to adhere to properly. Pay attention to the edges and to make sure everything is capped to prevent lifting. File if needed.
Step 13
Apply a no wipe top coat and cure. Again, make sure the edges are covered and make sure the edge of the nail is capped to prevent lifting.
Applying a no wipe top coat is good to use because it eliminates the need for an additional step of wiping the nails with alcohol after curing.
Tips For Applying Waterslide Nail Decals
A waterslide nail decal should be placed onto a cured gel or nail polish that is completely dried. You can also embed a waterslide nail decal with Modelones builder gel to make it look like it’s floating inside the nail.
Water decal paper is extremely thin so only use a soft tool for smoothing and removing any bubbles or creases.
Remove the plastic film before placing the waterslide nail decal into the water.
For mistakes, dissolve the sticker with some nail polish remover.
Experiment with different base colors. White nail polish, jelly colors or cat eye polishes all make a good base choice.
Waterslide Nail Decals VS Stickers
Waterslide nail decals have several advantages over regular nail stickers. These decals are very thin so that there are no ridges. Unlike traditional stickers that may be bulkier and prone to peeling, waterslide decals seamlessly blend with the nail.
waterslide nail decals faq
How do I prepare my nails?
Before applying waterslide nail decals, start with clean and dry nails. Begin by shaping and buffing your nails to create a smooth surface. Make sure to remove any old nail polish and cleanse your nails thoroughly.
Some people prefer applying a base coat to help the decals adhere better and to protect the natural nail.
How do I apply waterslide nail decals without wrinkles or bubbles?
After cutting out the decal, soak it in water until the decal starts to slide off the backing paper. Carefully slide the decal onto your nail, positioning it correctly. Gently press out any air bubbles or wrinkles using a soft cloth or a flat brush. Be patient during this process, and if needed, use a top coat to seal the decal in place.
How can I make waterslide nail decals last longer?
For longer lasting results, it’s important to seal the waterslide nail decals properly. Once the decal is in place and any excess water is removed, apply a top coat over the entire nail, including the decal.
The top coat must completely cover the edges of the decal to stop it from lifting.
Can I apply waterslide nail decals on acrylic or gel nails?
Yes, waterslide nail decals can be applied to acrylic or gel nails.
Did you find this waterslide nail art tutorial helpful?
If you would like to support this nail blog, I would love it if you could share this tutorial on your social media or link back to this fall nail art from your own blogs and websites. Feel free to share this on your nail groups too if it’s allowed.