Easy Fall Nail Tutorial With Gel Polish [2026]
Here is an easy fall nail tutorial with gel polish and some glittery accents. The leaves are falling, the temperature is dropping, and pumpkin spice lattes are back on the menu. It can only mean one thing: autumn is here!
And what better way to celebrate the season than with a festive fall manicure? Gel polish that comes rich earth tones is a great way to add a touch of autumn to your nails, and there are endless possibilities for creative nail art designs.
This tutorial is a simple yet chic fall nail art idea that you can easily recreate at home. With just a few supplies and a little bit of time, you can have an Instagram-worthy manicure that will get you in the spirit of the season!
Also, this fall nail art idea is using gel polish that needs to be cured under a UV lamp. If you are following along with regular nail polish, just skip the cure instructions and wait until each layer is dried before going on to the next step.
Easy Fall Nail Art Tutorial
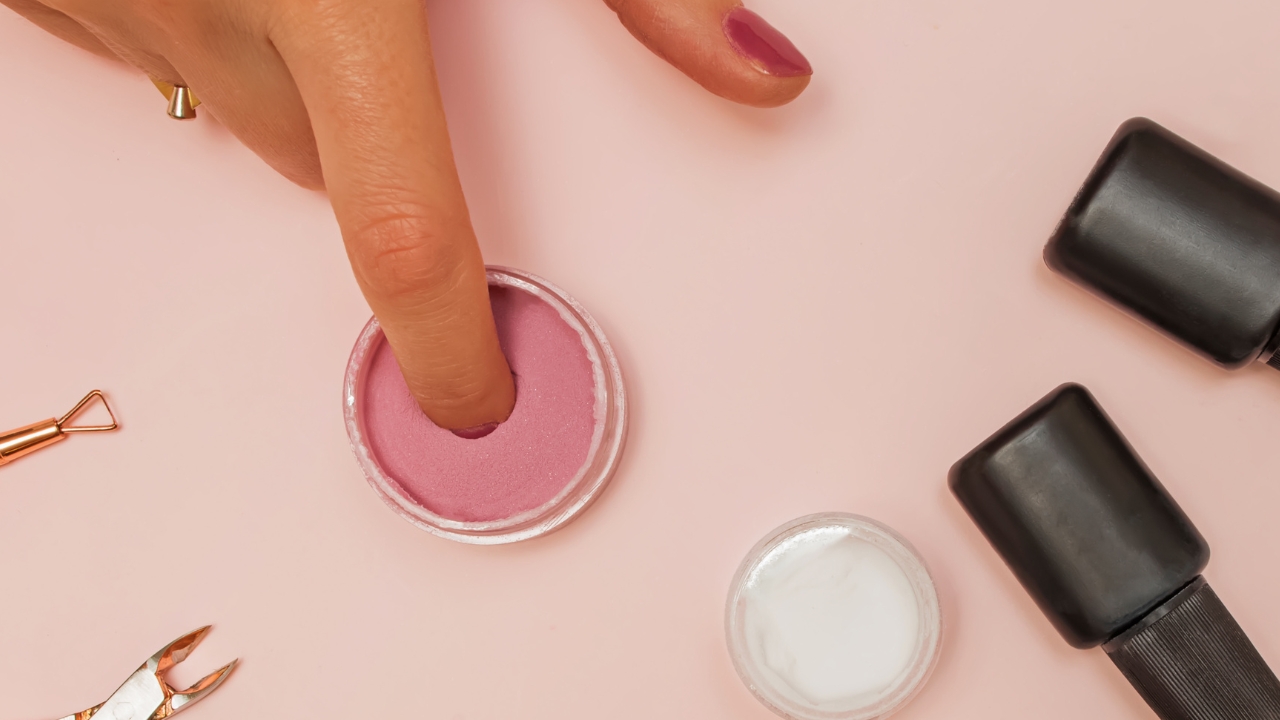
Step 1
Prep the nail tip by gently buffing off any shine. Make sure that all residue has been cleaned off with a lint free wipe with some isopropyl alcohol. If you are using nail tips that are already prepped for gel polish, you can skip this step.
Step 2
Apply a base coat and cure for 30 seconds under a UV lamp.
Step 3
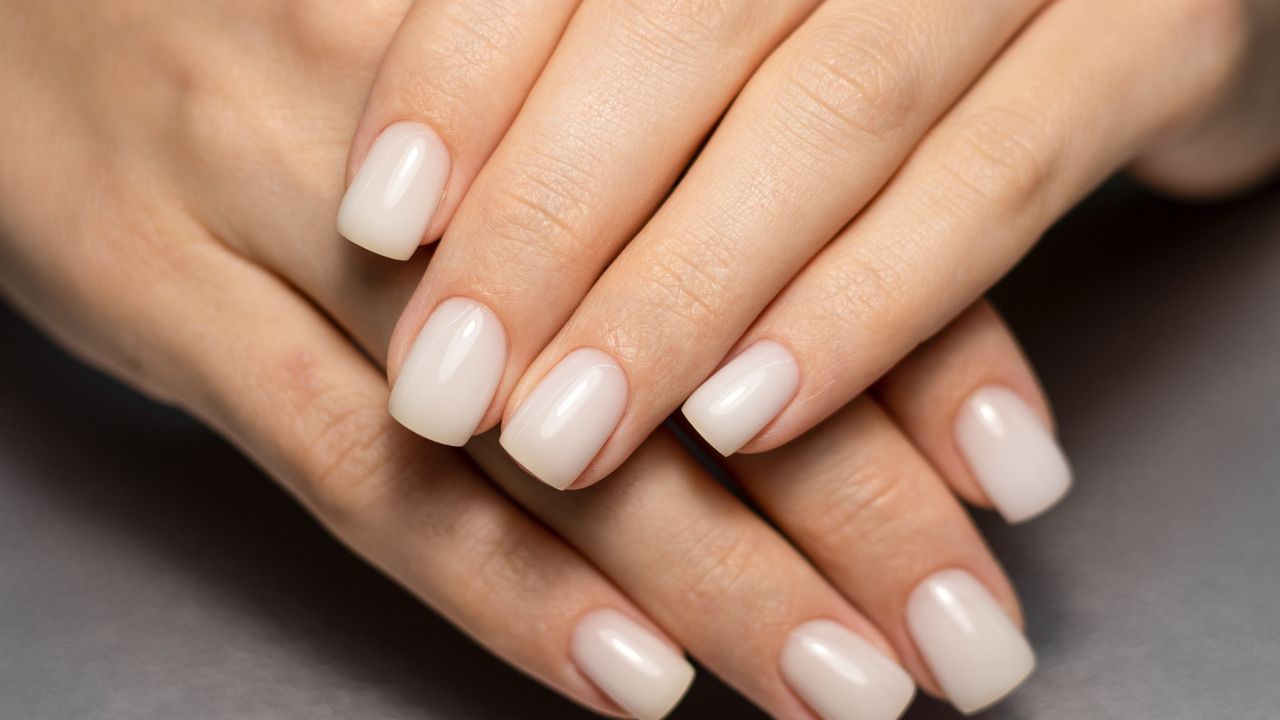
Paint each nail with different fall colors of your choice. Make sure the nails are fully covered with a light layer. Smooth the gel polish out so that you have a super smooth finish. Cure for 30 seconds.
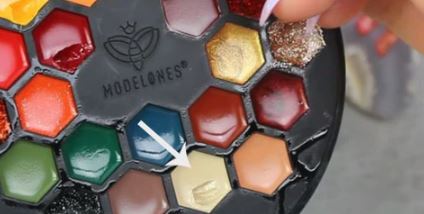
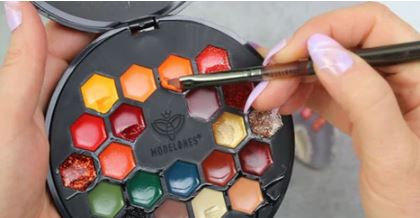
Modelones Gel Polish on Amazon
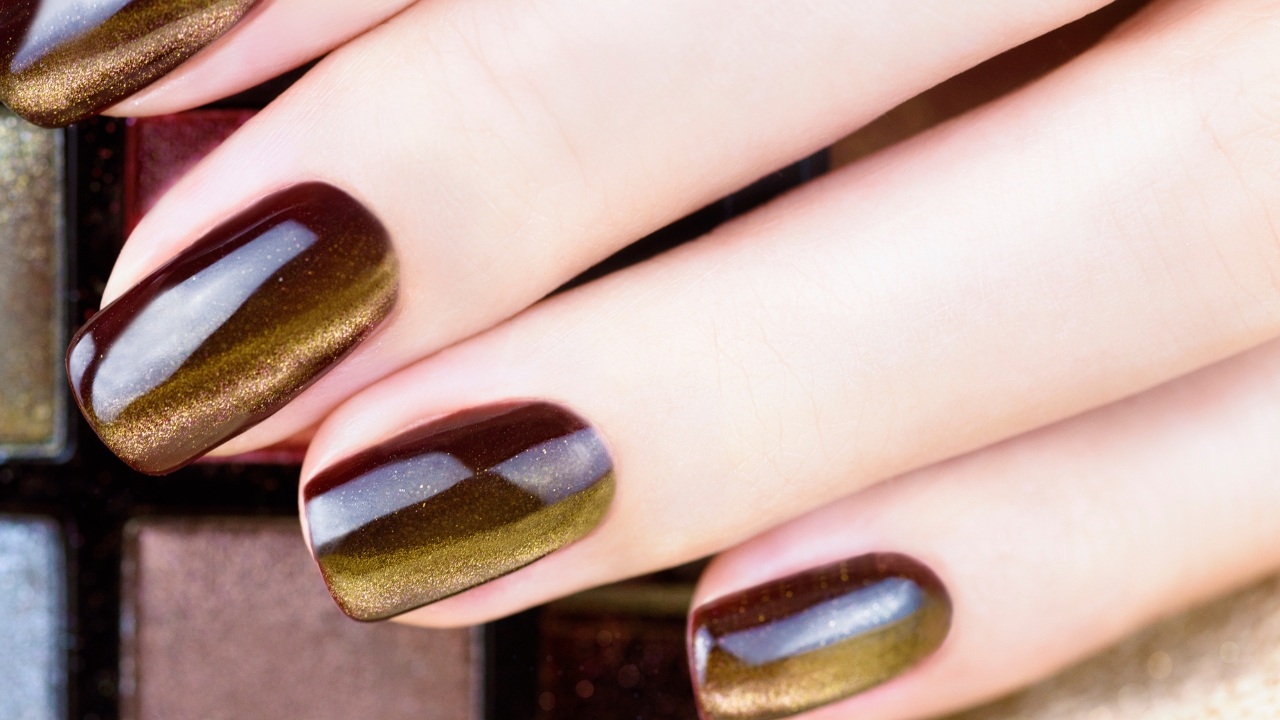
Step 4
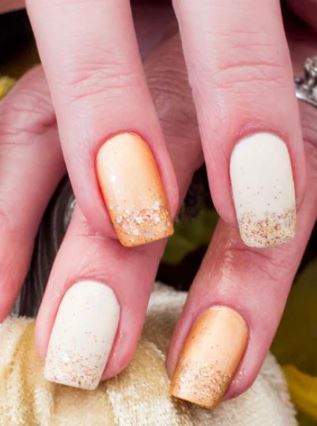
Apply a second coat of the fall color. Cure for 30 seconds. You now have the base colors all ready for the next step. These colors are really pretty and perfect for the base of a fall nail.
If you do not have this exact set, that’s ok. Just use a similar color from a gel set that you already have.
Step 5
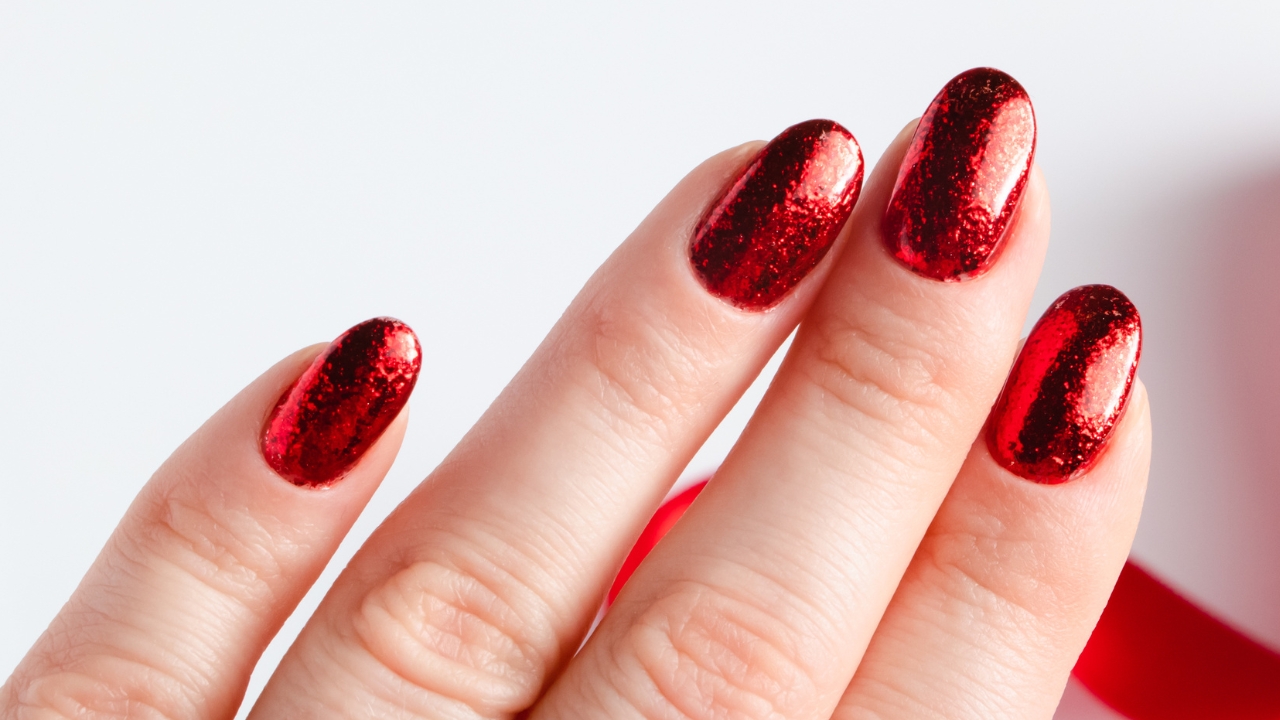
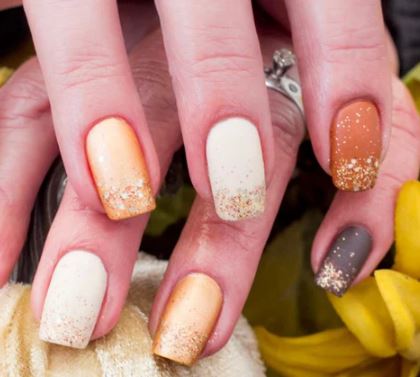
Add glitter accents.
Now you can go ahead and add the glitter polish to the bottom part of each nail and cure each one for 30 seconds. It’s much easier to apply with an ombre nail art brush. If you do not have an ombre brush, you can use what nail art brushes you have on hand.
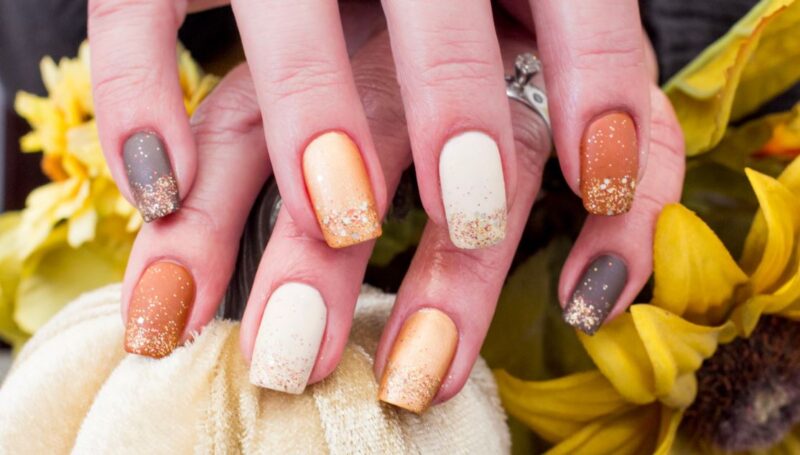
Step 6
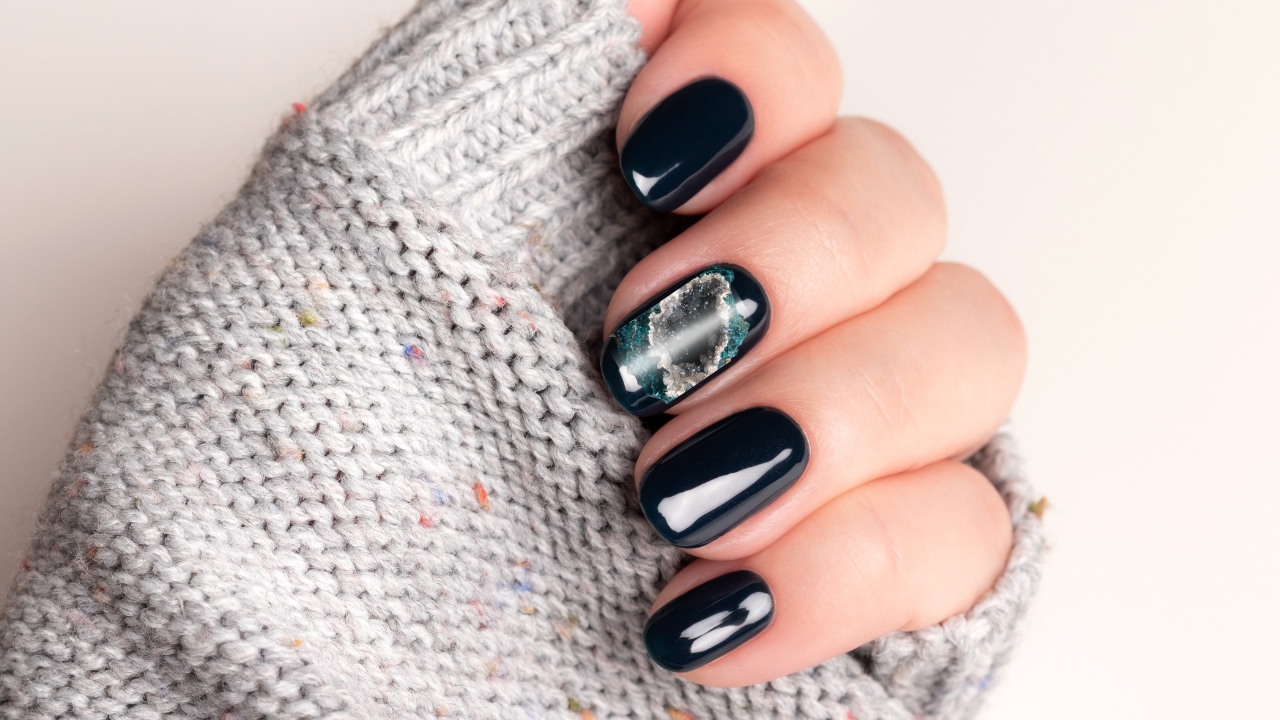
Thoroughly cover the nail with a glossy or matte top coat and do a final cure for 60 seconds.
What a gorgeous fall leaf idea. Fall is the perfect time to get creative with your nails. With DIY nails, you can let your nails show off your personality and style.
I hope this fall nail art idea was easy to follow and create. And like always, you can take any idea on this blog to use for your own inspiration.
If you have a press on nail business or an at home nail tech looking for some new ideas to try, go ahead and have fun!
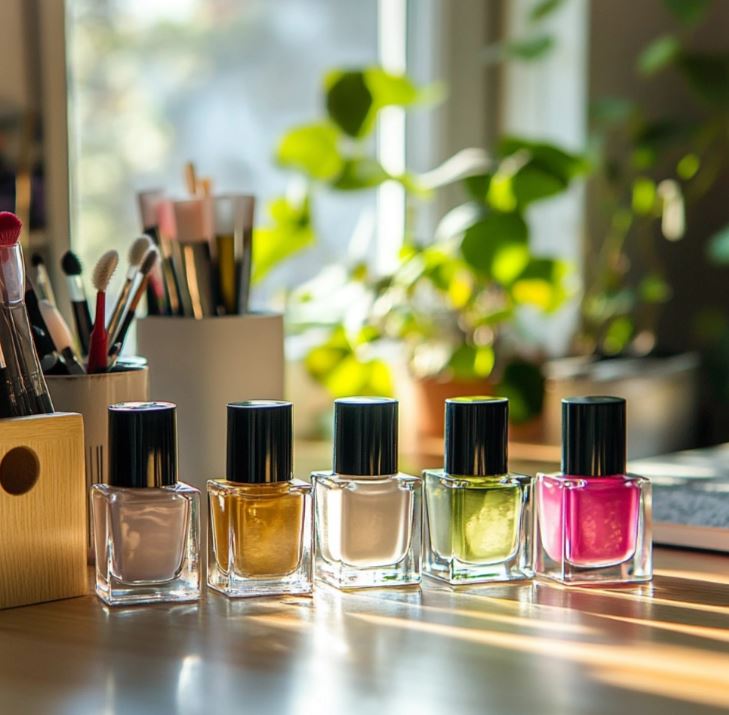
Fall Nail Supplies (Amazon)
Here are some nail polish colors that are perfect for fall:
- Deep Red Nail Polish: A rich, dark red or wine-colored nail polish is a classic choice for fall. It adds a touch of elegance and warmth to your nails.
- Green Nail Polish: Green is a versatile and trendy fall color. It can range from muted, earthy tones to deeper, mossy greens, and it complements the autumn foliage.
- Burnt Orange: Embrace the fiery shades of fall with a burnt orange nail polish. This color is reminiscent of falling leaves and pumpkins and adds a pop of warmth to your nails.
- Plum: A deep plum or eggplant shade is a sophisticated choice for the cooler months. It’s dark and sultry, making it a great option for both casual and formal occasions.
- Chocolate Brown: Chocolate brown nail polish is a cozy and neutral choice for fall. It pairs well with a variety of outfits and gives your nails a warm, comforting look.
These colors capture the essence of fall and can help you create beautiful autumn-inspired nail looks.